3RRL
Administrator  Huge Kama
Posts: 2,027 
|
Post by 3RRL on Jan 21, 2009 20:36:58 GMT -5
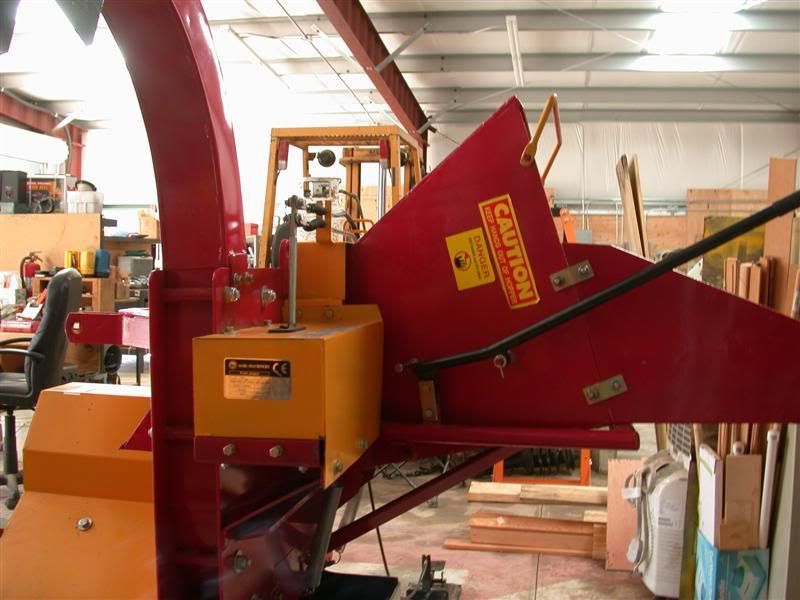
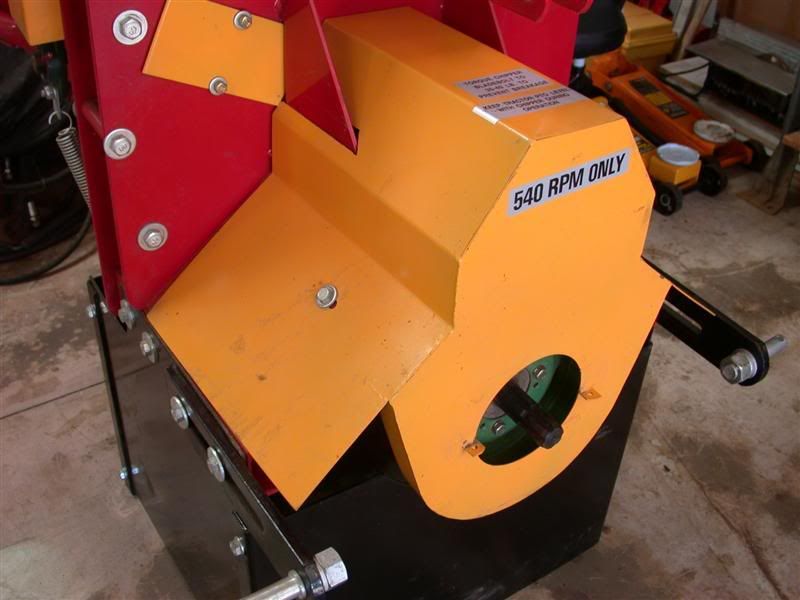
Last year, exactly a year ago when we bought Loretta's Jinma along with Scott's tractor purchases, we ordered a bunch of implements. One of them was the WC-6 Chipper which is similar to the Jinma Chipper so many of you have. It was literally half price of the ones we could buy here since our freight was already paid. Anyway, we just put it together and tried it out a little. First photo is the one on the brochure and the other 3 are what it actually looks like assembled. Rob-   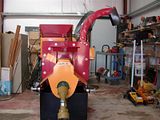 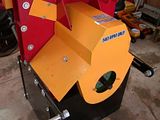 |
|
3RRL
Administrator
Huge Kama
Posts: 2,027
|
Post by 3RRL on Jan 21, 2009 20:56:36 GMT -5
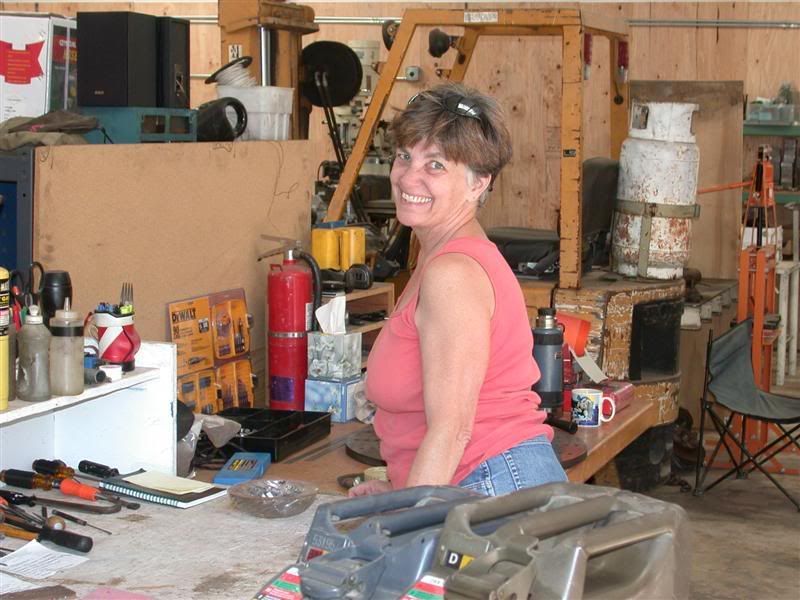
Since this is Loretta's new toy, she was responsible for helping assemble and also taking most of these photos. After reading the assembly instructions, she started to grease all the pillow block bearings. There are 2 that support the main drive and 2 smaller ones for the feed roller. It's best to grease them before bolting the base and cover on. Ken mentioned draining the gear box oil and re-filling it, but I could not find where to do that? Can you tell me where that is? Rob-   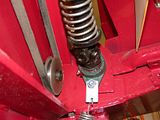 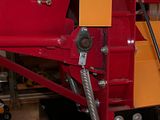 |
|
3RRL
Administrator
Huge Kama
Posts: 2,027
|
Post by 3RRL on Jan 21, 2009 21:05:34 GMT -5
|
|
3RRL
Administrator
Huge Kama
Posts: 2,027
|
Post by 3RRL on Jan 21, 2009 21:25:58 GMT -5
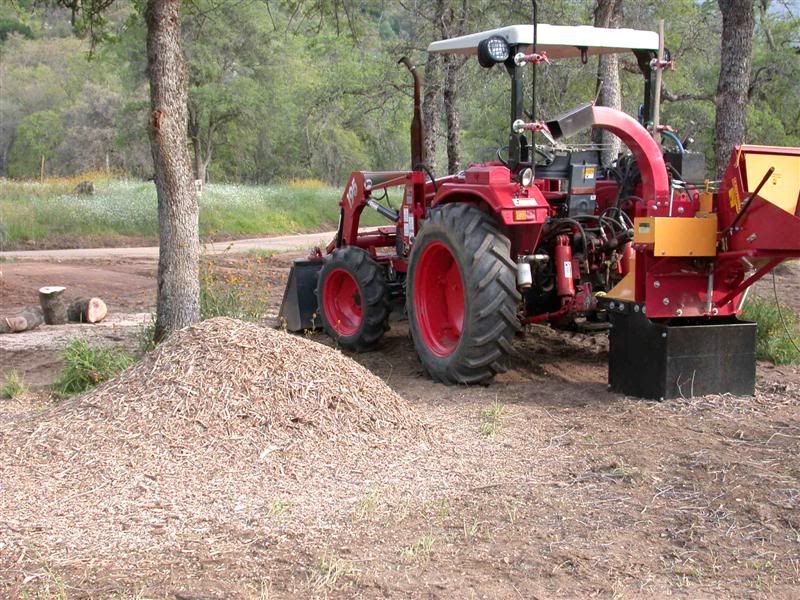
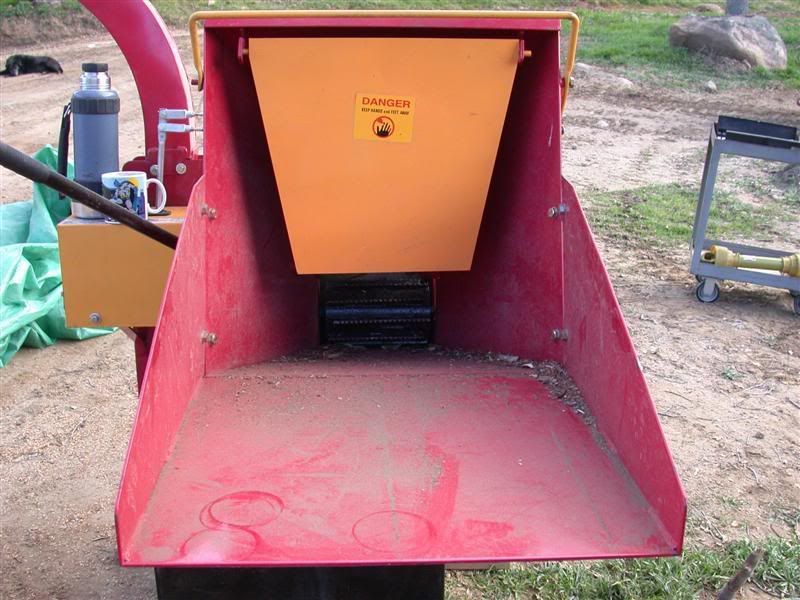
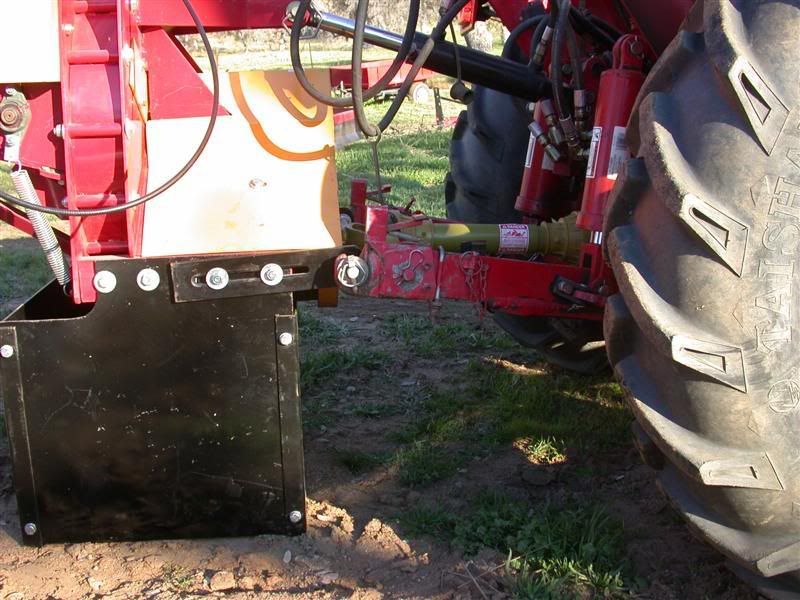
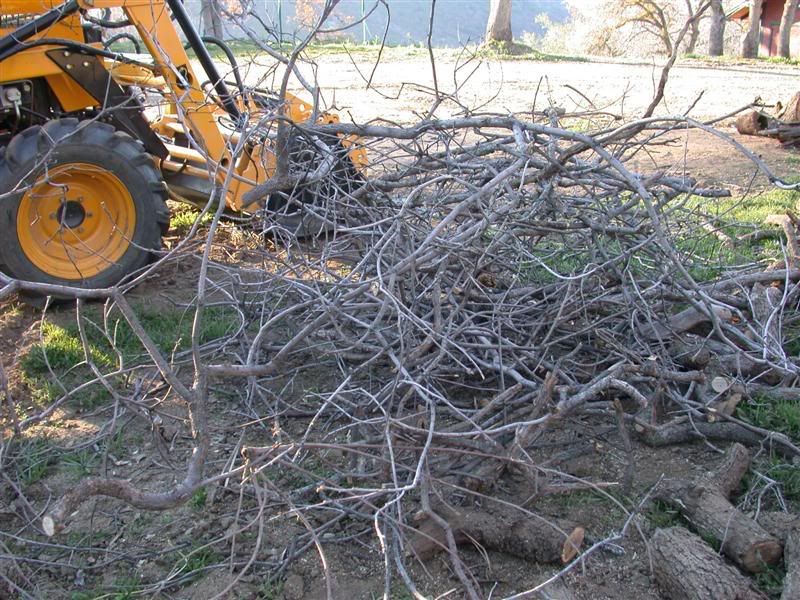
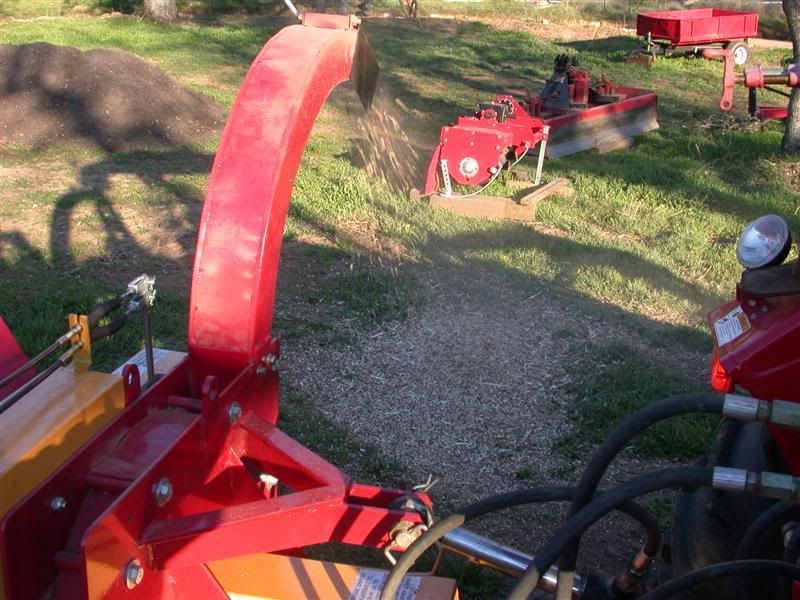
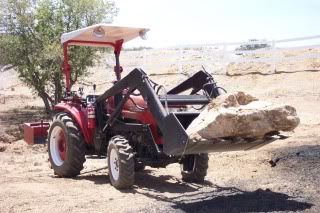
Fitting the chipper to the tractor and getting drive shaft to be in almost a straight line was a trick. I think they recommended not having more than 15 degrees angle on the PTO drive shaft while operating it. We originally intended the chipper to be on Loretta's 284. It turns out that this WC-6 Chipper sat way up too high on the 284 Jinma so we fit it to my 55hp Kama. You can see even in transport that the PTO drive shaft is not to steep an angle. It's hidden by the lower lift arms. Once it's on the ground ready to operate it was almost level. The sloping ground we were working on makes it look worse than it really is, but it's almost level. I fired up the Kama and used the 720 PTO speed. Then I throttled up to 1700rpm which will spin the PTO at around 540 recommended PTO speed. 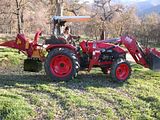  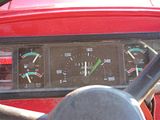 We had a small pile of branches to try it out on. It should be able to take 4" saplings and branches but the larger branches we had were all seasoned Oak for the wood stove. We did throw a couple of 2-1/2" branches in for the photos though. Anyway we got a chance to run the chipper and crush some brush. We were happy to see it working correctly and will give it a work out next week. It was good to see it operate even on a small pile of brush. Here are a few shots of that. Rob- 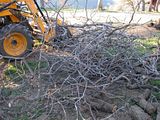    |
|
|
|
Post by stumppuller on Jan 21, 2009 22:14:14 GMT -5
Glad to see that you got it up and running, Rob. So far I have been very pleased with my Jinma 6" chipper. Did a 6" oak log just to challenge its capability & although it slowed slightly, it ate the whole 30" chunk.
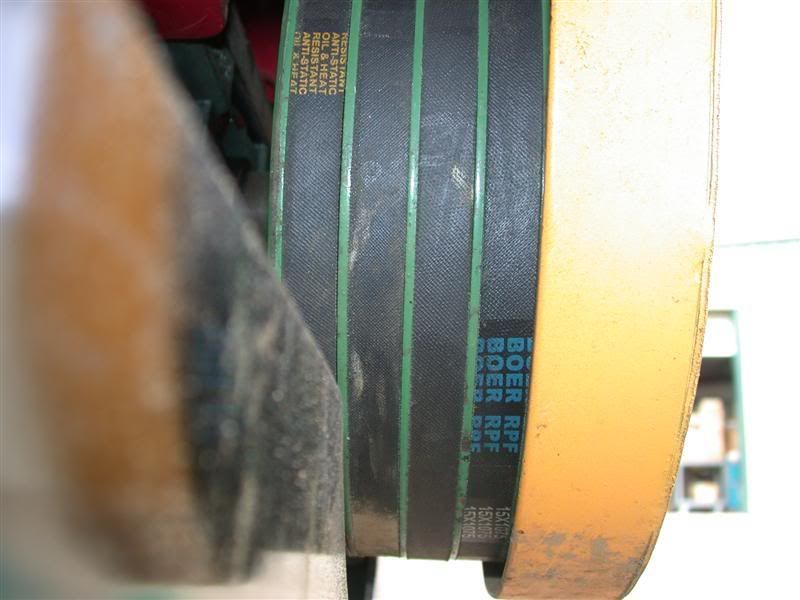
I found the original belt alignment to be off, causing the premature shreadding of the single feed roll belt. That was the toughest belt to align because of the spring loaded drive shaft wanting to knock the shaft parallelism out of whack.
The sheaves of the 5-belt drive were also misaligned about 3/16", but proved to be a more straight forward correction. Since the pulleys are secured to the shaft with taper-lock bushings, one has to start with some initial offset to compensate as the sheave is drawn up the taper.
All-in-all, this is a pretty good machine & will earn its keep on my site development project & maintenance thereafter.
|
|
3RRL
Administrator
Huge Kama
Posts: 2,027
|
Post by 3RRL on Jan 22, 2009 11:16:00 GMT -5
Wow, you put a 6" log into yours? Man, that is powerful.
I'm glad to know it should hold up for my use. Most likely logs that size will be sawed up and split for the wood burning stove. But some smaller ones will be chipped up.
I "eyeballed" the pulleys and pillow blocks for alignment and they looked fairly good. I guess time will tell as you point out. Most of the assembly went fairly easy with everything lining up well. It looks like a pretty good chipper to me. The only other thing I want to do is make the chute rotate from side to side. When I get to that mod, I'll post about it. The other thing is drill some large holes in the base so I can get to the grease fittings underneath and also use them for inspection holes.
What about that gear box Ken was talking about?
I don't remember seeing anything like that in my instructions? There is the clutch assembly for the feed roller. Are there gears in there?
Is that where to drain and add new oil?
|
|
|
|
Post by stumppuller on Jan 22, 2009 12:01:59 GMT -5
My chipper has a small wormdrive gearbox powered 1:1 from the mainshaft. The gearbox output connects to the univesal driveshaft of the feed roller. It has a small pipe plug drain at the bottom of the box as well as a sight glass to view the oil level. Seems pretty nice, however you have a better driveshaft with true universal joints, whereas my unit has just a square cup receiver with a "square ball" drive shaft end & no rubber boots.
It is hard to grease and becomes contaminated with wood dust very quickly. Also access to the whole drive assembly is difficult with lots of fasteners holding the sheet metal guarding on. I may create a hinged flap to improve access. The best solution would be to retro with universal joints.
Any suggestions for finding cheap, small U-Joints?
|
|
quikduk
CTW Life Member
 Dog House
Posts: 552
|
Post by quikduk on Jan 22, 2009 12:07:31 GMT -5
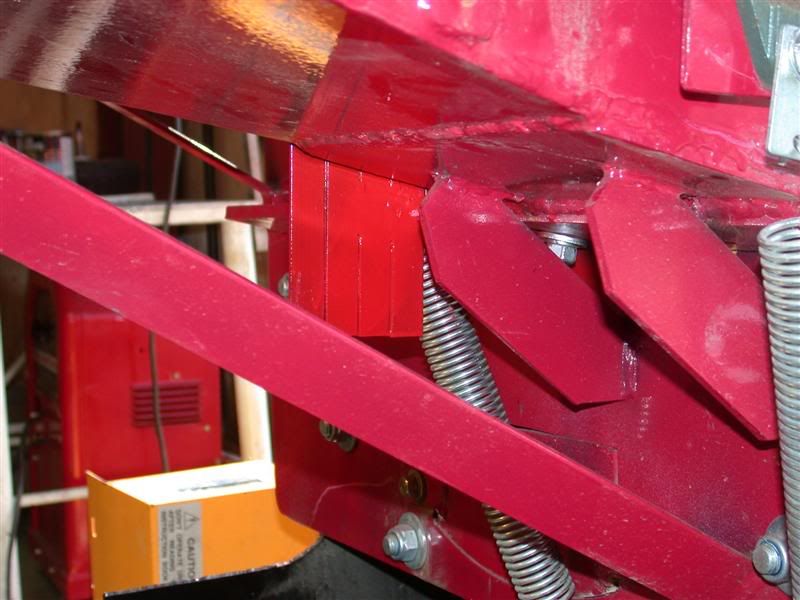
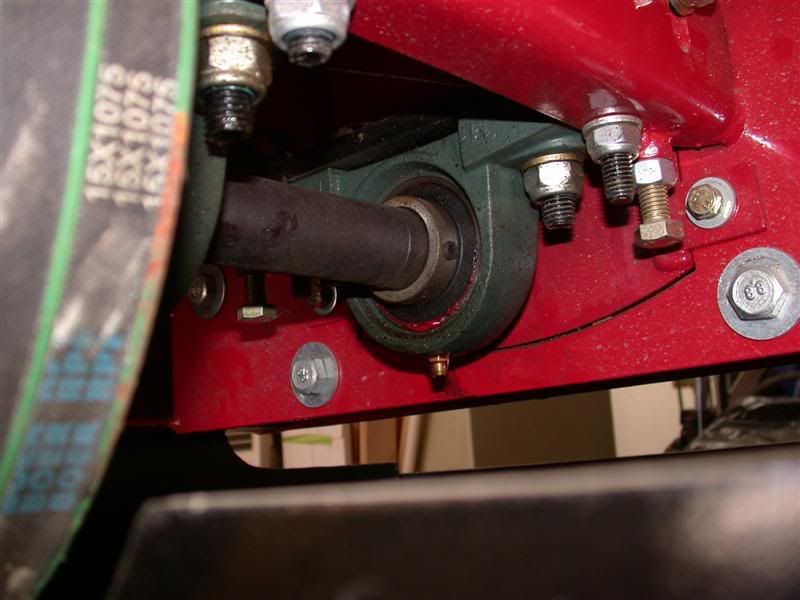
Rob, Here are two pics I took of mine re: the drain plug. It is behind the gearbox/feed roller cover, faces the shute entry side of the chipper (rear?) and is at the bottom of the gearbox. My gearbox also has a sight/level window above the plug (not in photo) so that you can see where the fluid level should be.   BFN |
|
quikduk
CTW Life Member
Dog House
Posts: 552
|
Post by quikduk on Jan 22, 2009 12:35:53 GMT -5
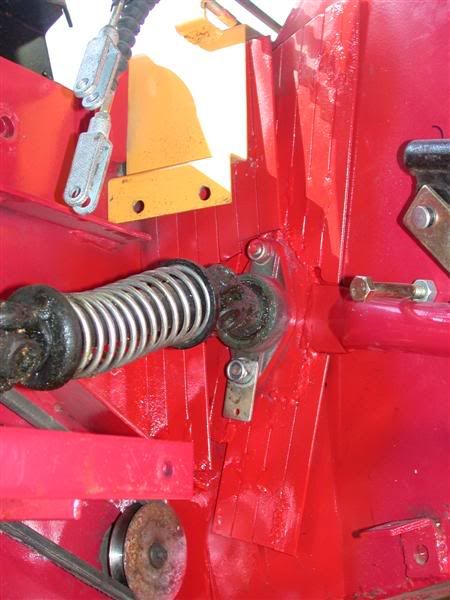
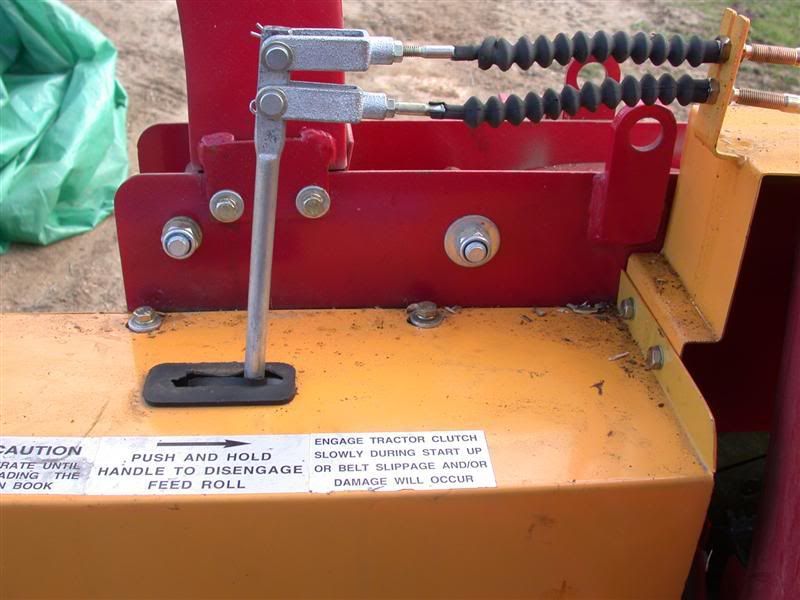
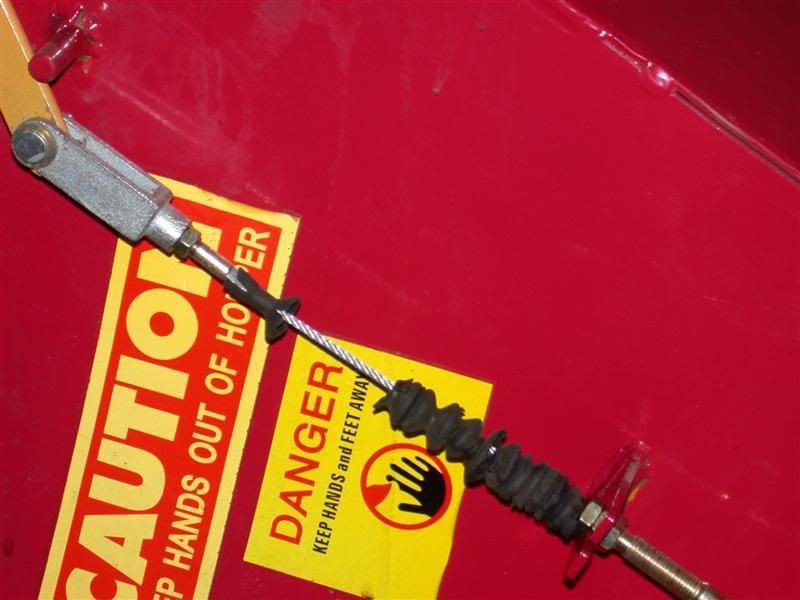
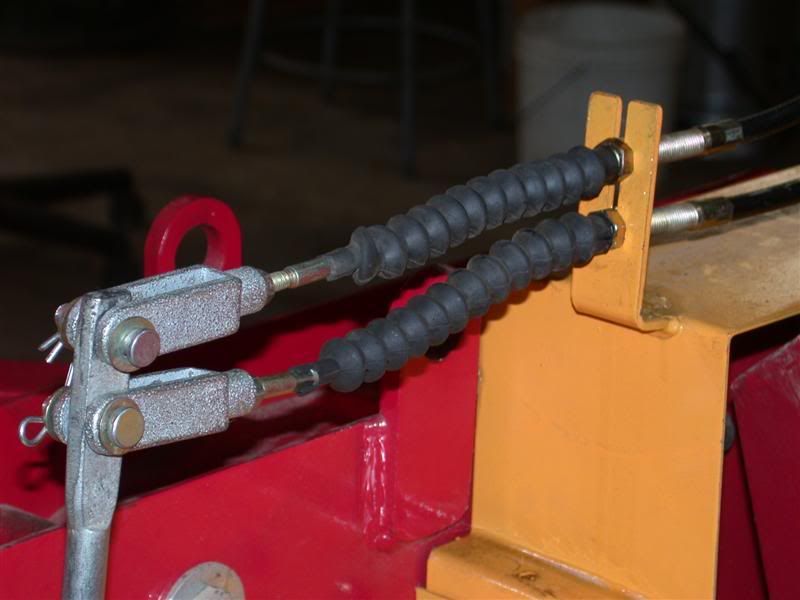
The worm drive gearbox is located under the yellow sheet metal cover where the double cables (on yours, Rob) attach to the engage/disengage lever/rod. The pics of the drain plug I posted are from beneath this cover. The hinged cover/flap is a great idea and on my to-do list
Re: the small universal joints, I have pics somewhere of several chipper mods done (I think) on TBN. They show the driveshaft changed to a universal type. I can get small universal joints and shaft made up at most driveshaft shops, Napa and sourced from Grainger or McMaster-Carr. It is also on my to-do list for the chipper as is the addition of a spring-loaded tensioner pulley for the top of the output shaft V-belt to keep it from coming off the pulleys and the rotating chute...someday.
The feed chute also needs some HD sheet metal guards added to block branches from lodging in the feed belt/shaft area.
|
|
quikduk
CTW Life Member
Dog House
Posts: 552
|
Post by quikduk on Jan 22, 2009 13:09:59 GMT -5
|
|
quikduk
CTW Life Member
Dog House
Posts: 552
|
Post by quikduk on Jan 22, 2009 15:17:01 GMT -5
Rob, Sorry for hijacking and f-ing up your thread with all those pics. I forgot you were on dial-up...   ;D Ken |
|
3RRL
Administrator
Huge Kama
Posts: 2,027
|
Post by 3RRL on Jan 22, 2009 15:23:44 GMT -5
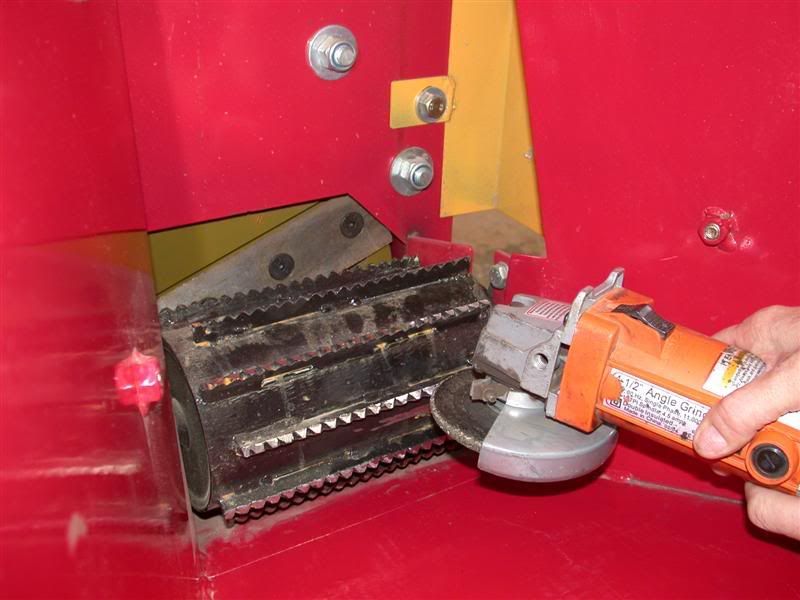
Oh great, just what I wanted ... about a billion pictures to fuck up my thread. LOL ... thanks Ken! ;D ;D One thing I forgot to post is that the first thing we did is sharpen the feed roller teeth. Loretta was able to get the 4" angle grinder inside and put a sharp edge on every row of teeth. No need to take the roller out on this model. It was easy to do. I rotated the flywheel using the PTO drive until each row was in the same place. We got the same angle on each row that way. Plus, the roller itself was held steady for grinding purpose. 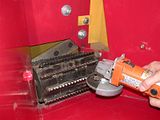 |
|
3RRL
Administrator
Huge Kama
Posts: 2,027
|
Post by 3RRL on Mar 27, 2009 22:50:20 GMT -5
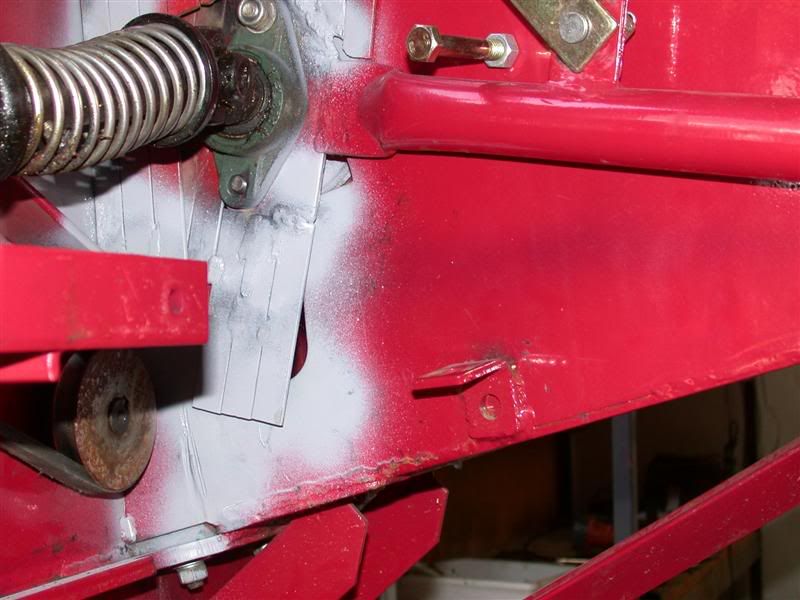
I was reading Bruce's thread about his chipper questions and Larry's great reply. First thing I did was set the blades and bedding gap to .010". One thing that happened is some debris got under the drive belt for the roller feeder. It flipped my belt sideways. It was running like that for a while before I noticed it. I needed to make a shroud to keep the chips out of that area, so here's my solution for that. I wanted to make a 2 piece shield that would keep the holes covered no matter how high or low the feeder roller was. First I made a cardboard mock up of the stationary and also the moving shield. Then I weld some strips of 1/8" thick x 3/4 wide steel together to make the shields. You can see I needed to add one more width when the roller feeder is lifted up. 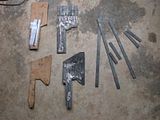 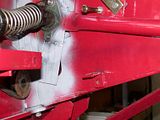 I know it's not very fancy, but I wanted it thick enough to withstand the chips and I didn't have any sheet metal. Then, after carefully fitting the shields I tack welded them into place. I wanted to make sure the roller feeder had full travel and that the shield did it's job in all positions of the roller. Rob- |
|
3RRL
Administrator
Huge Kama
Posts: 2,027
|
Post by 3RRL on Mar 27, 2009 23:00:00 GMT -5
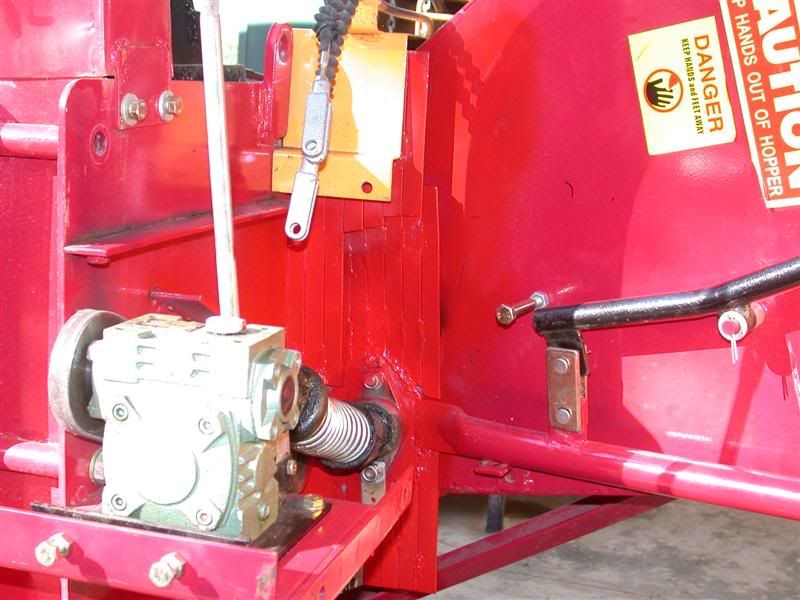
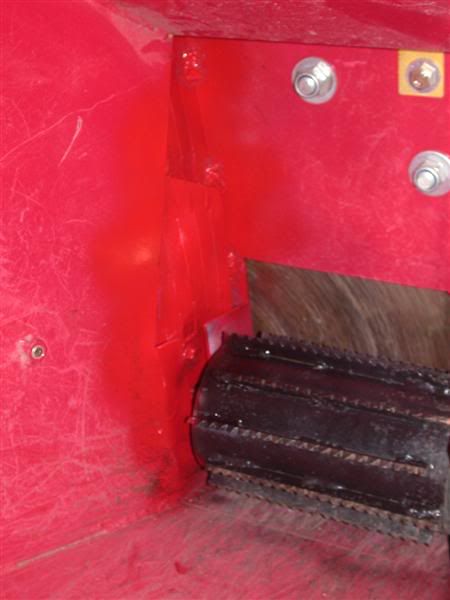
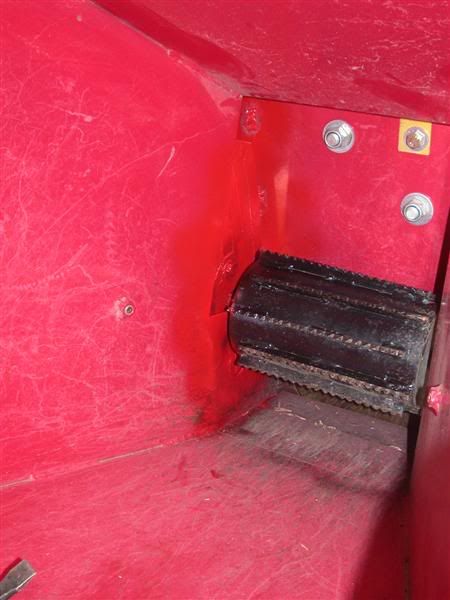
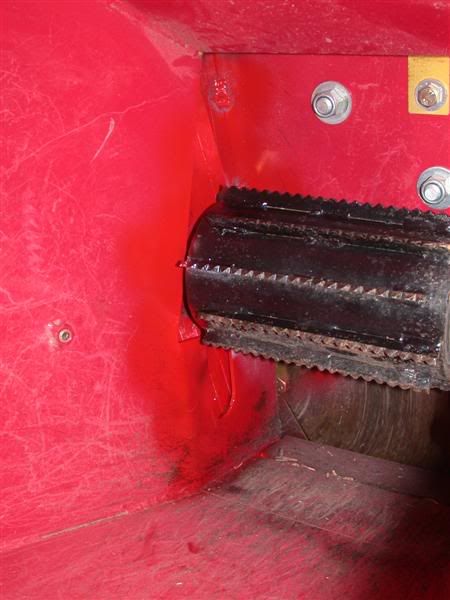
Below are photos of how the two piece shield came out. The stationary piece is tack welded to the main housing only. I can still remove the yellow covers. The moving guard is tack welded around the handle where the pillow block is for the roller feeder. These photos show the shield from the gear box side, first one is all the way down, second one is half way up and 3rd one is with the roller all the way up at it's highest point. You can see I added another strip to cover that hole that was there. 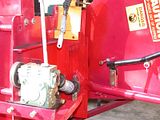  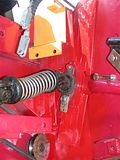 This next set of photos are from the inside of the chute. They are in the same order starting from the roller feeder all the way down, the middle, and all the way up against the stop. You can see there are no gaps from inside or out ... just clearance for the shields to pass each other. Rob- 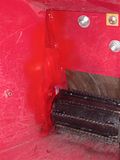  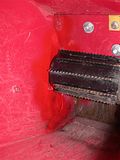 |
|
3RRL
Administrator
Huge Kama
Posts: 2,027
|
Post by 3RRL on Mar 27, 2009 23:17:32 GMT -5
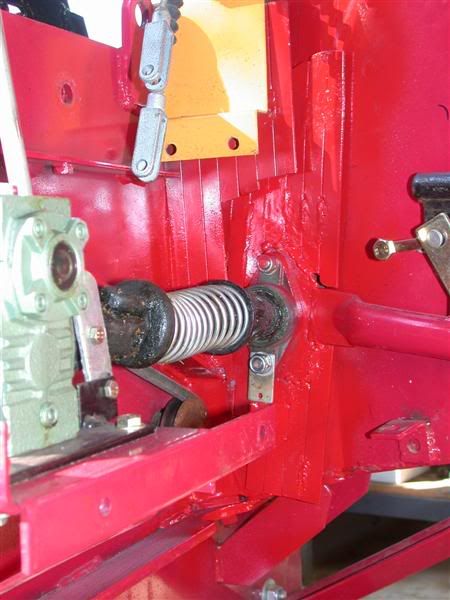
Here are a couple photos from the bottom of the chipper. I added a "skirt" below the pillowblock. When the roller feeder is raised up, the clearance for the roller feeder shaft was exposed. I needed to block that off by adding this skirt and these close ups show how that looks.   I know it's not the prettiest thing, but it worked very good! Loretta chipped for several hours. Small stuff and bigger branches. They are all hardwood Oak. The blade adjustment seemed to make an improvement in the chips. The Kama never even bogged down once. I checked the drive belt after doing all the chipping (see pile) and there were only few chips that made it past the shield lying on the ledge below the gear box drive shaft...very few. None had gotten to the belt or pulley or u-joints. Rob-  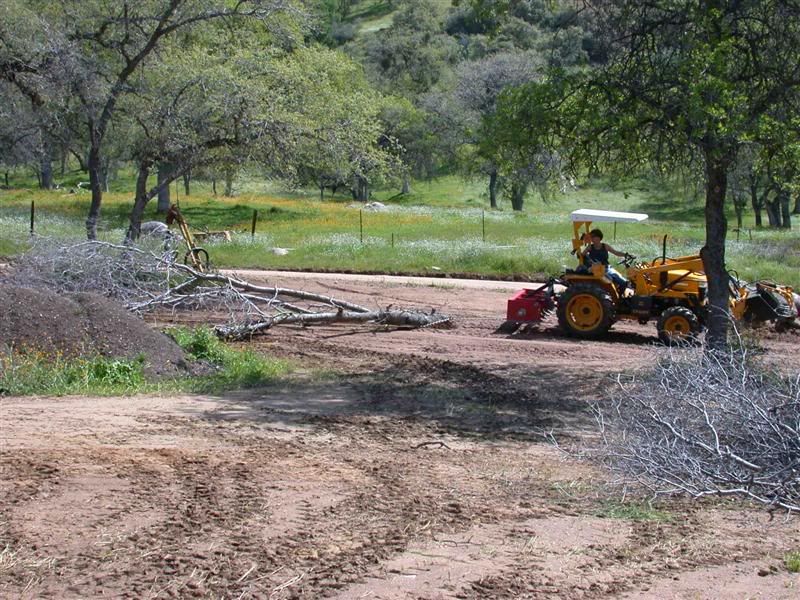 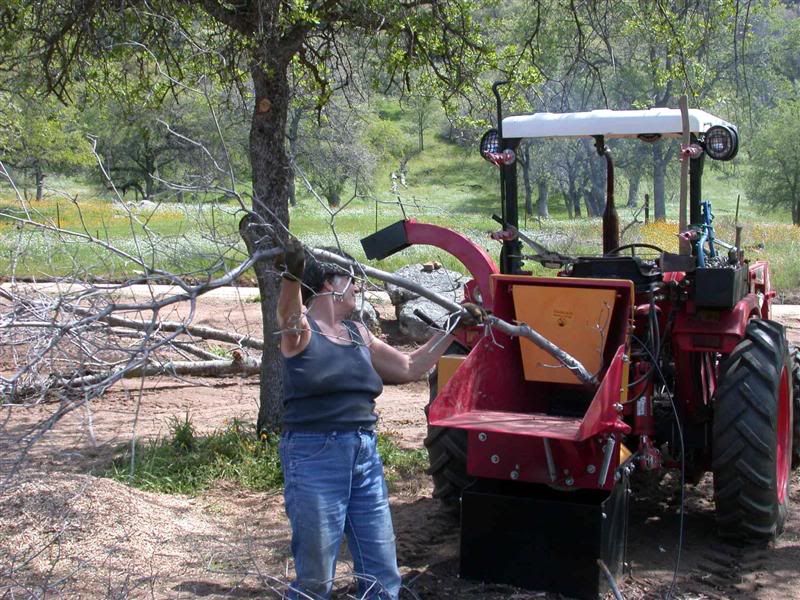  |
|


 ;D
;D