|
|
Post by stumppuller on Sept 6, 2008 11:12:20 GMT -5
Hmm.. when I put in a search for ripper tooth or Scott all I get is your last thread. Is this someting you have to make for a Jinma or can it be purchased?
|
|
3RRL
Administrator  Huge Kama
Posts: 2,027 
|
Post by 3RRL on Sept 6, 2008 13:38:25 GMT -5
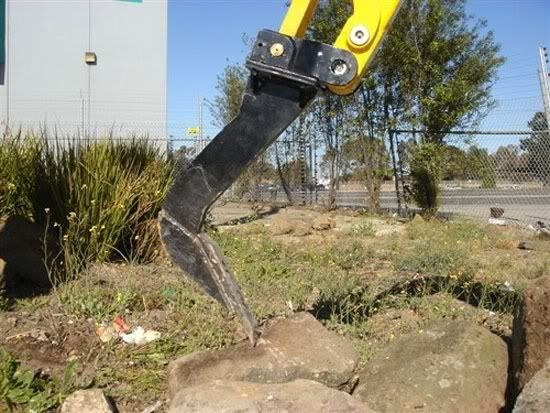
Bruce, To give you an idea, here is a picture of one although I don't know if this is Scott's (flyhiflylo) or not.  I know you can order them from different dealers and Scott got his direct from Jinma. That thing should enter the ground and tear it up pretty good. You remove the bucket and pin this thing on. It articulates just like the bucket to get all that breakout force. Rob- |
|
|
|
Post by stumppuller on Sept 6, 2008 21:08:03 GMT -5
Rob - YESSS.... That's what I want. Jinma you say..... I'll give it a go.
Thanks
|
|
|
|
Post by tuffytractor on Sept 13, 2008 23:04:34 GMT -5
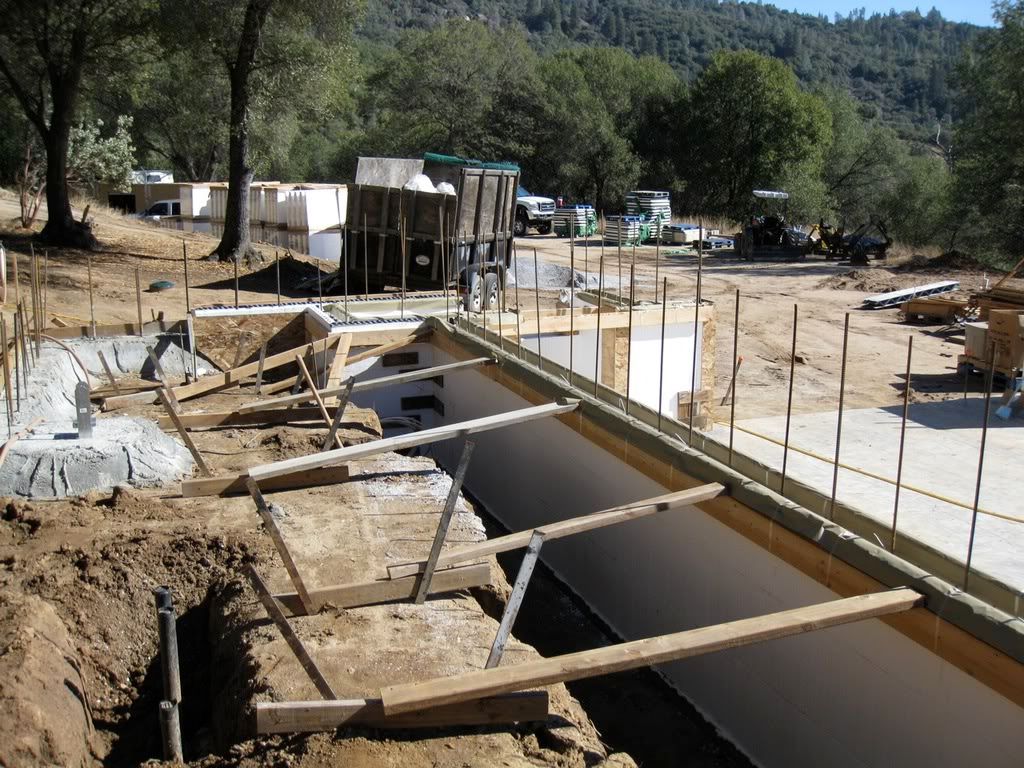
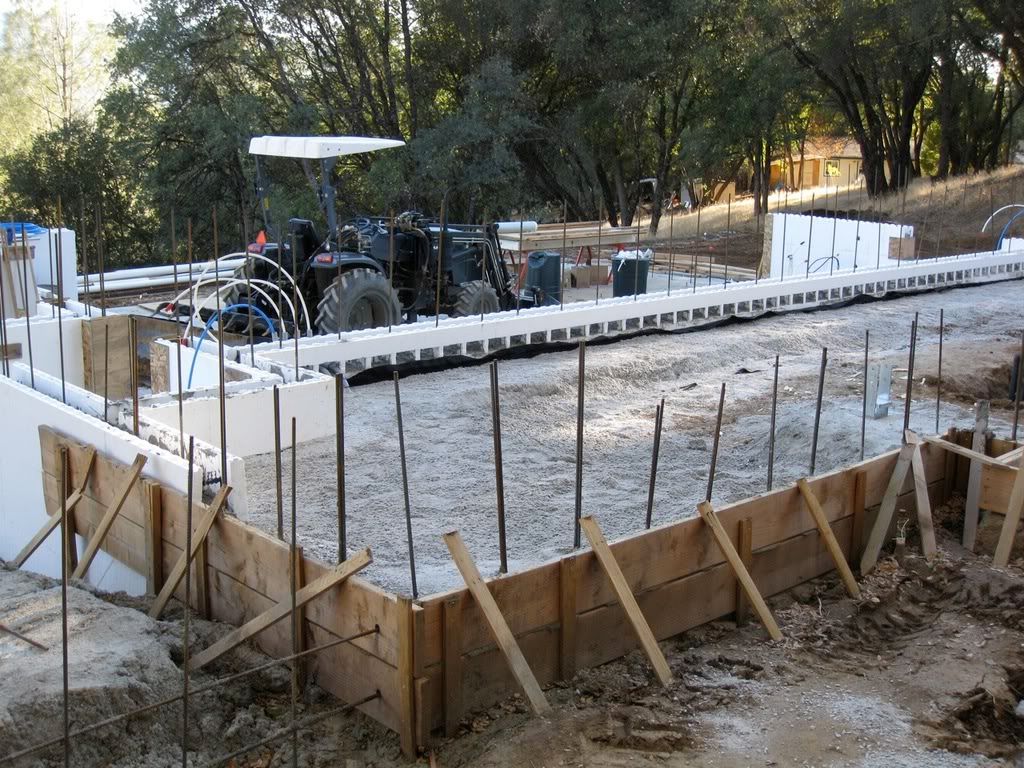
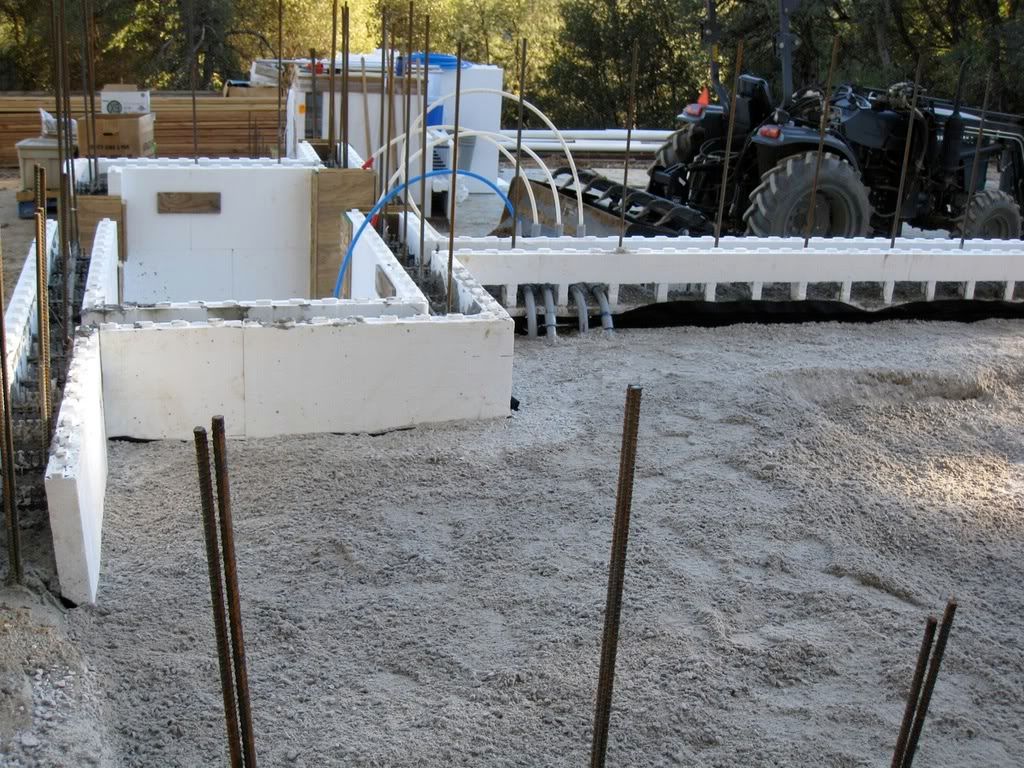
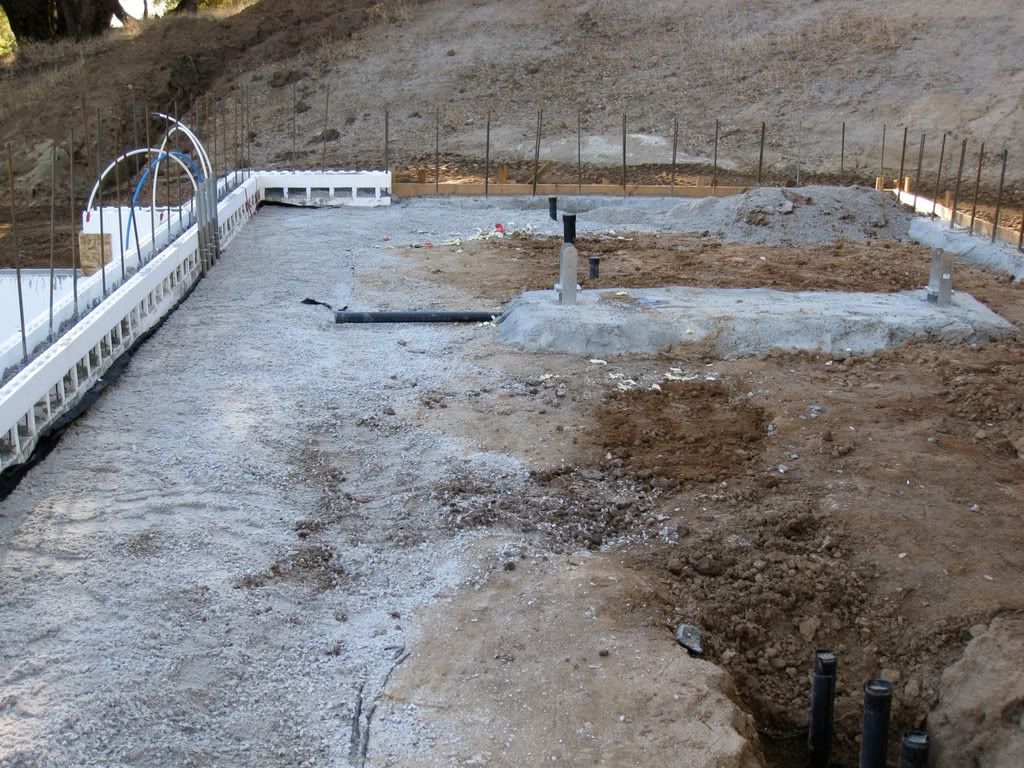
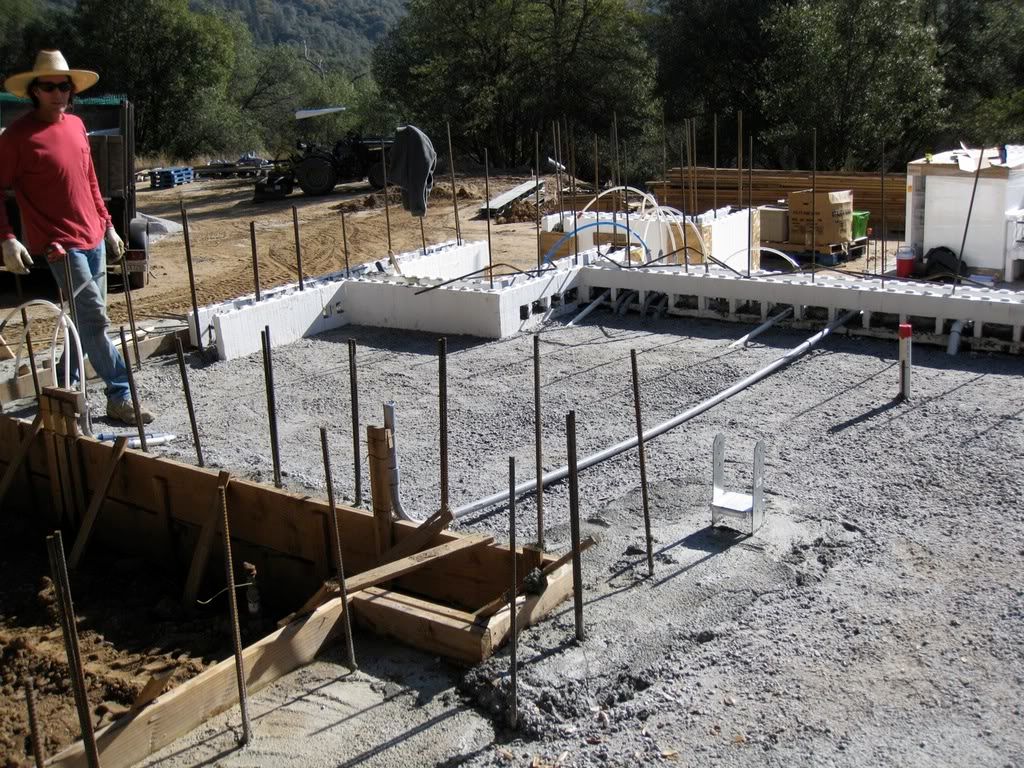
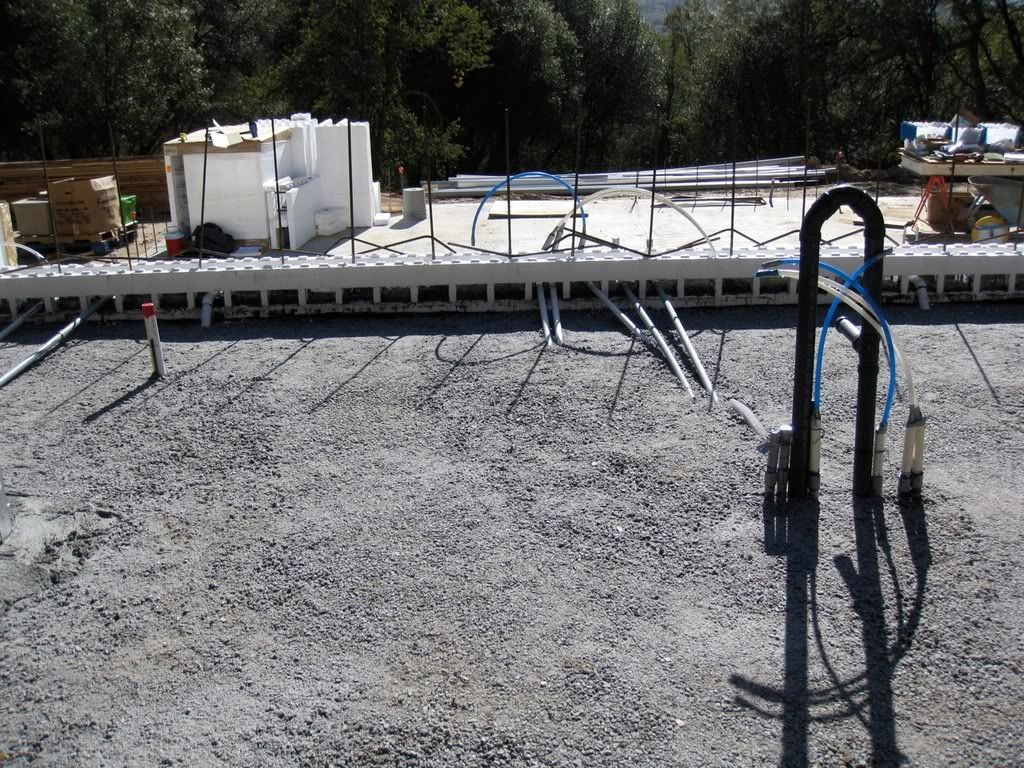
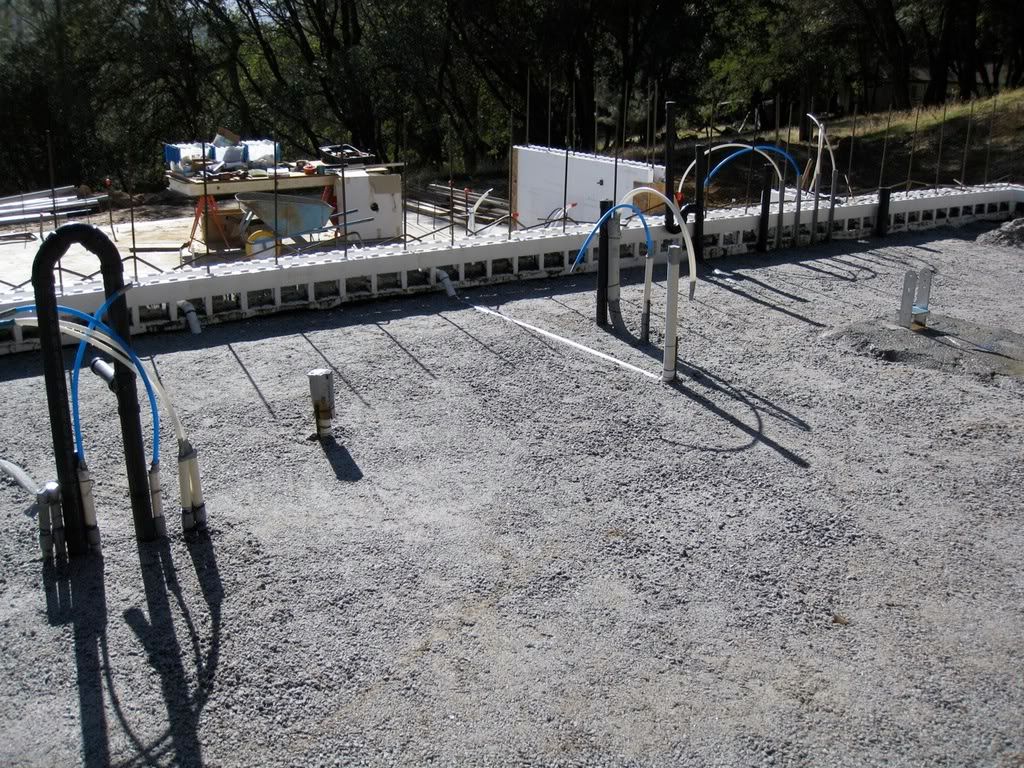
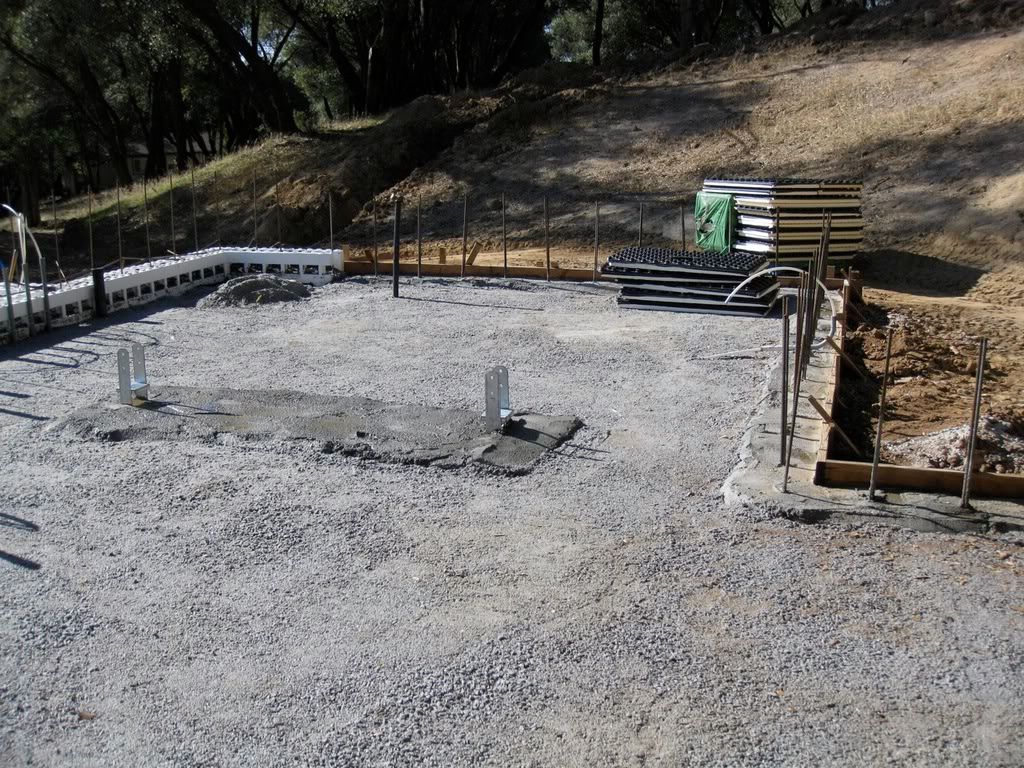
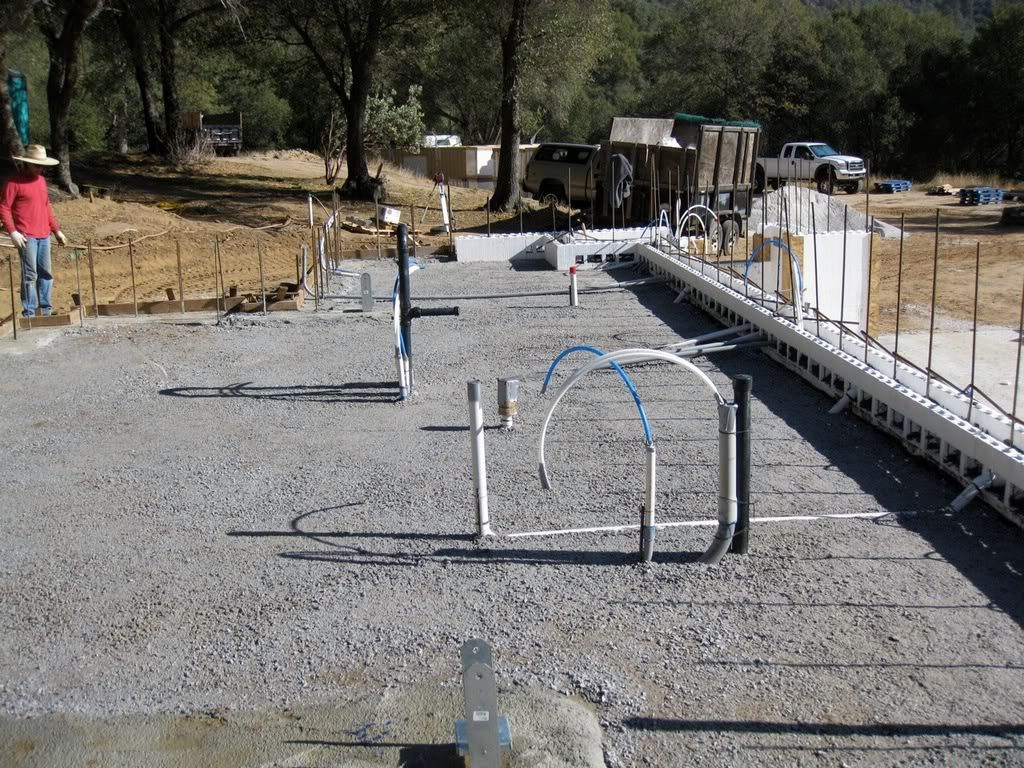
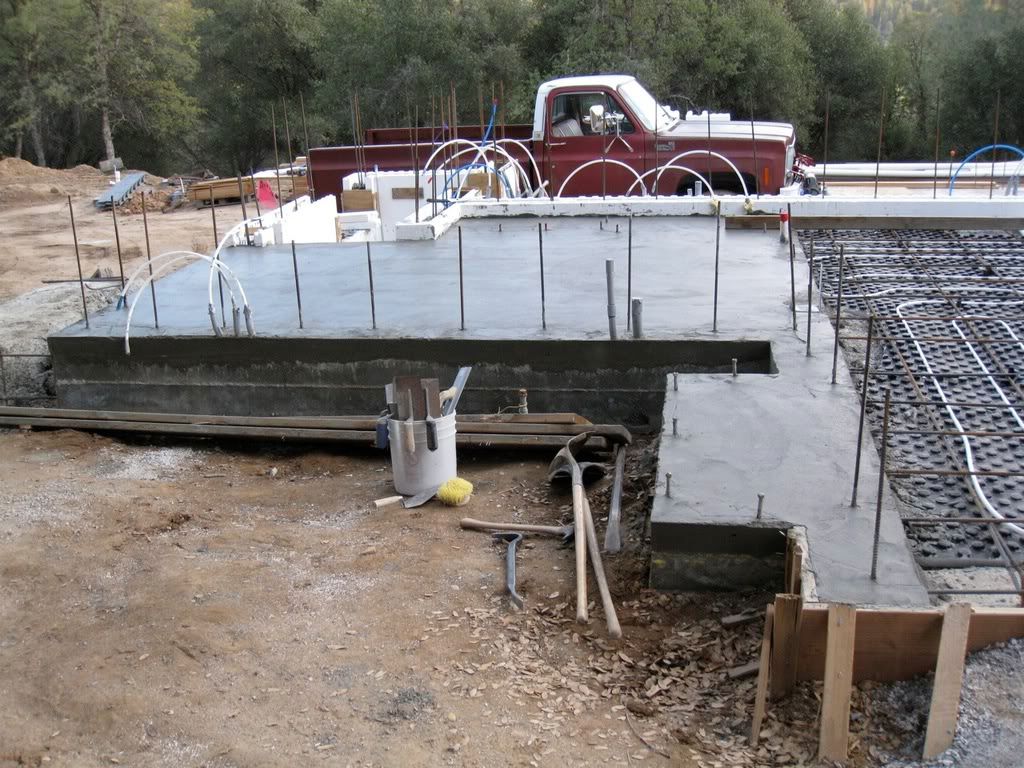
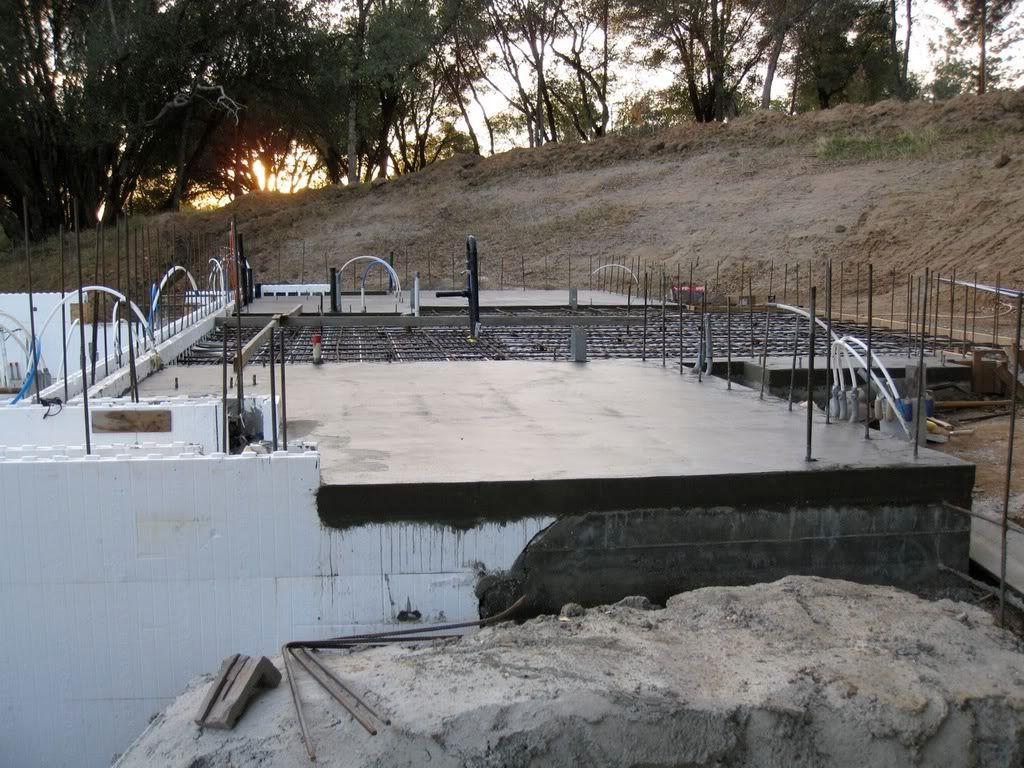
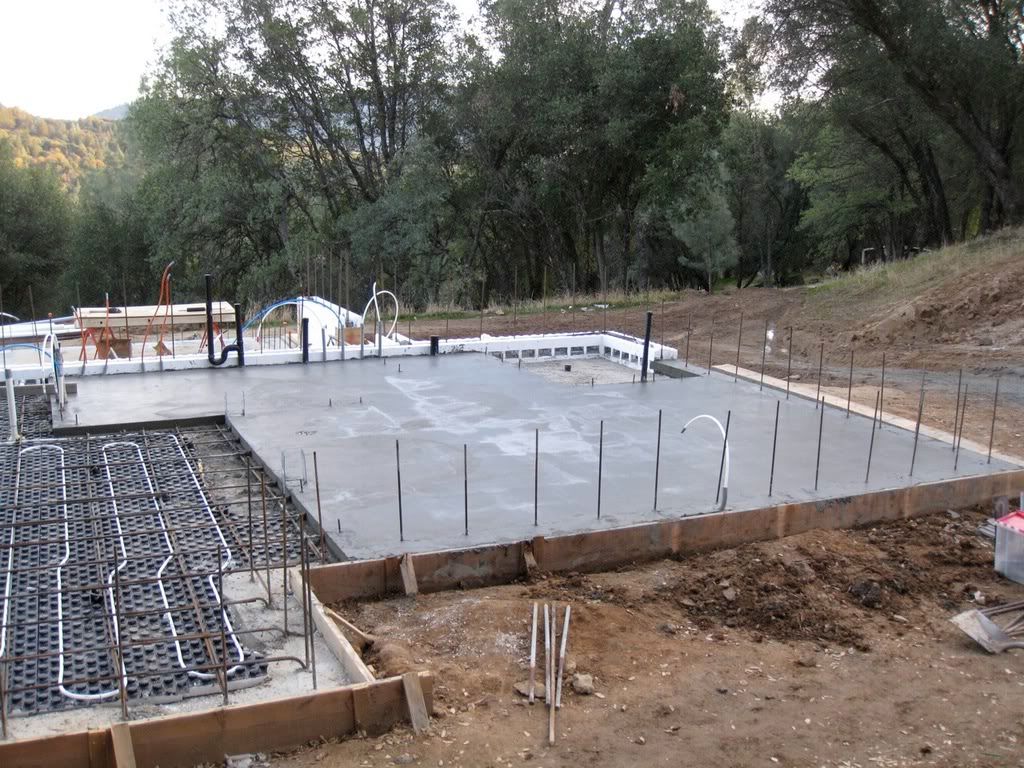
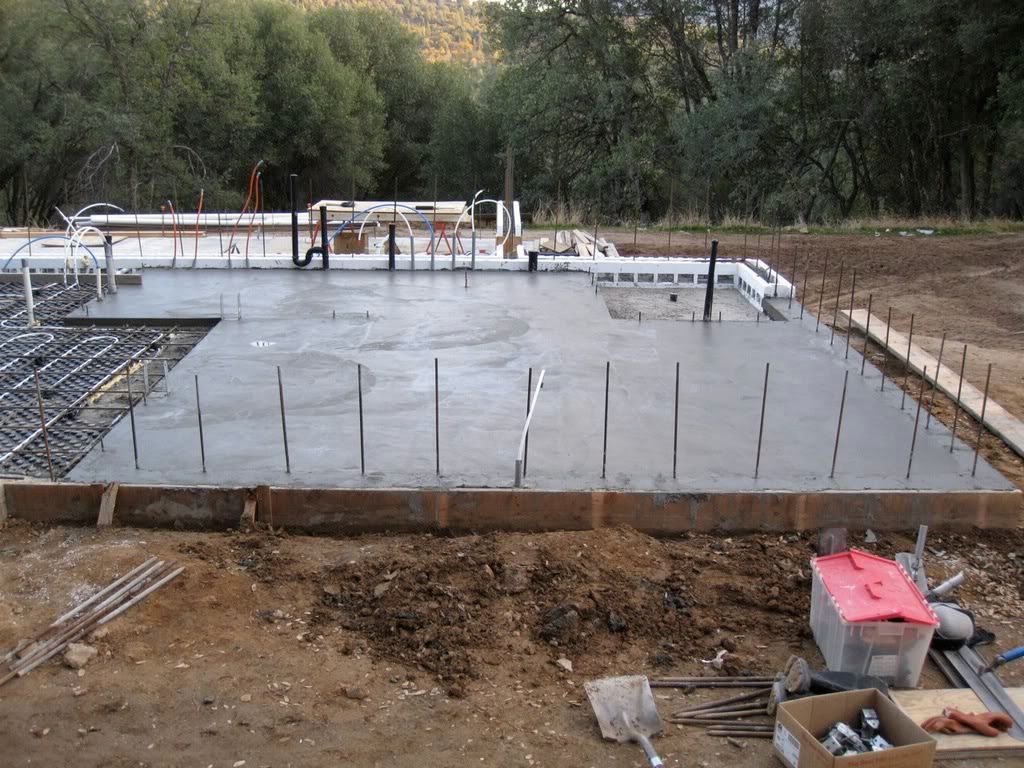
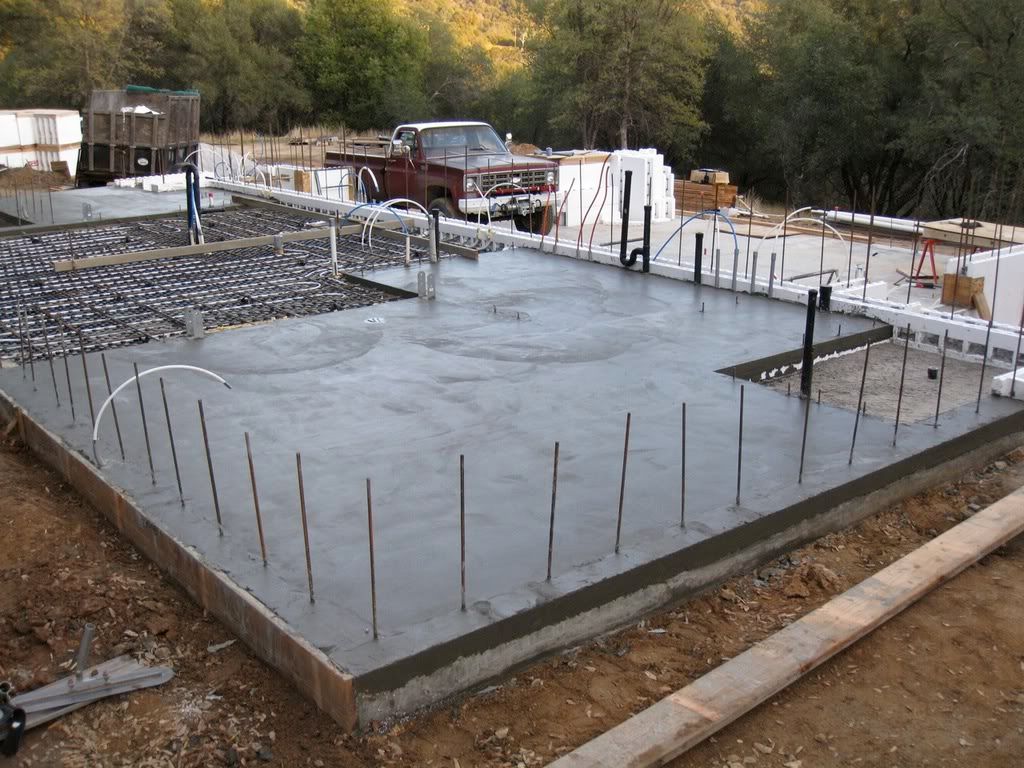
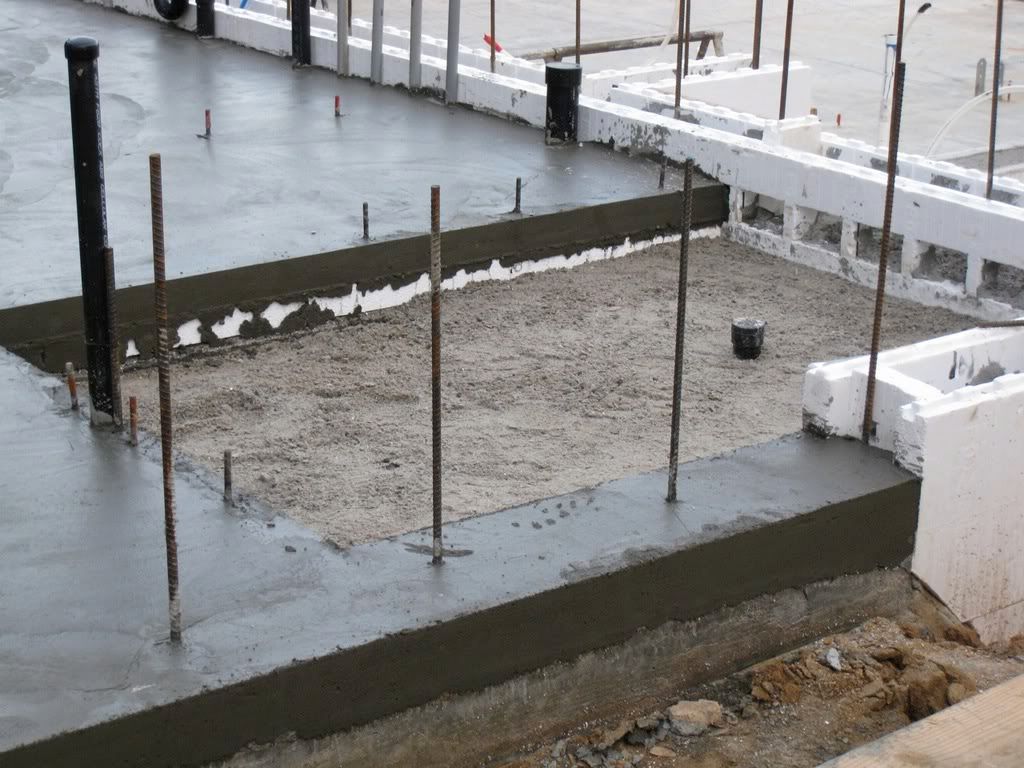
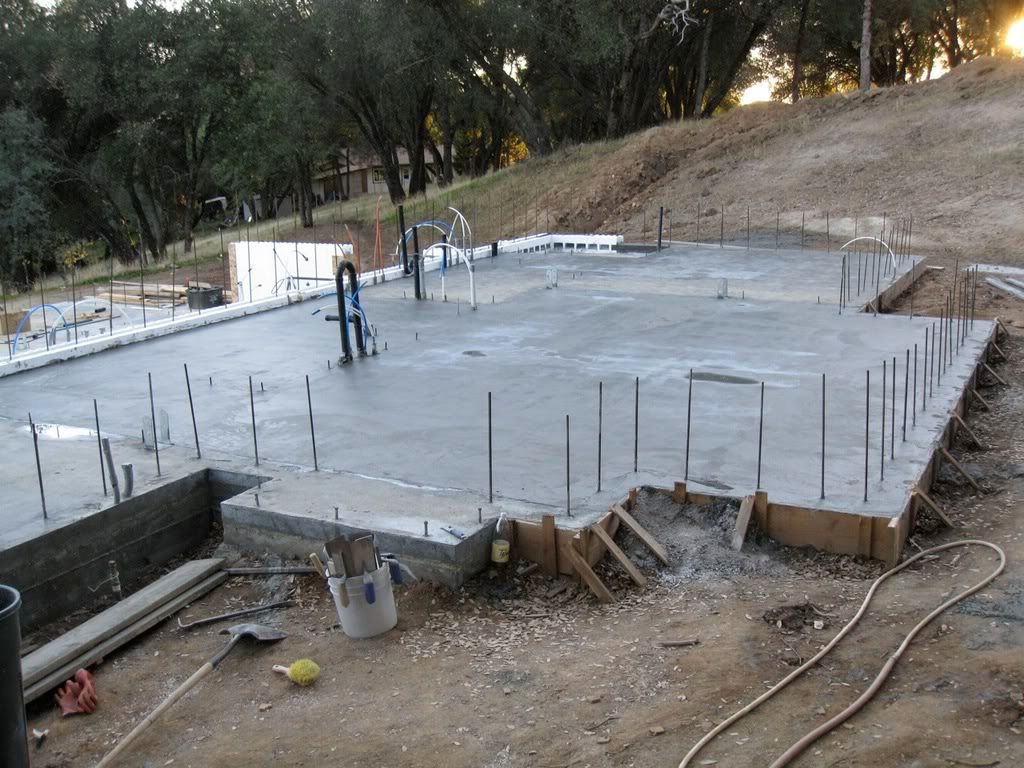
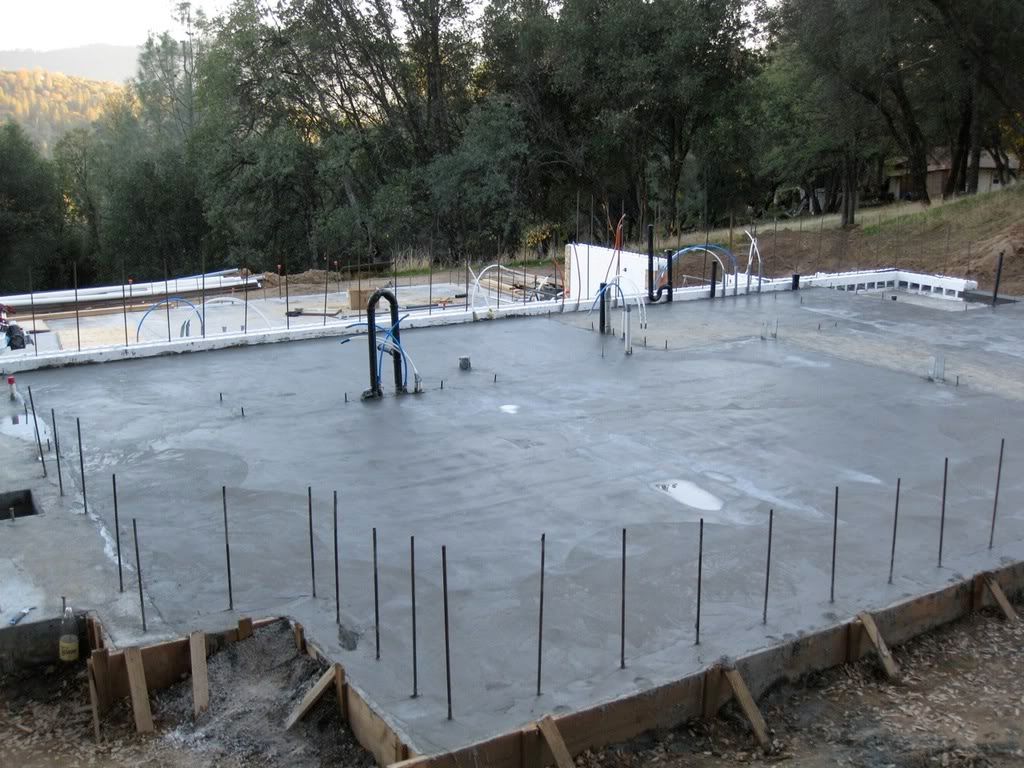
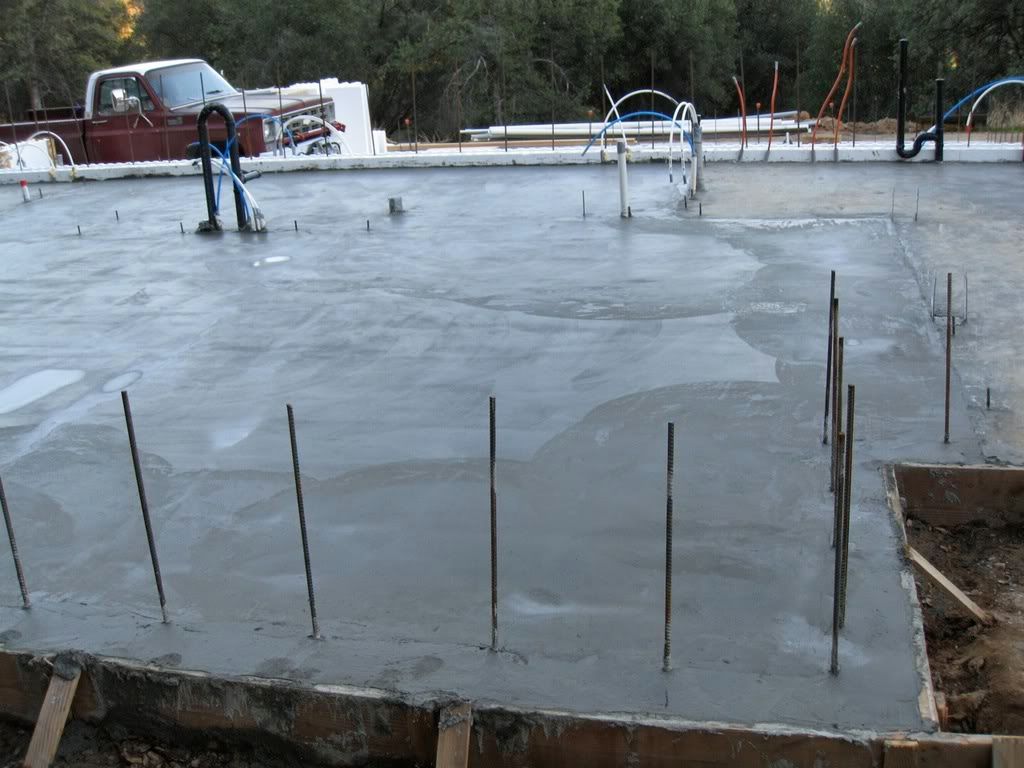
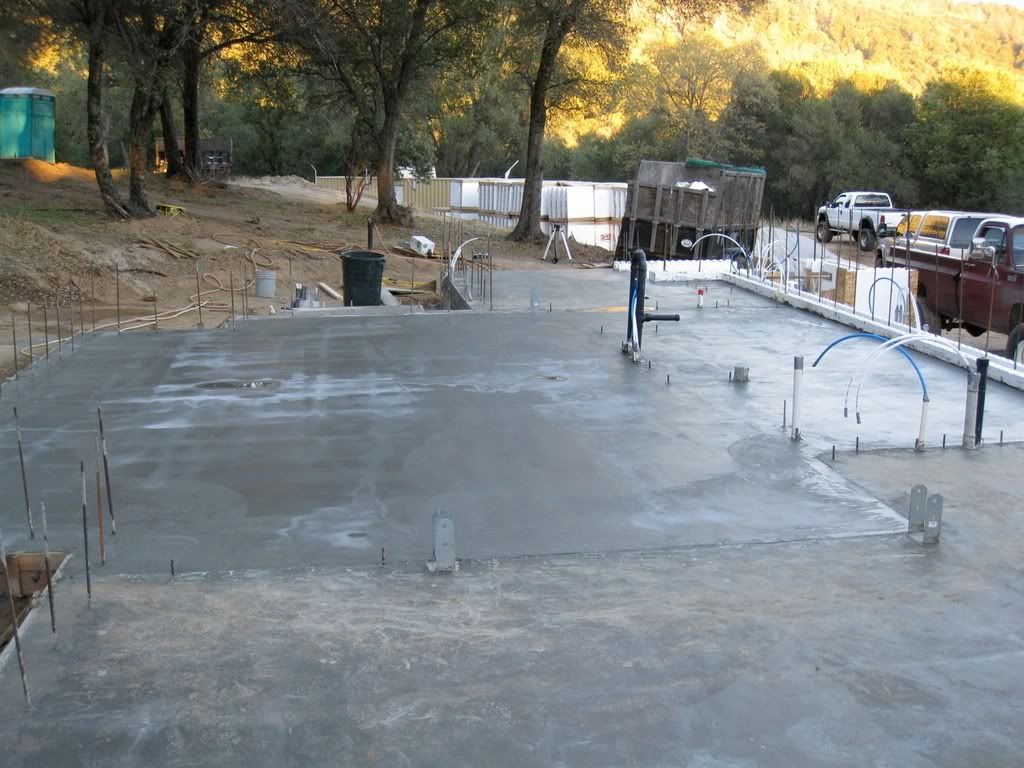
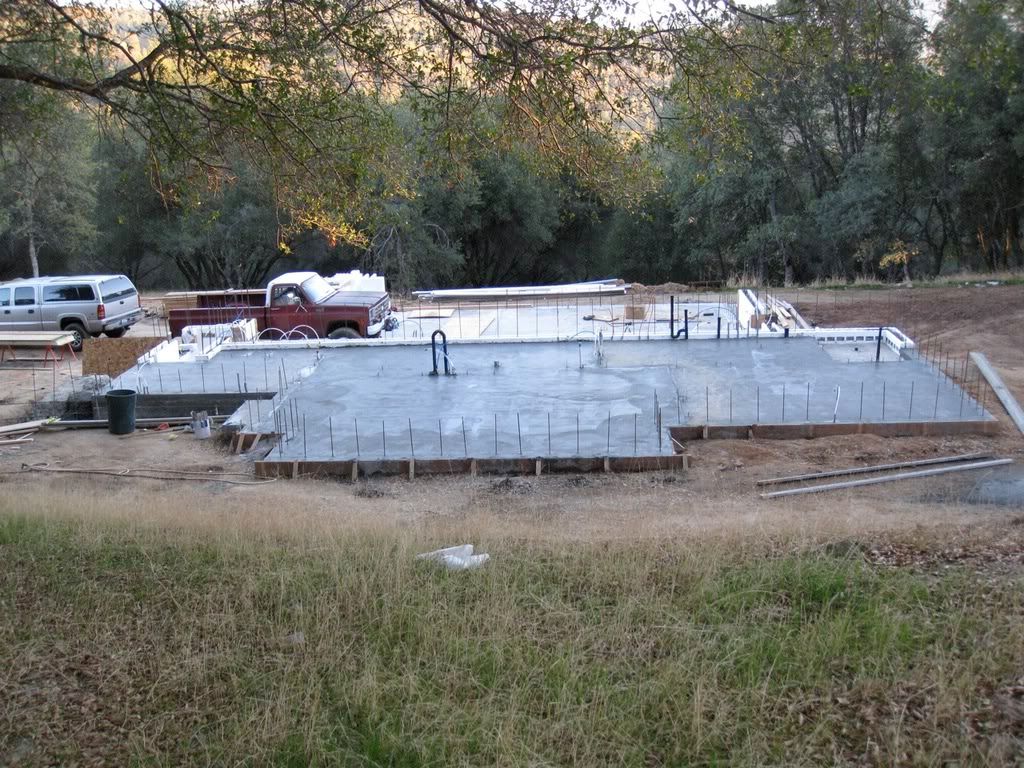
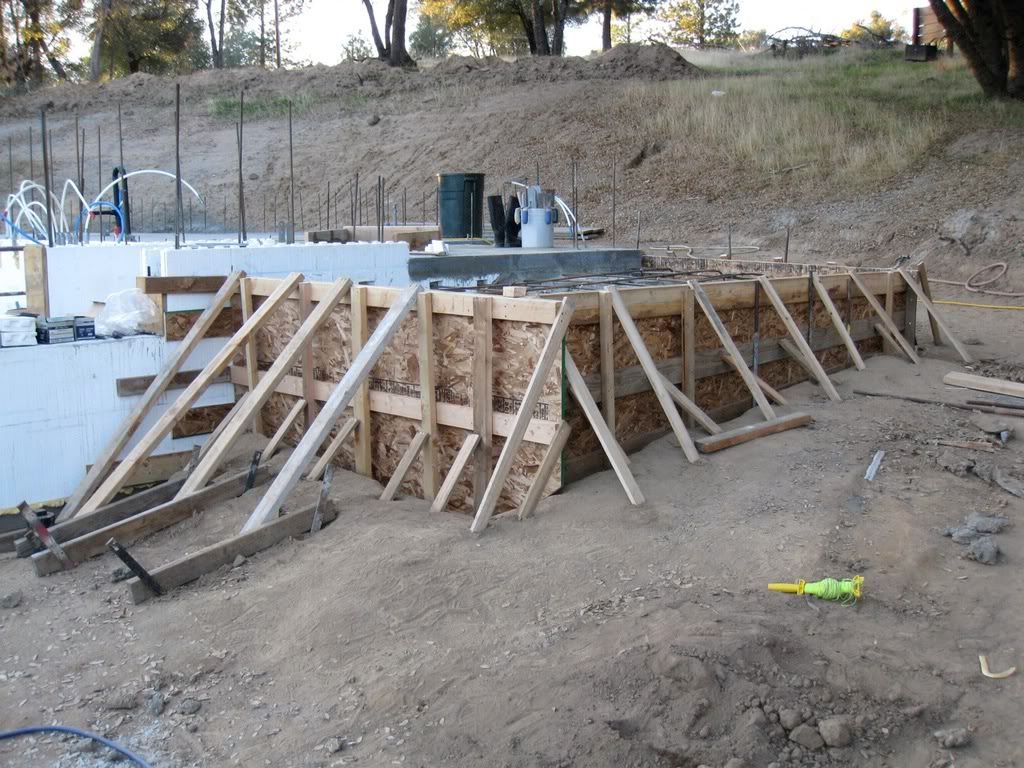
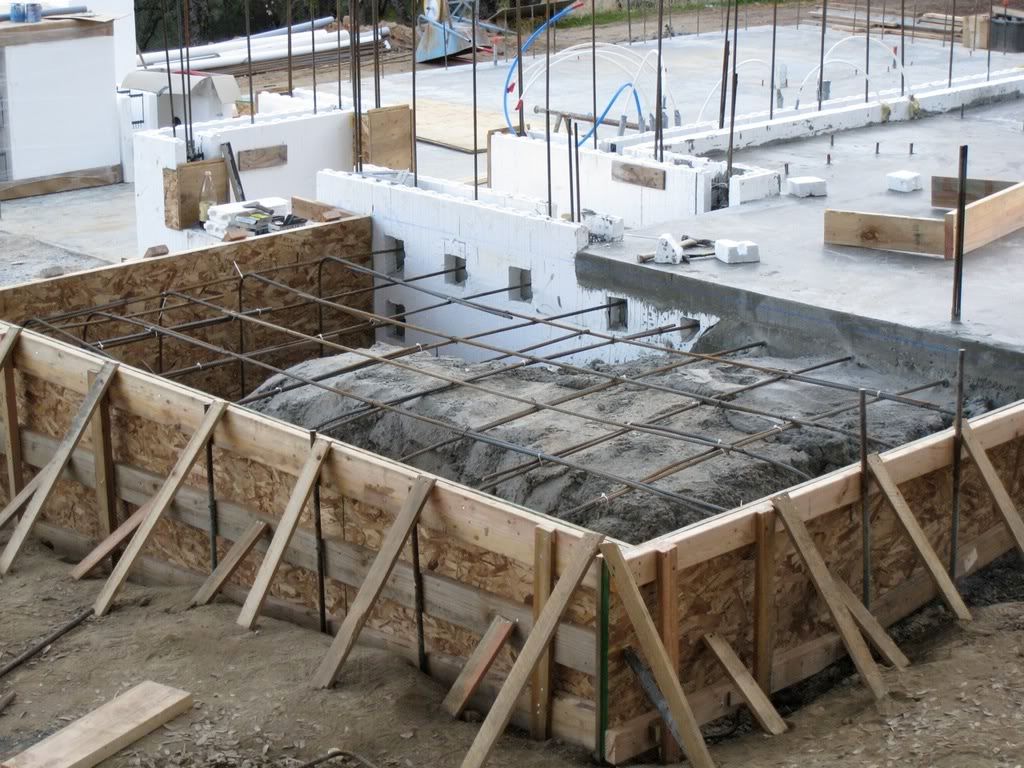
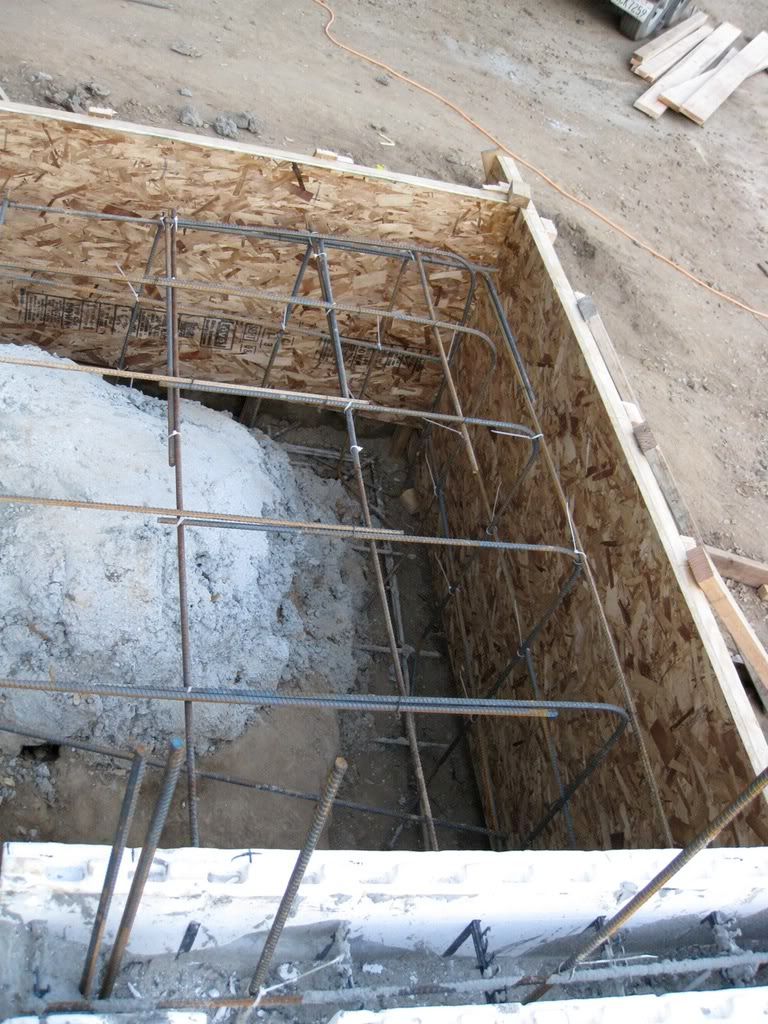
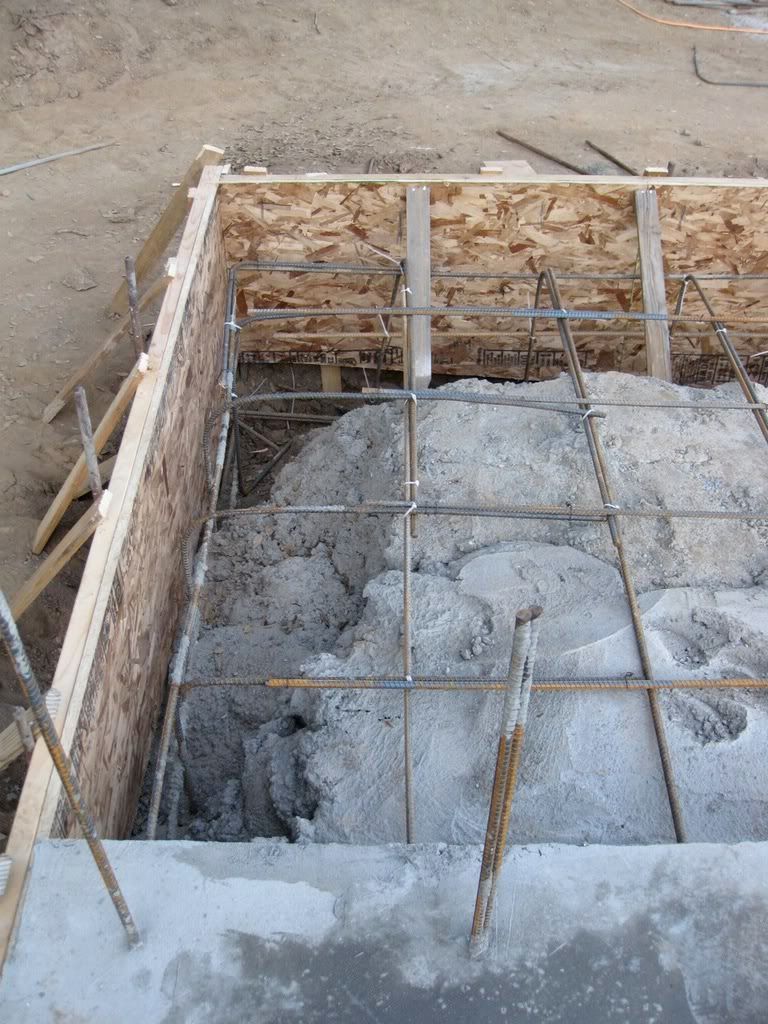
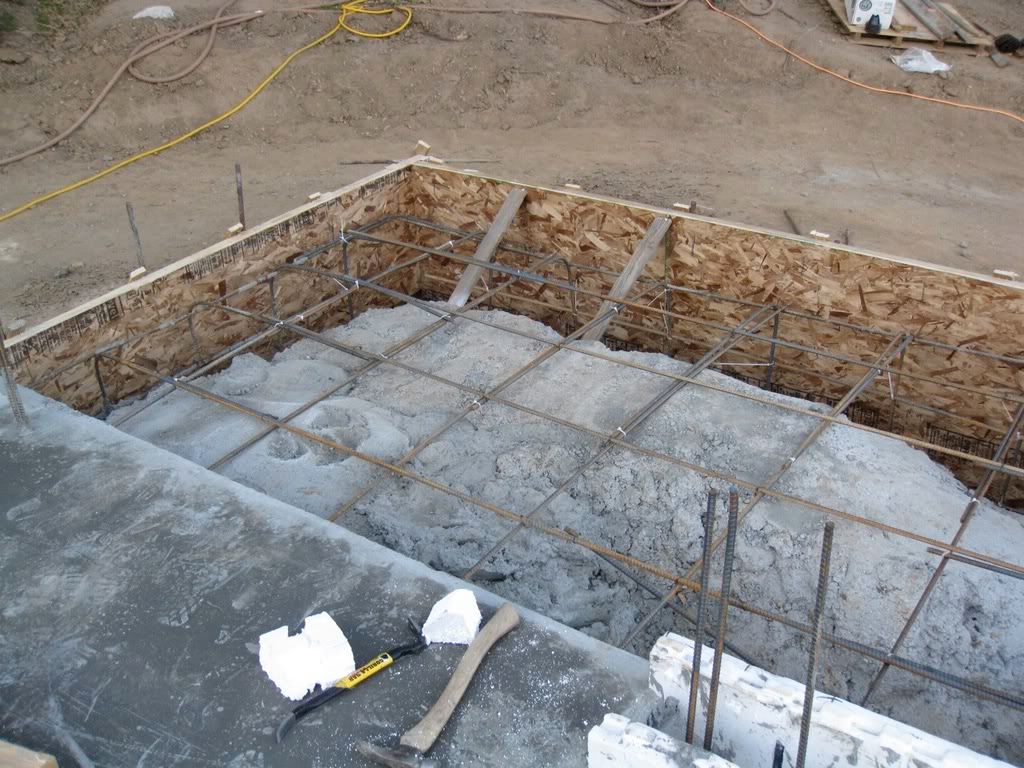
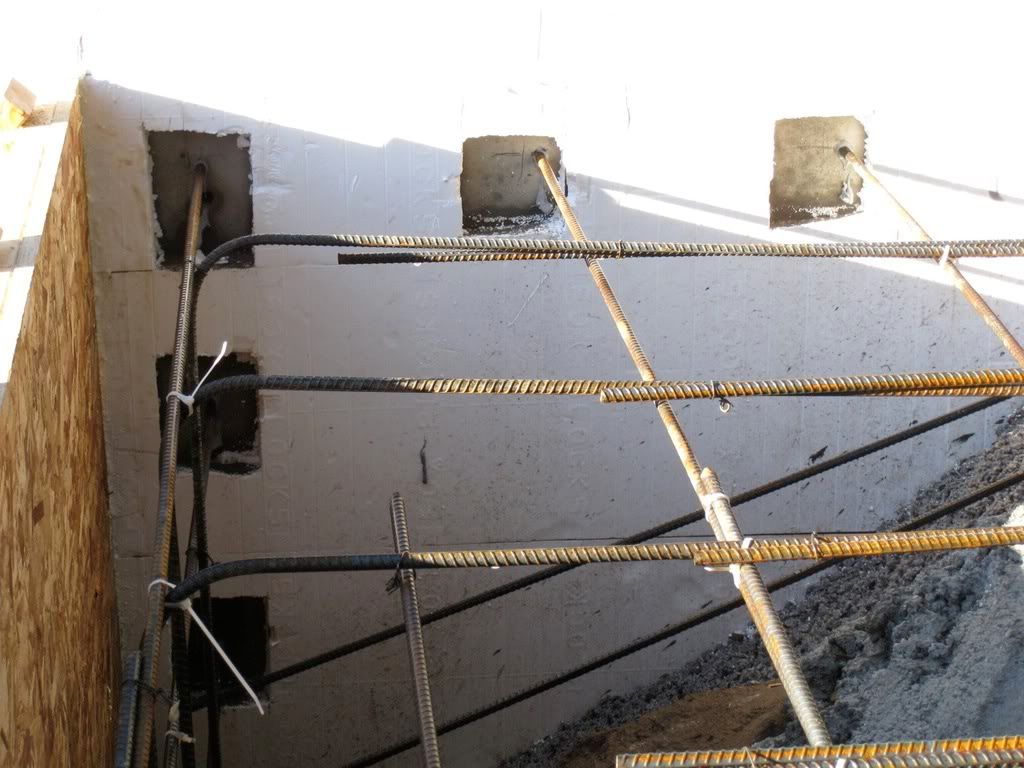
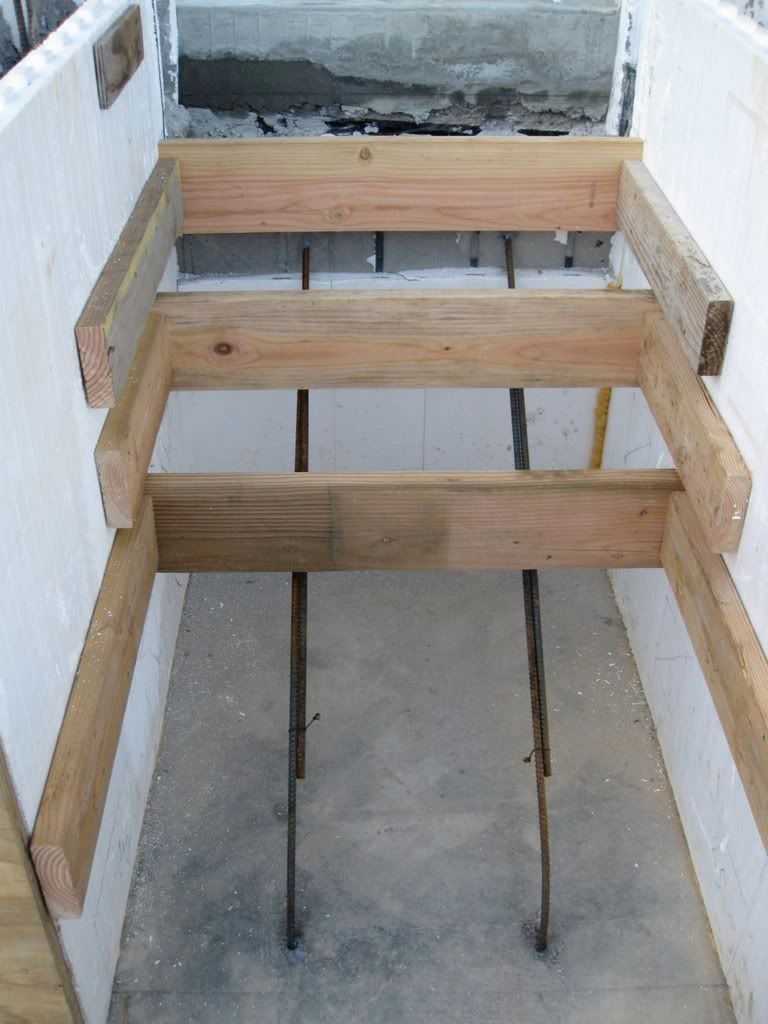
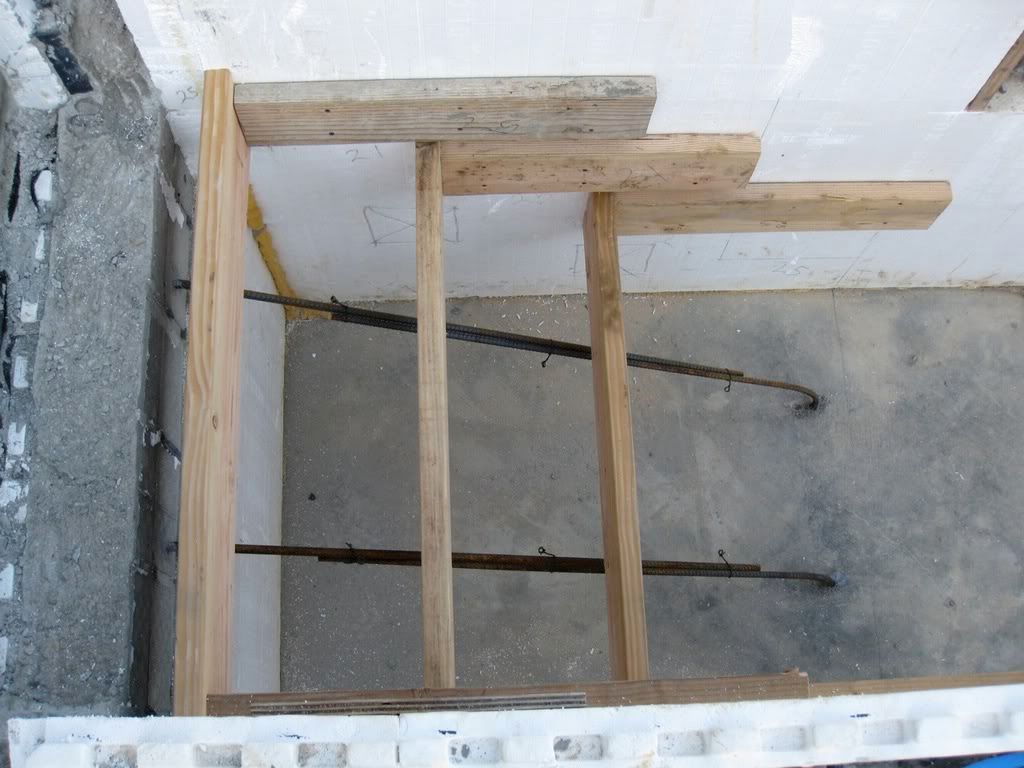
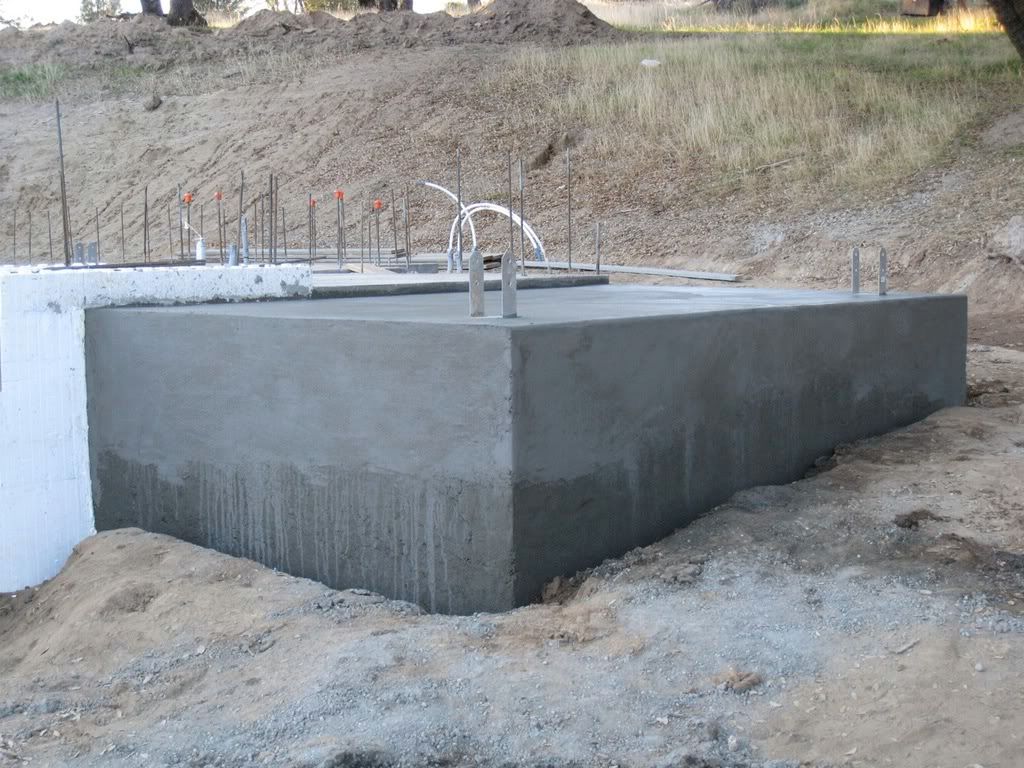
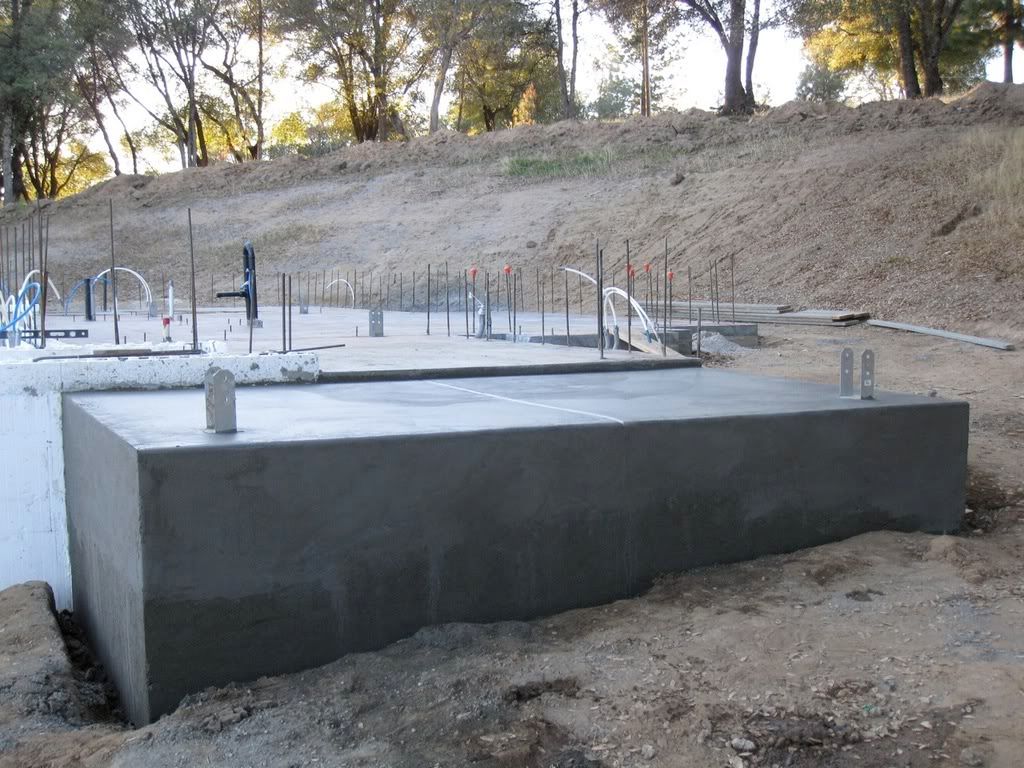
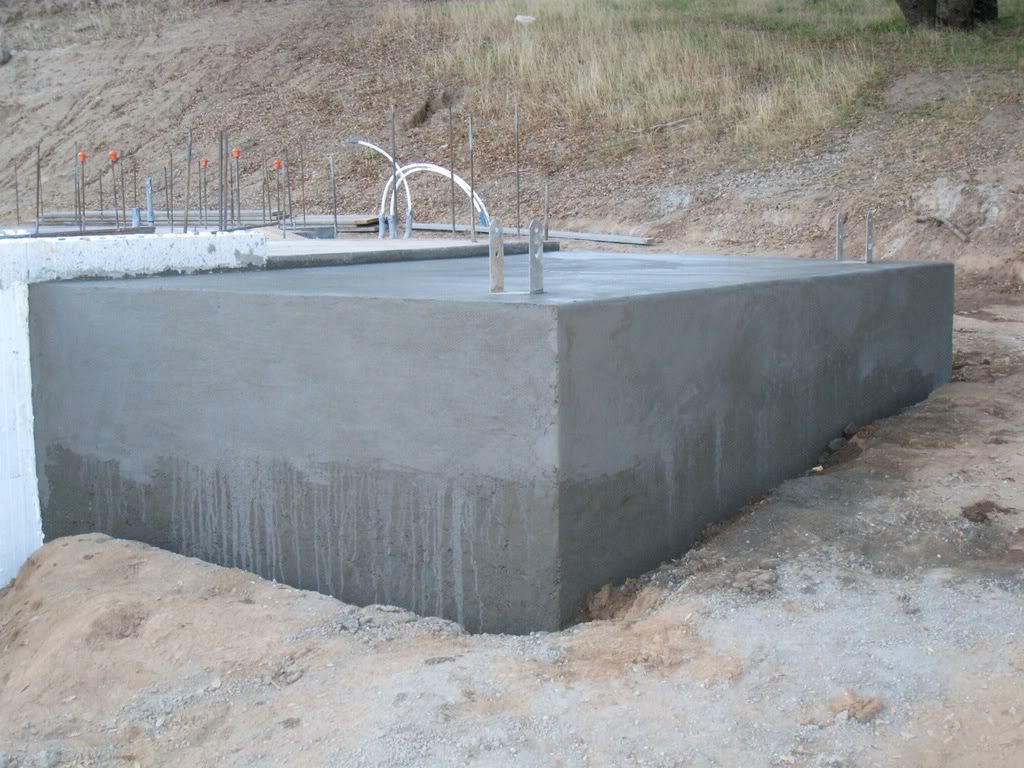
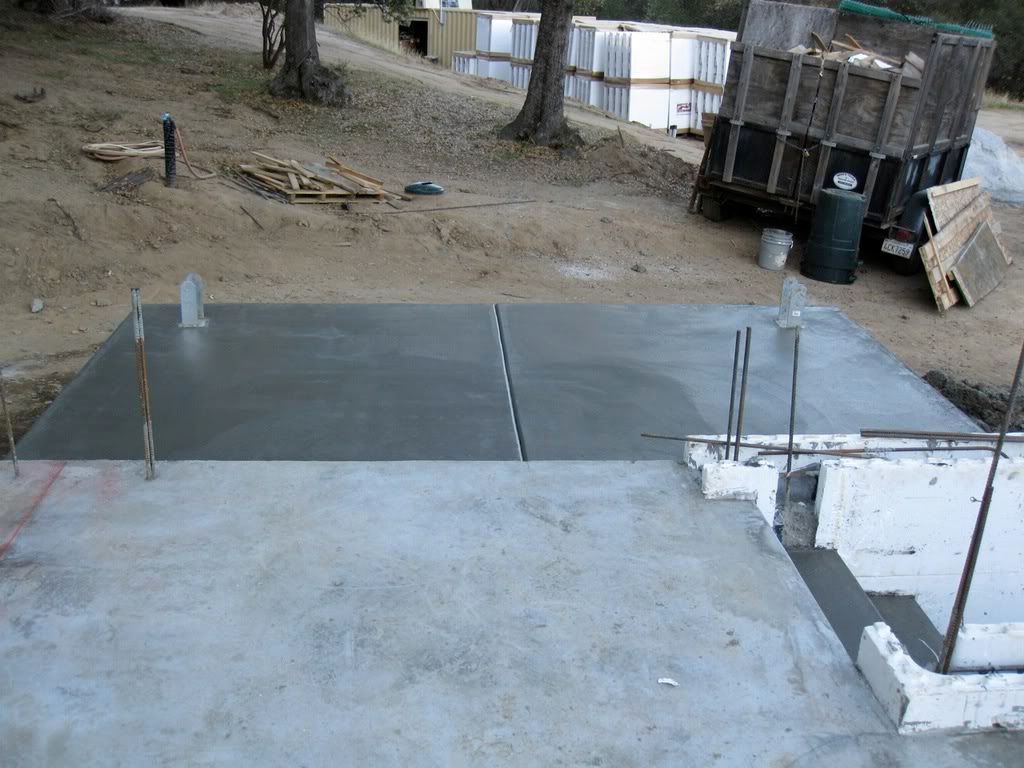
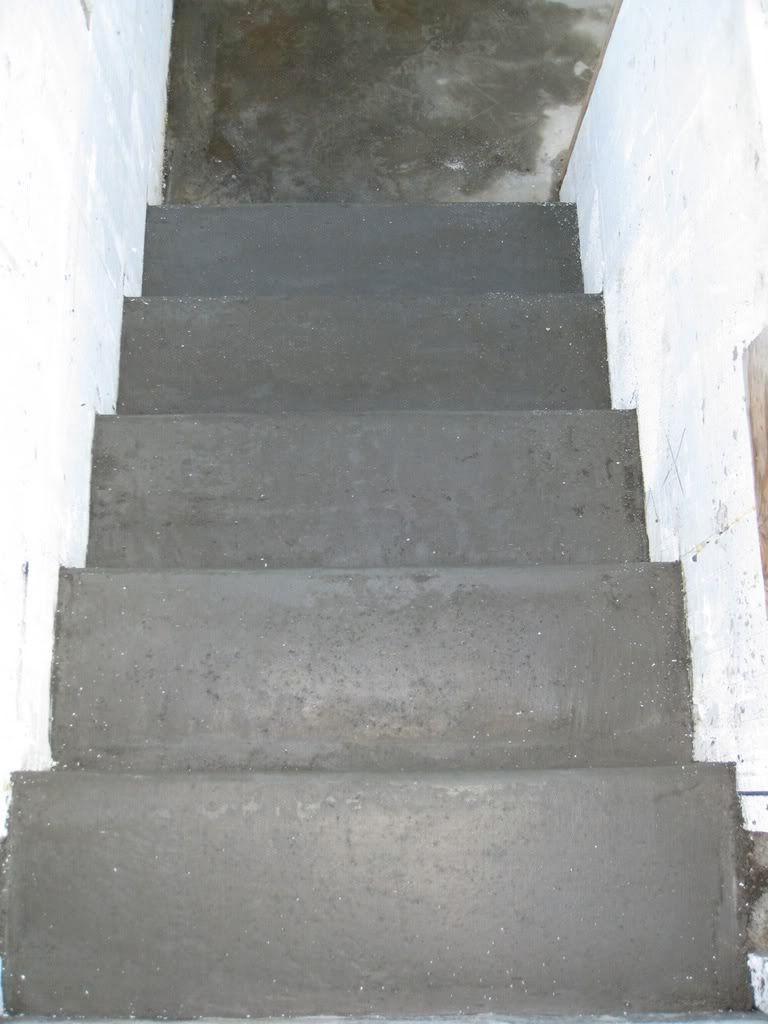
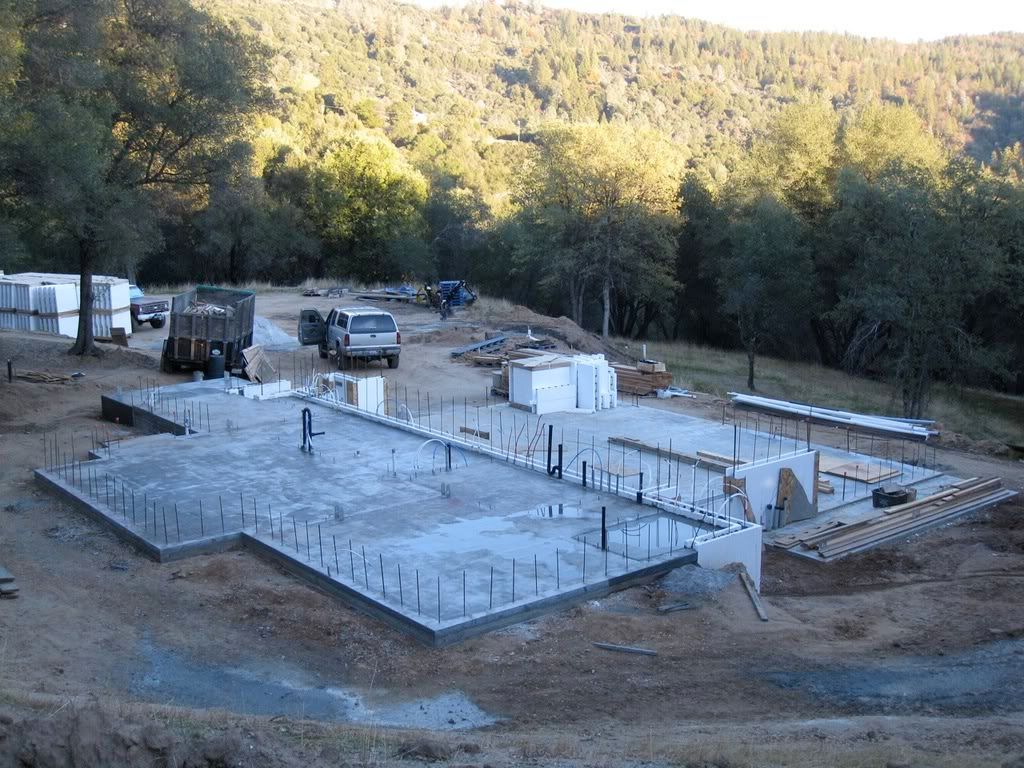
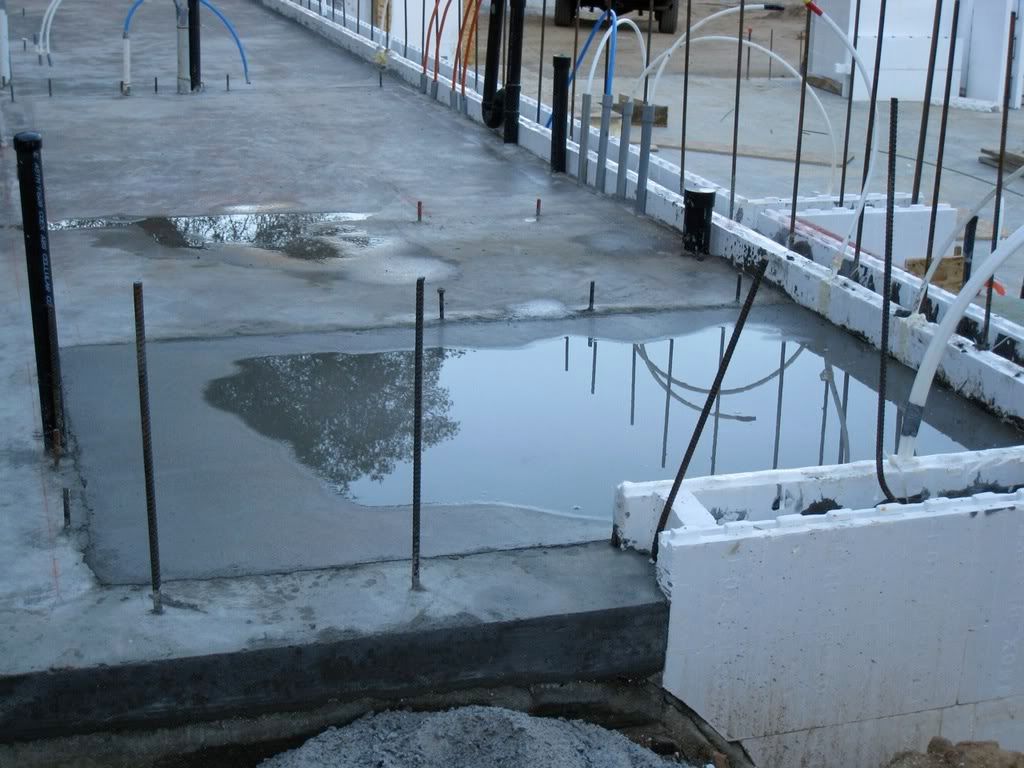
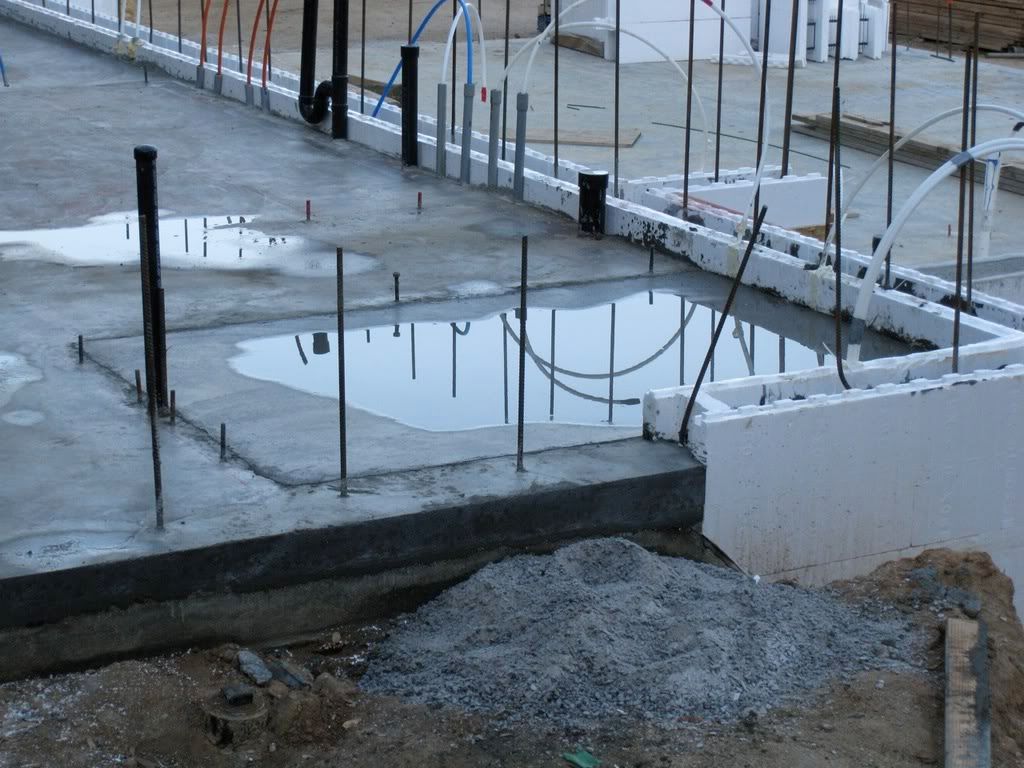
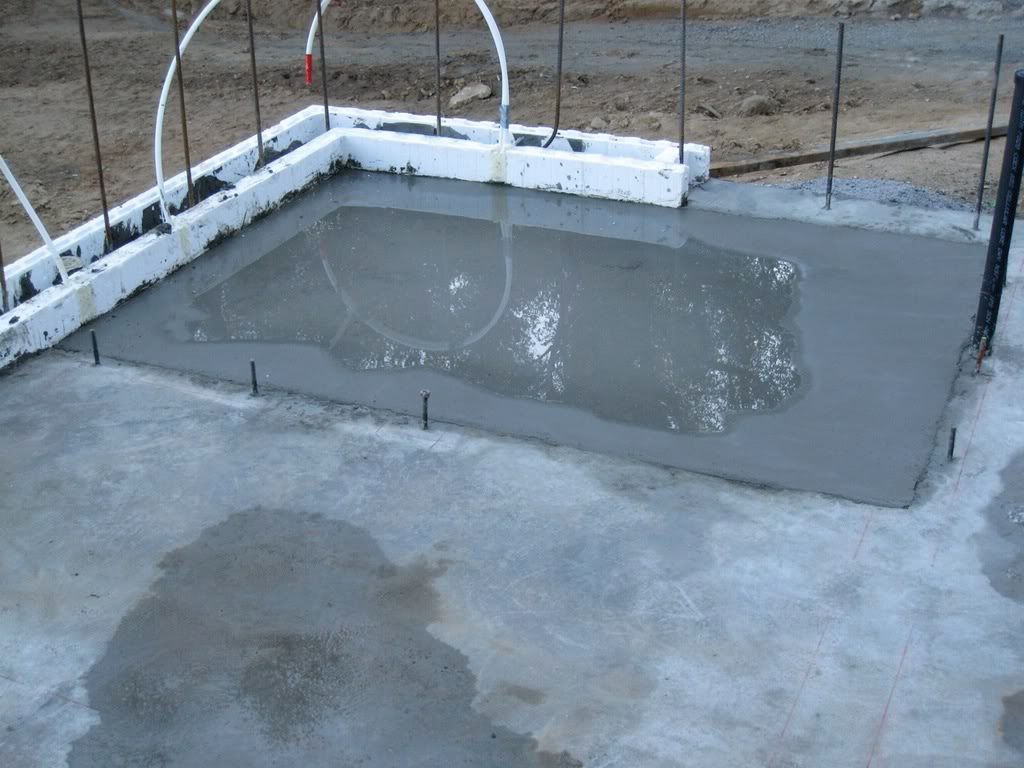
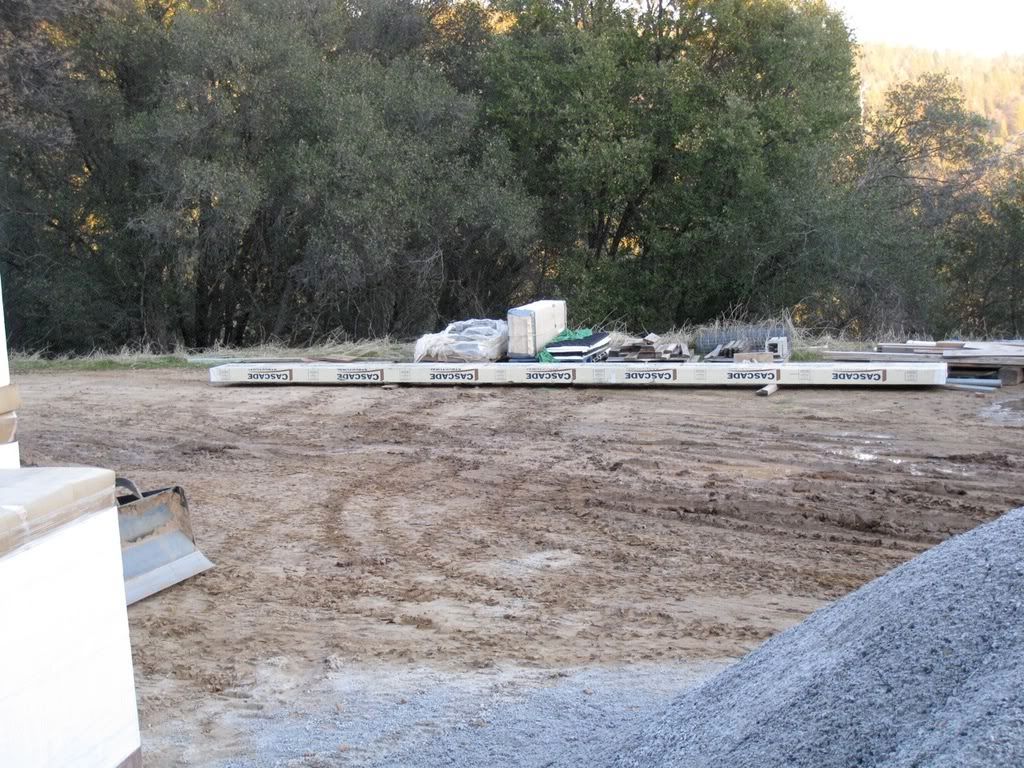
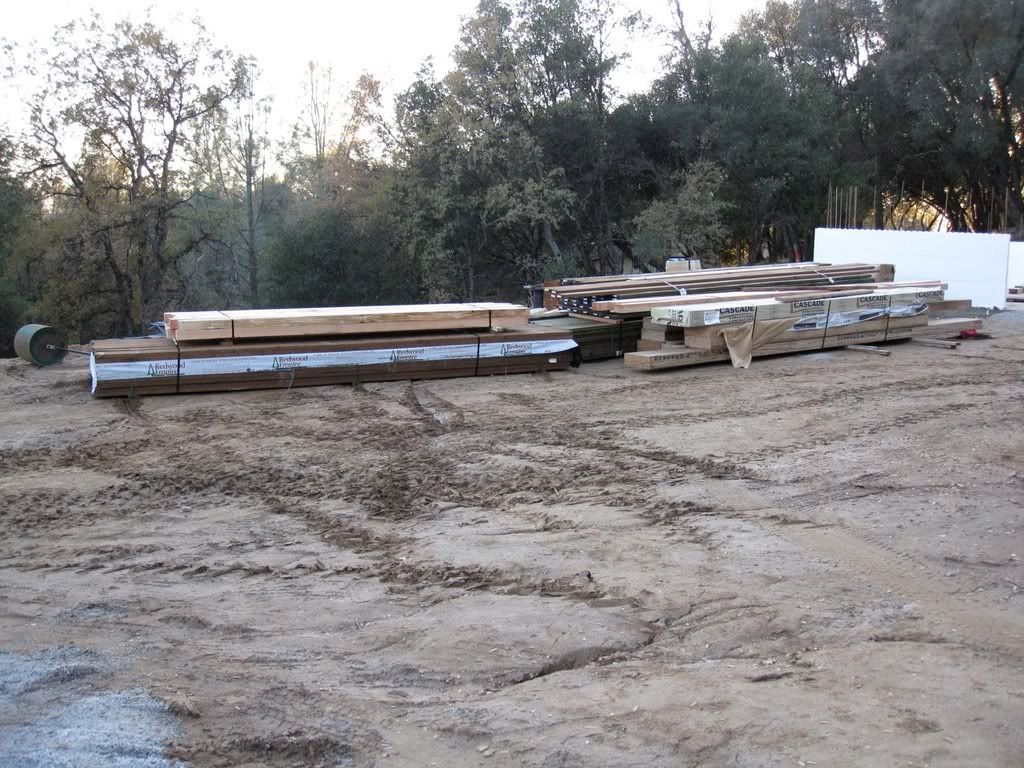
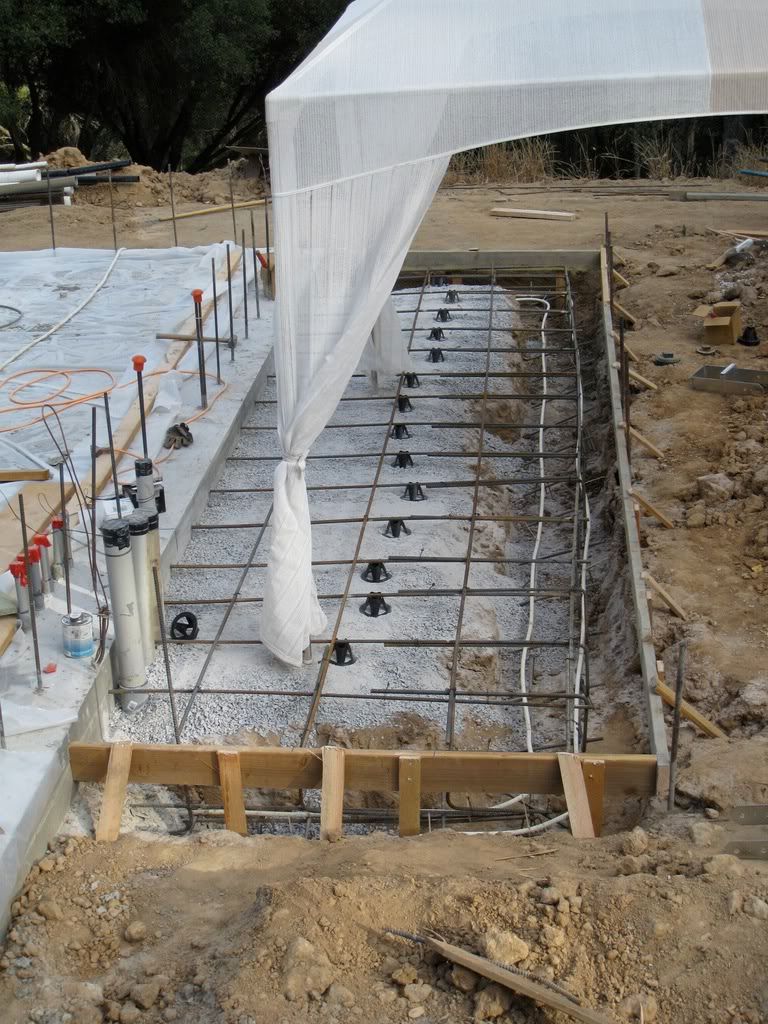
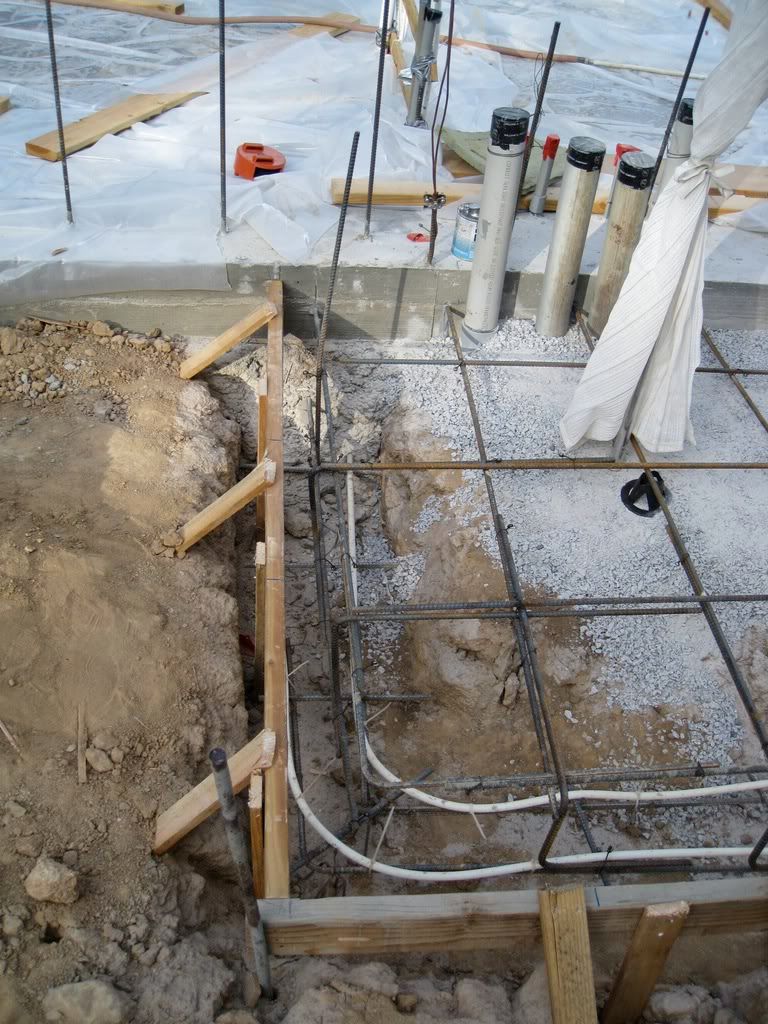
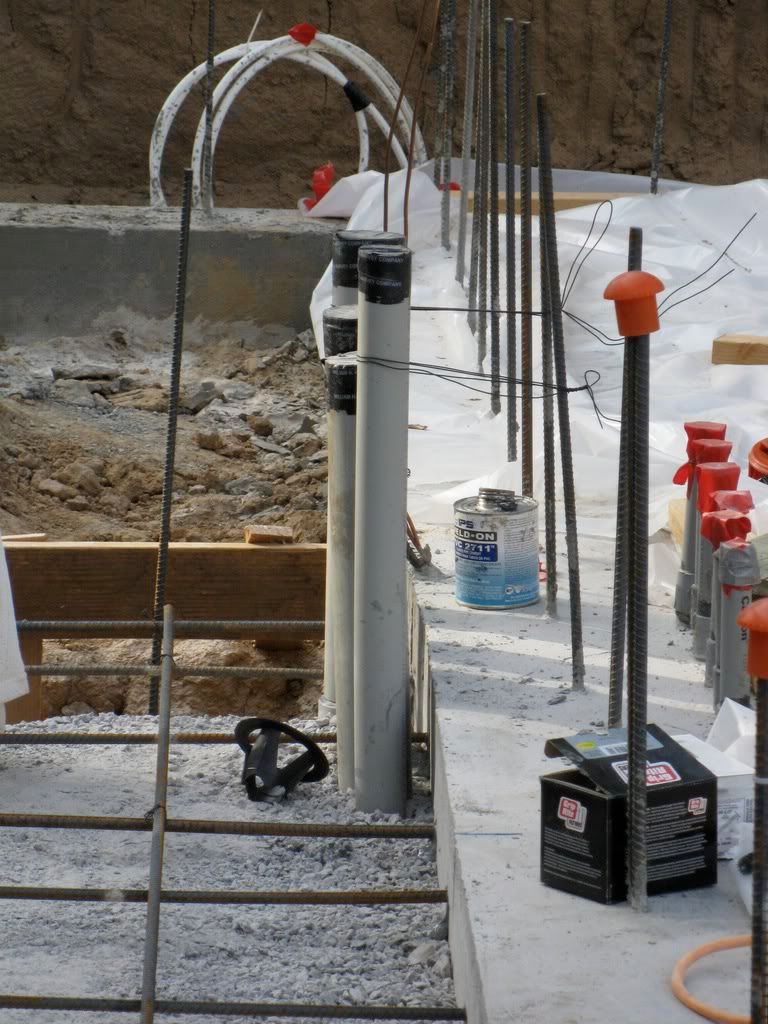
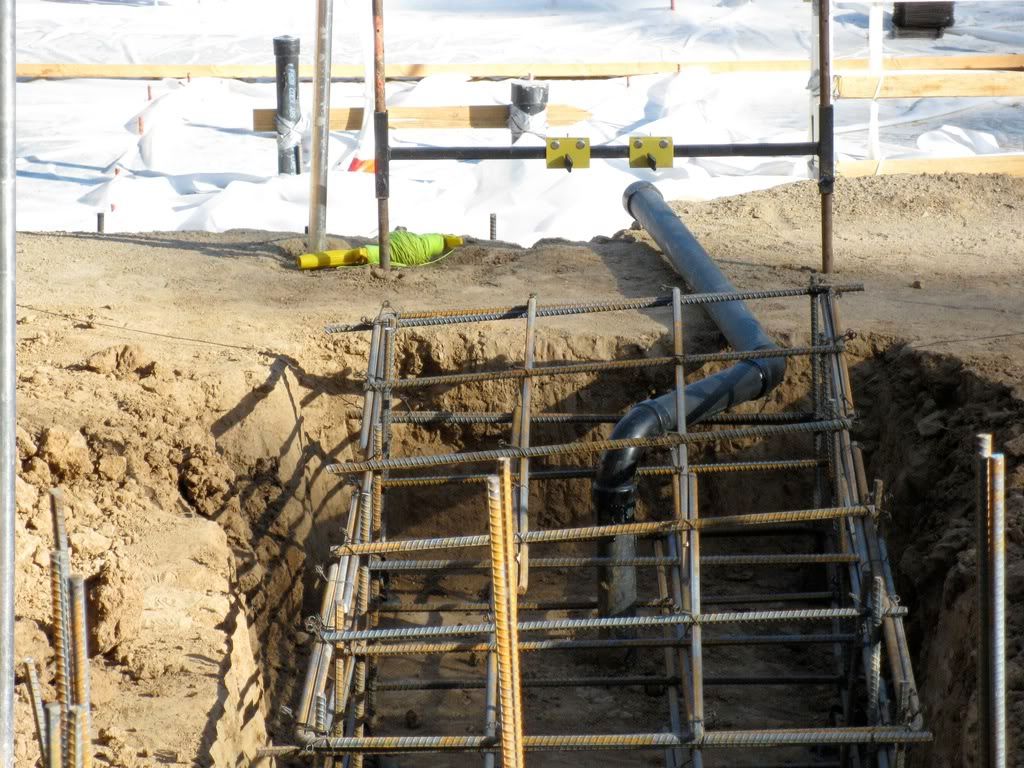
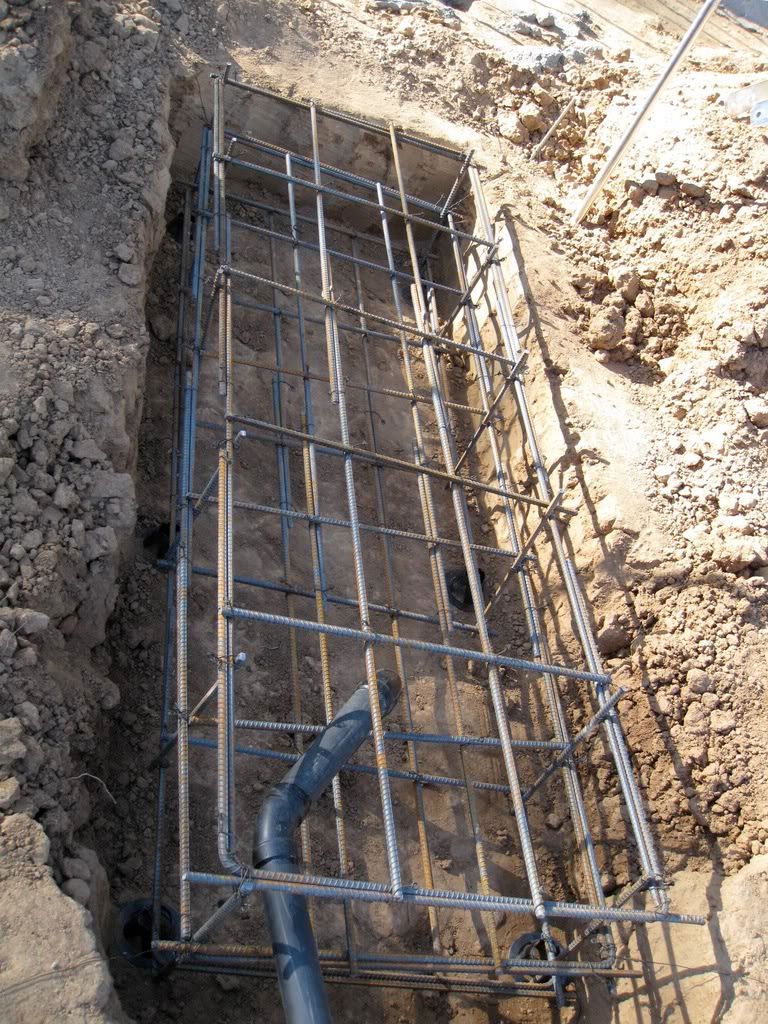
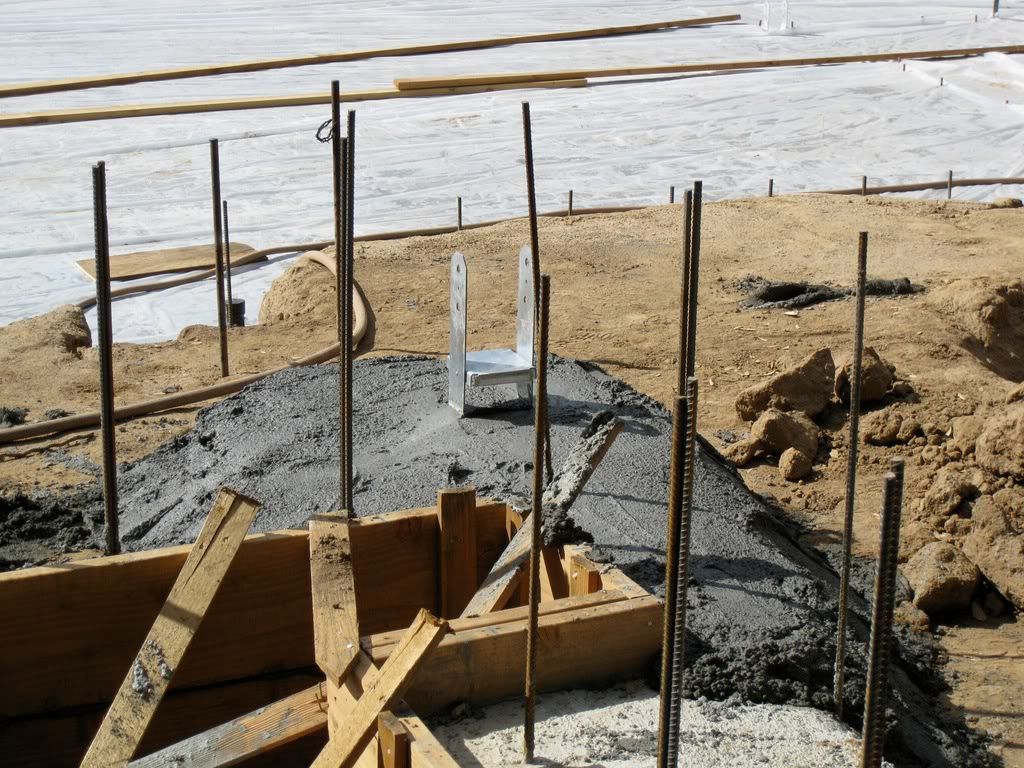
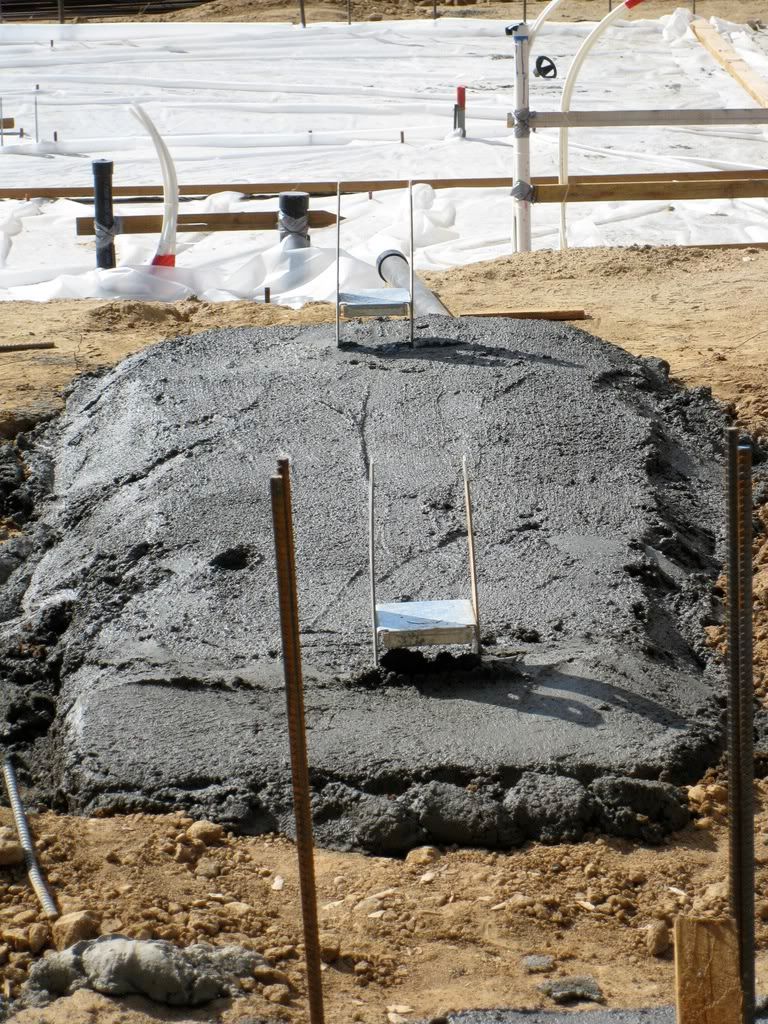
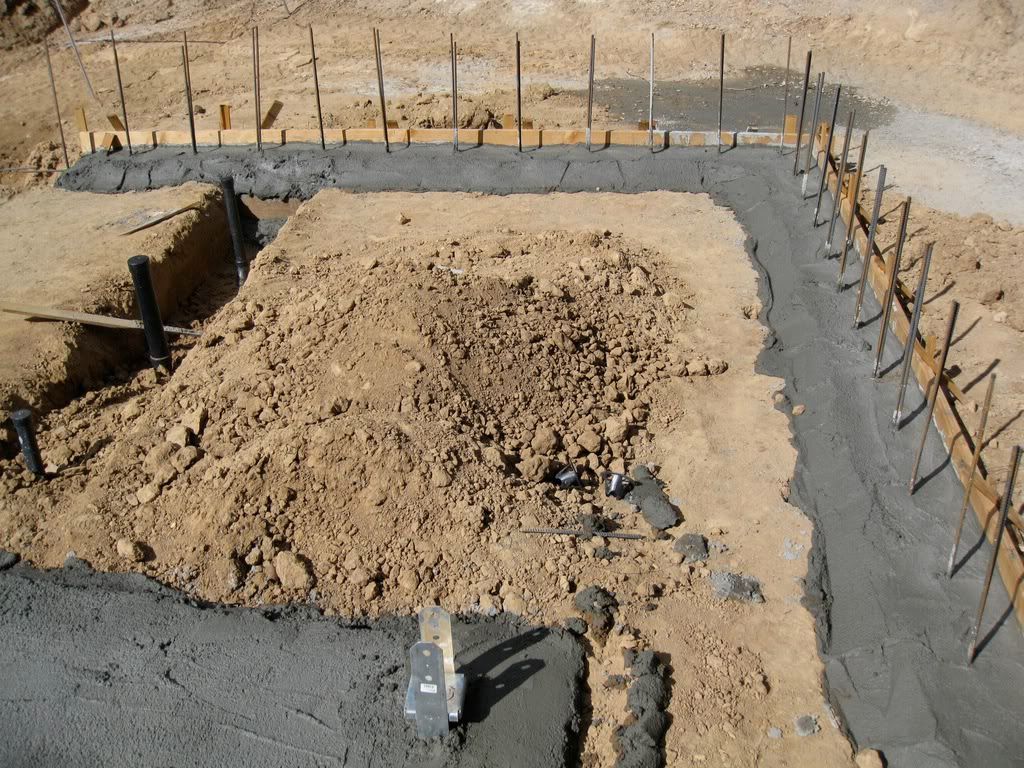
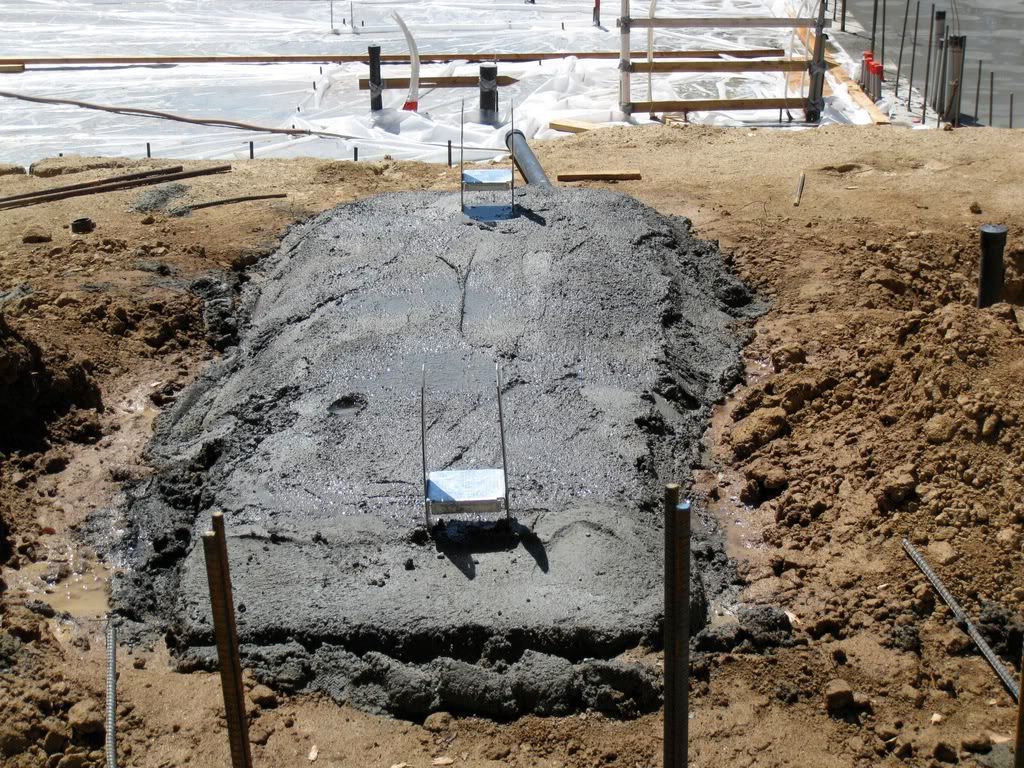
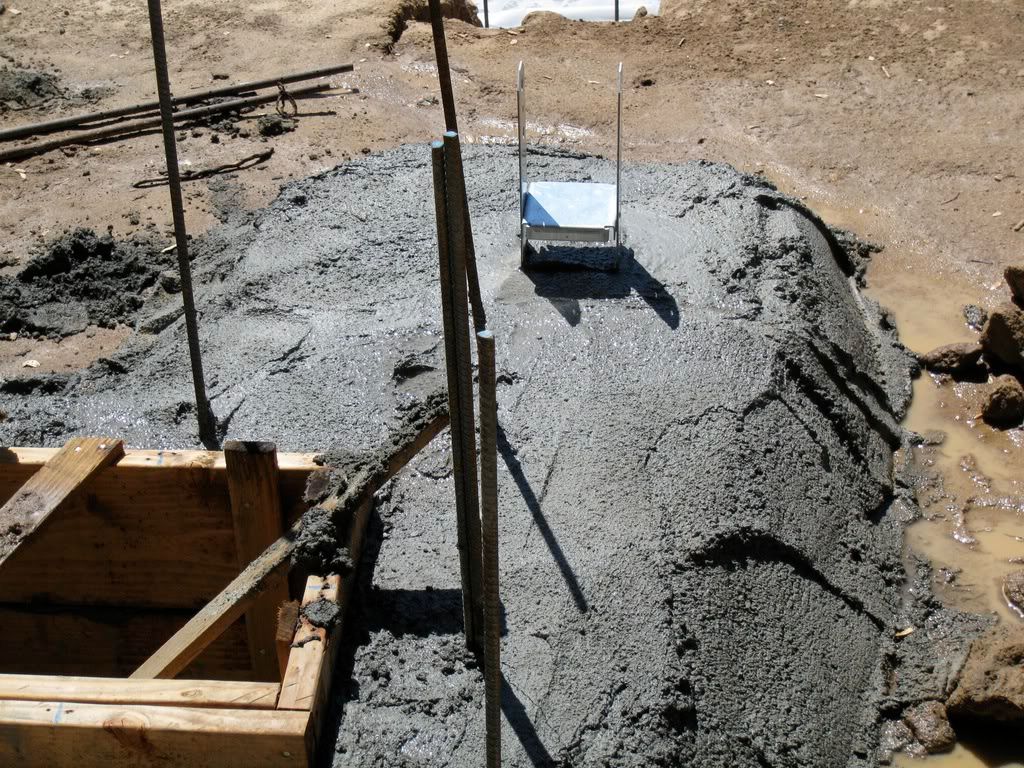
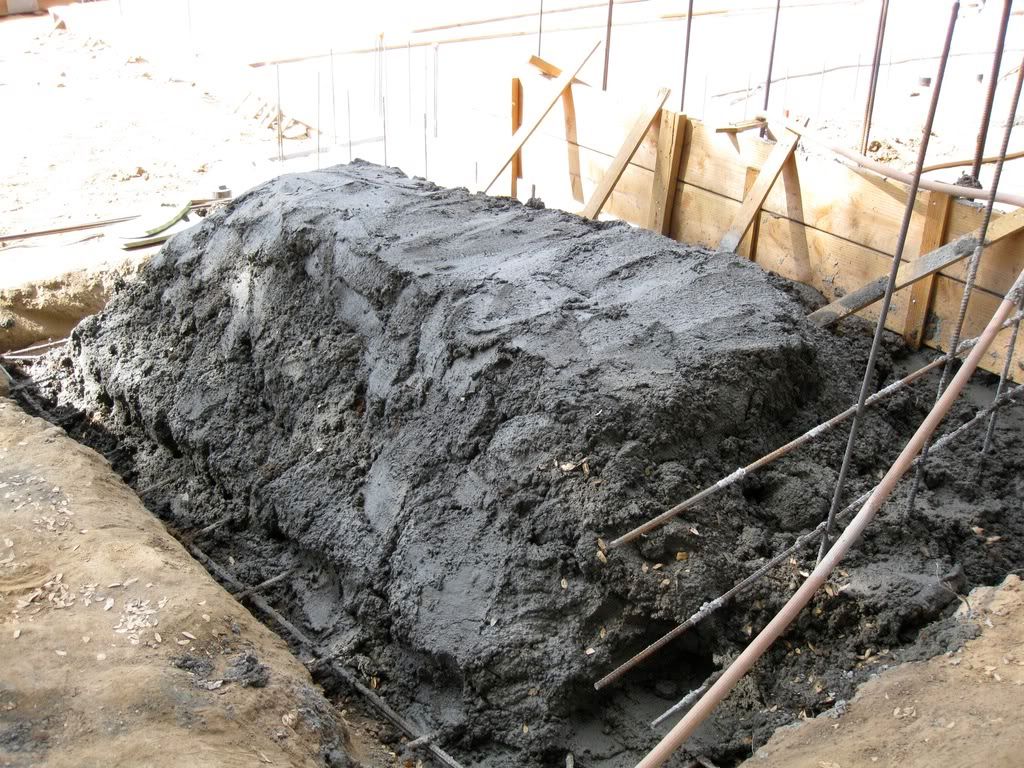
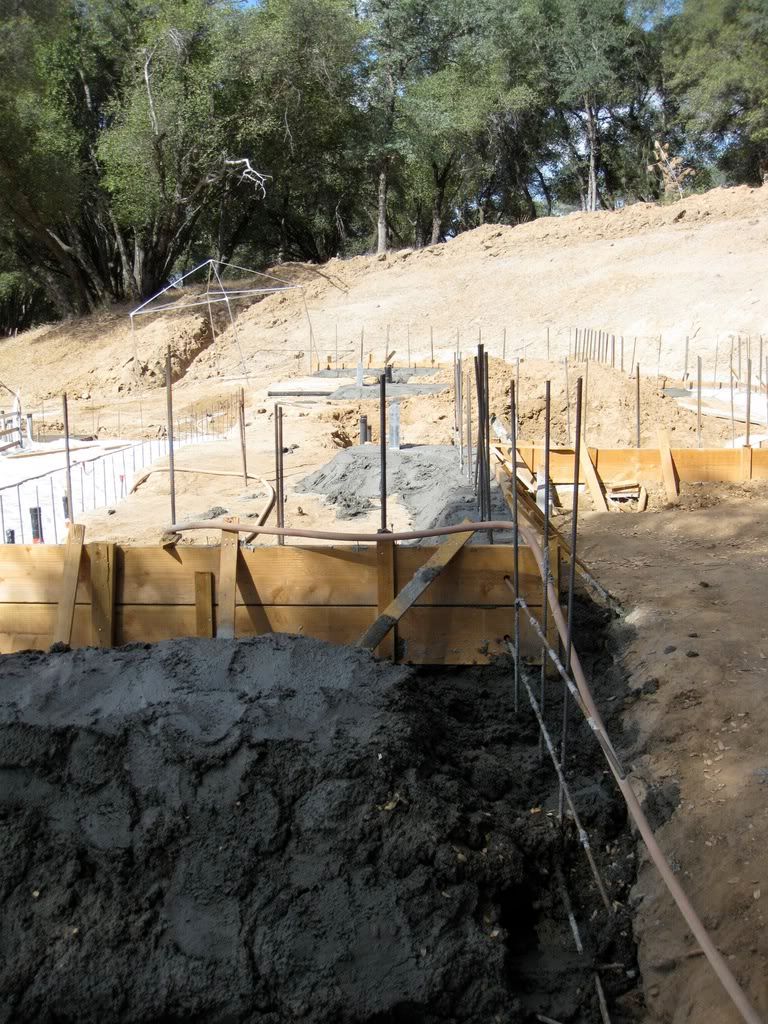
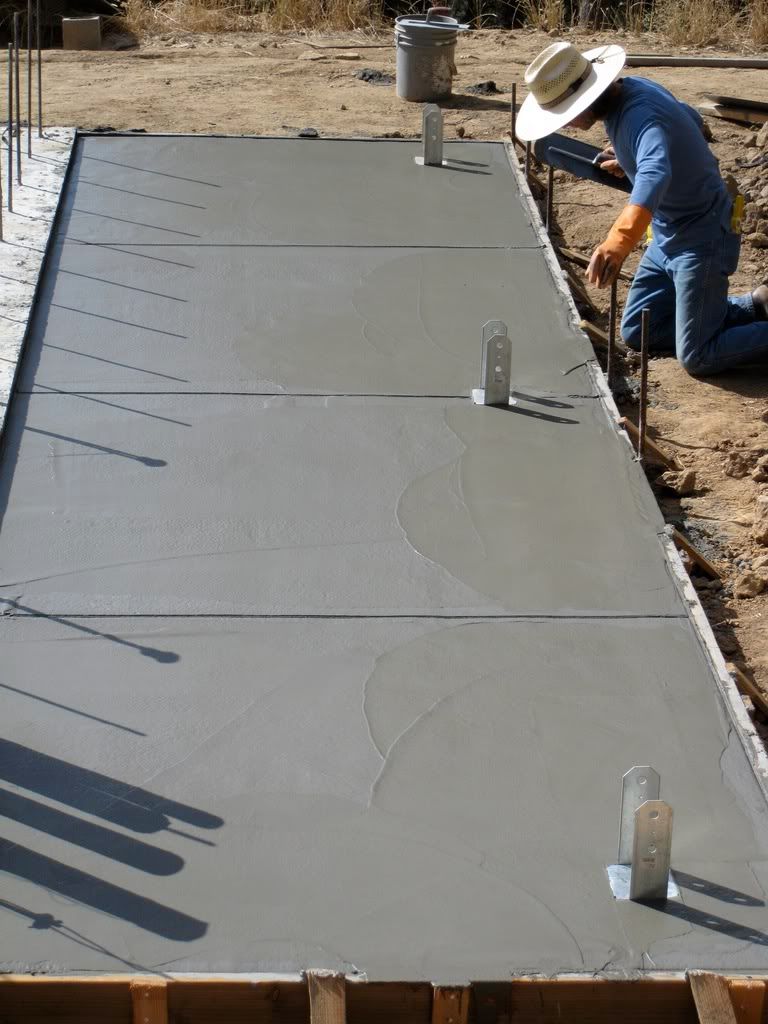
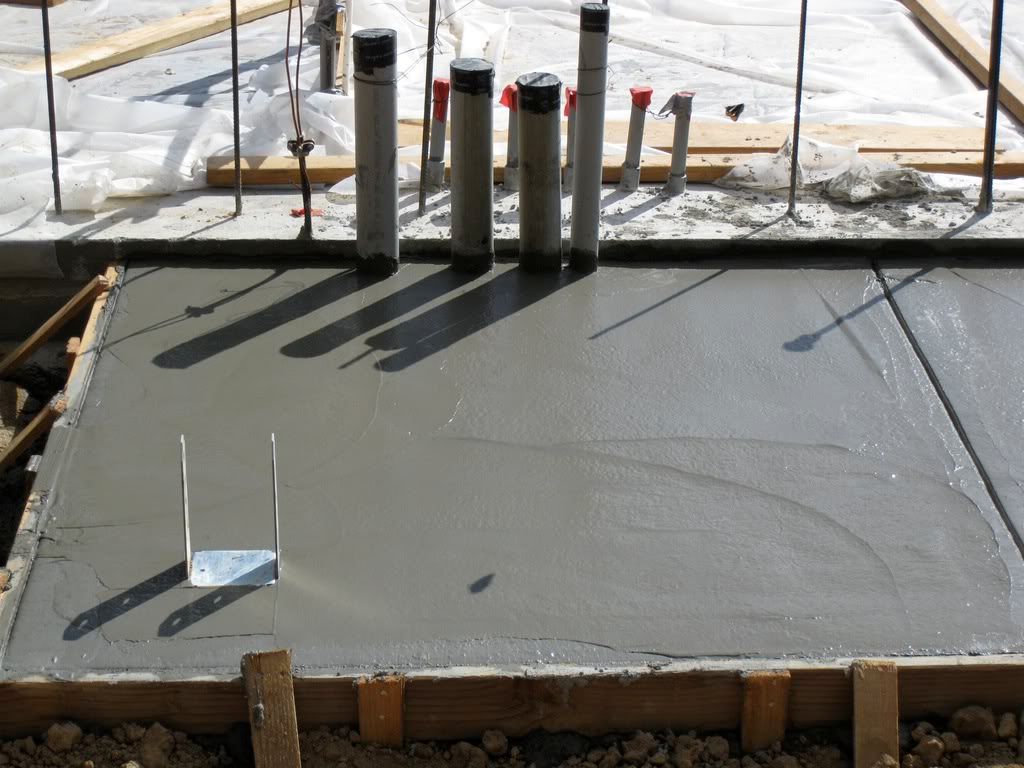
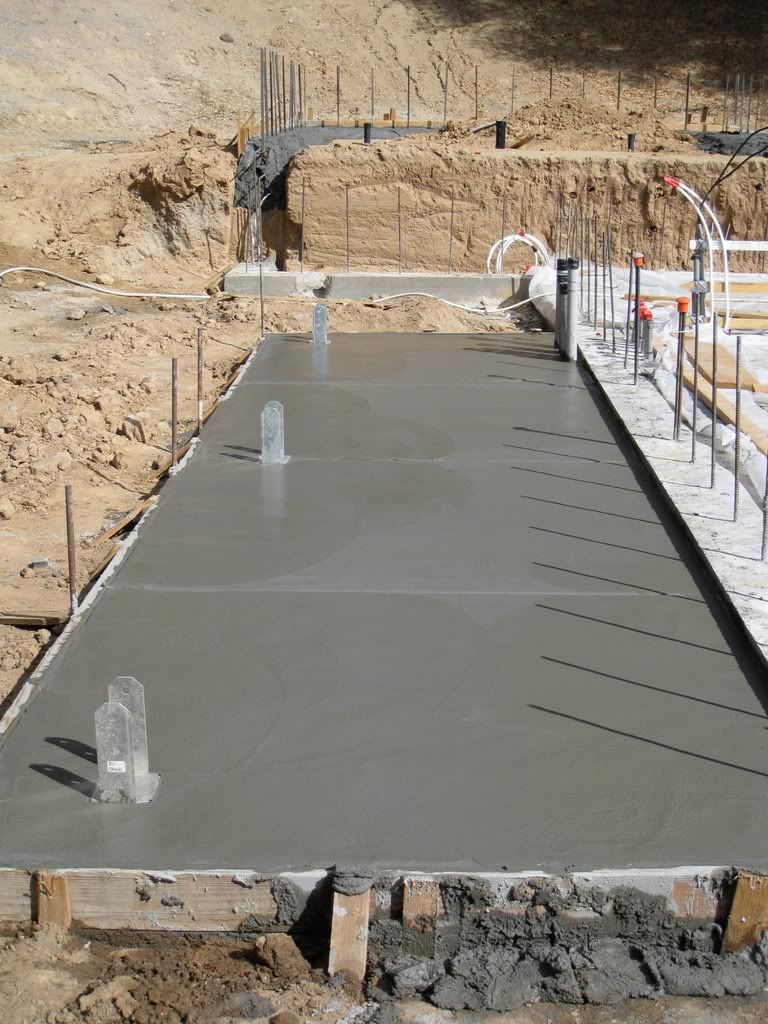
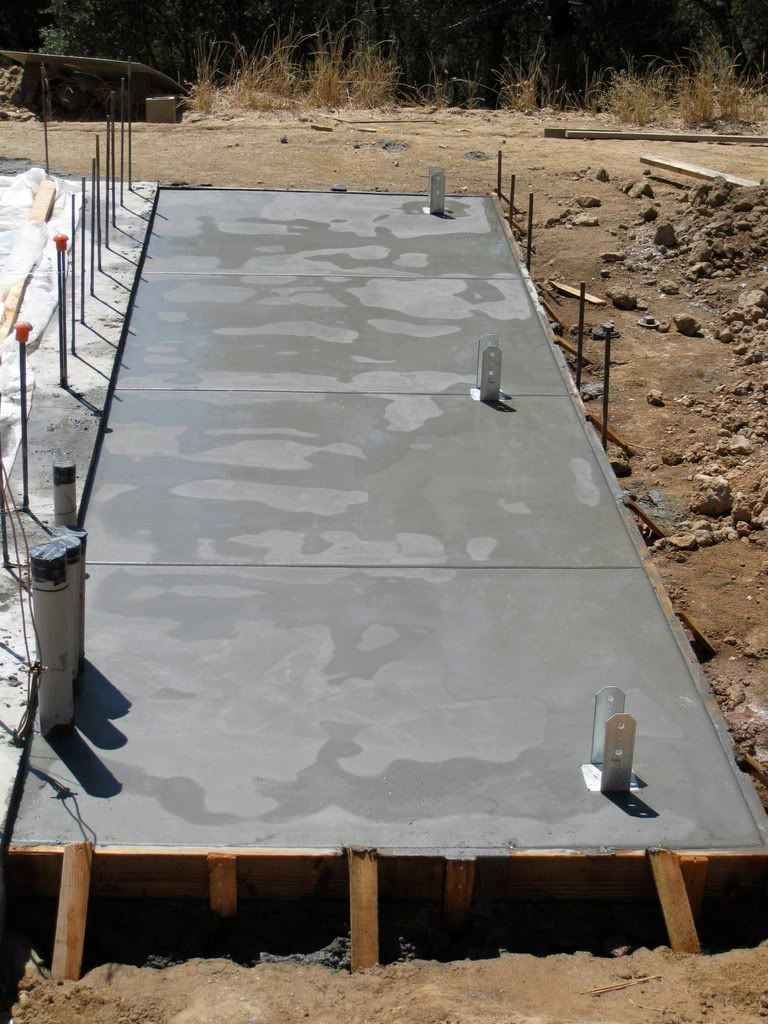
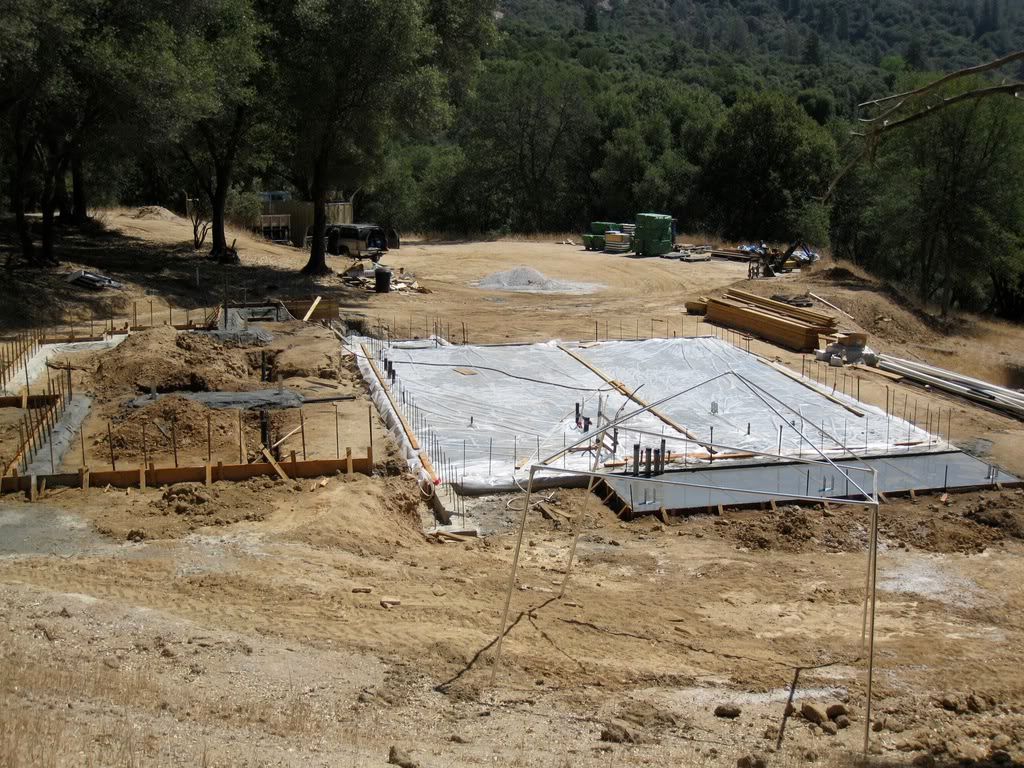
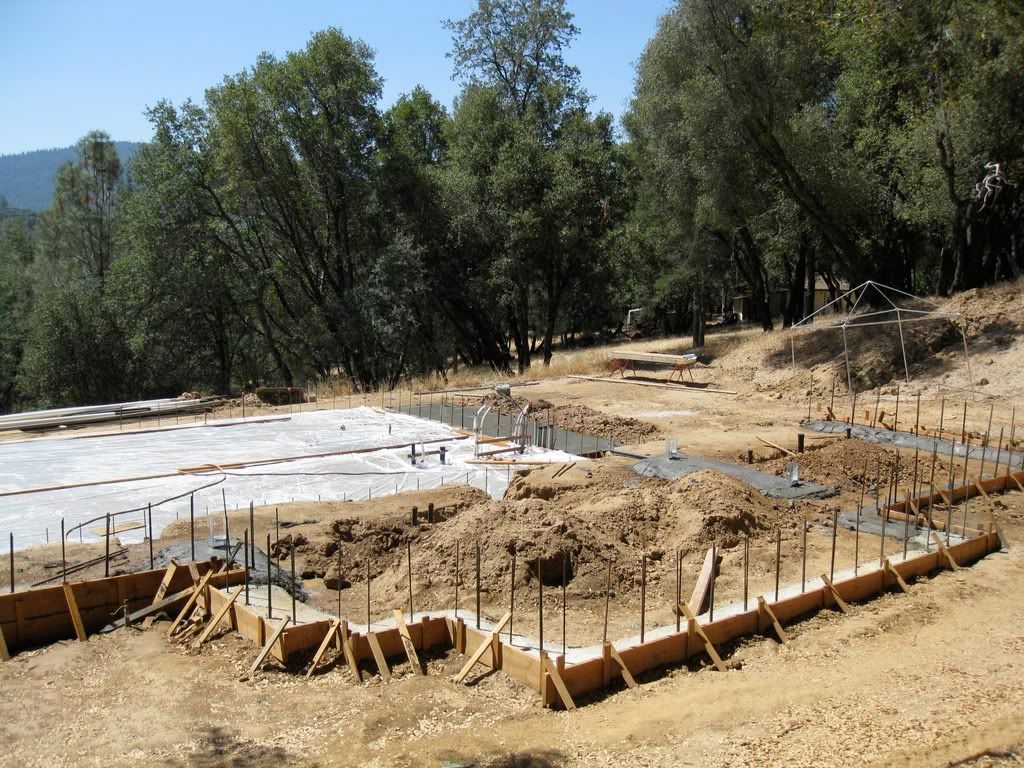
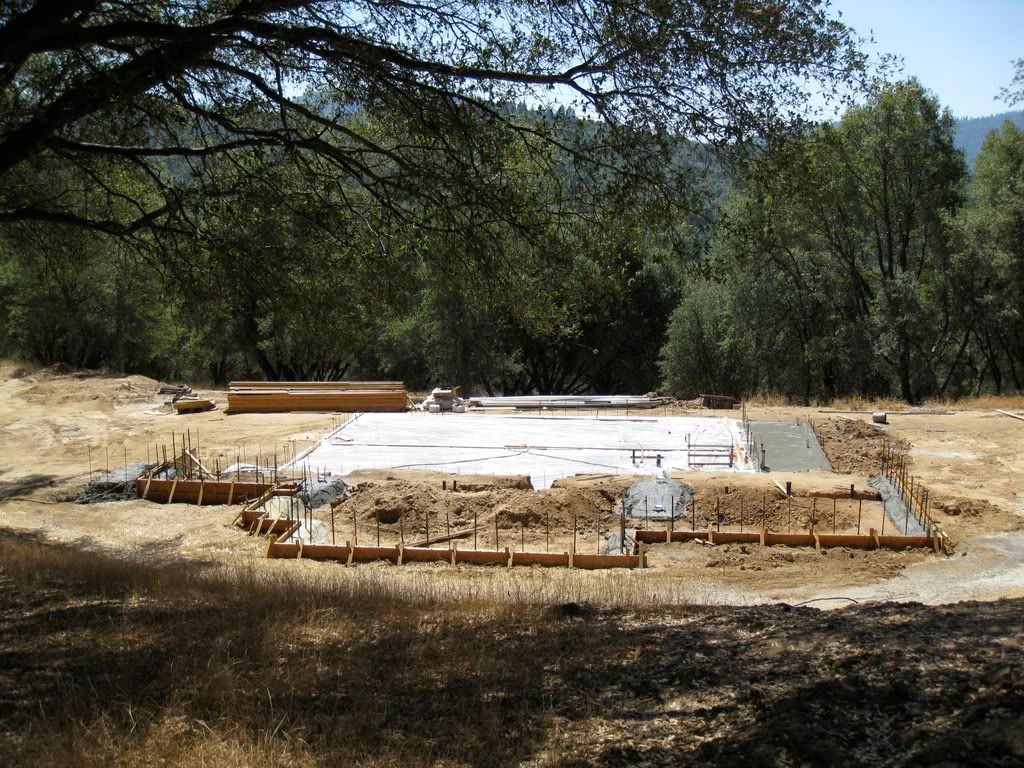
Well guys its been a while since I updated this process, because I've been tied up at work so much. Here is the latest installment of the saga, although in actuality having occurred in early August. We prepped the upper pad footings and pier areas and downstairs back porch area to be poured. Here is the downstairs rear porch area. I plan on having the back up generator, the incoming power panel under this porch area. 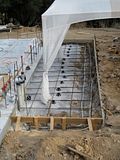  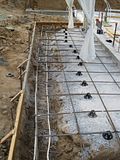  Forms are in, steel laid, Pex perimeter cooling lines in. Doweled the steel into the main pad calculating a 2" drop from the main pad to the back porch, no water encroachment. Lined up all the electrical incoming and out going conduits, cause there is no adjusting them, once we've poured. 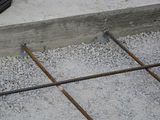 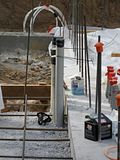 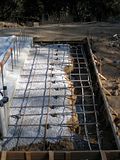 Then we got the upper piers all set with steel. This particularly large pier is supporting the lower roof load over a pocket door, so it had to be extra wide. 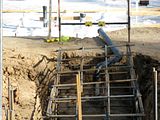 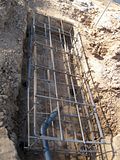 Then we got busy with the mud, putting in the upper footings and piers. 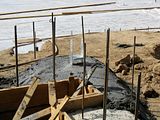 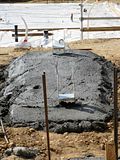  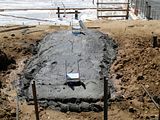  Had a little extra so we used it for fill in the front porch area, kinda looks like a pyramid, but it was the only way to leave the lower footing steel exposed, so we could tie into it with the perimeter steel for the footing. 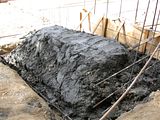 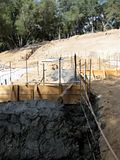 Then onto the lower back porch... 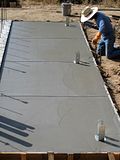 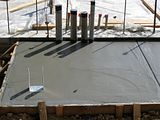  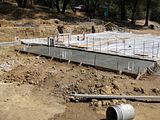 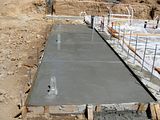 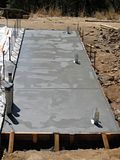 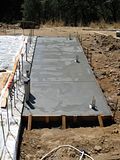 Here are some shots that are back a ways, gives the project a bit more perspective. 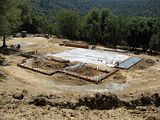 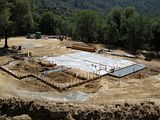 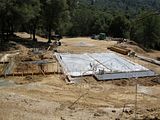 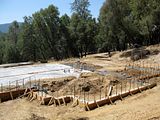 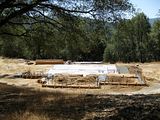 It was a nice pour, two guys 15 yards, half day, no problems, looked good. I buttoned it up with some visquene so the pad wouldn't dry out to quick. By the time I get up again, in late October, I hope to begin a schedule of two weeks up building, one week down with my family. Then we should start to see some consistent progress. Until then... |
|
|
|
Post by tuffytractor on Feb 11, 2009 13:41:14 GMT -5
|
|
|
|
Post by tuffytractor on Feb 11, 2009 13:58:45 GMT -5
|
|
|
|
Post by tuffytractor on Feb 11, 2009 14:21:13 GMT -5
|
|
|
|
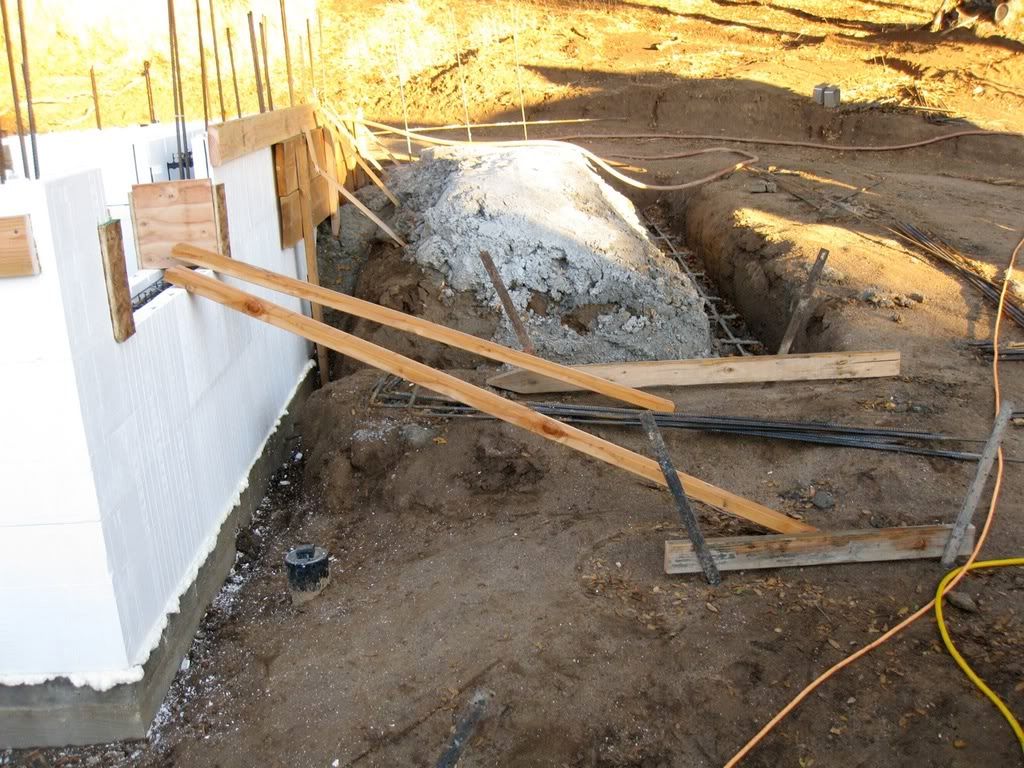
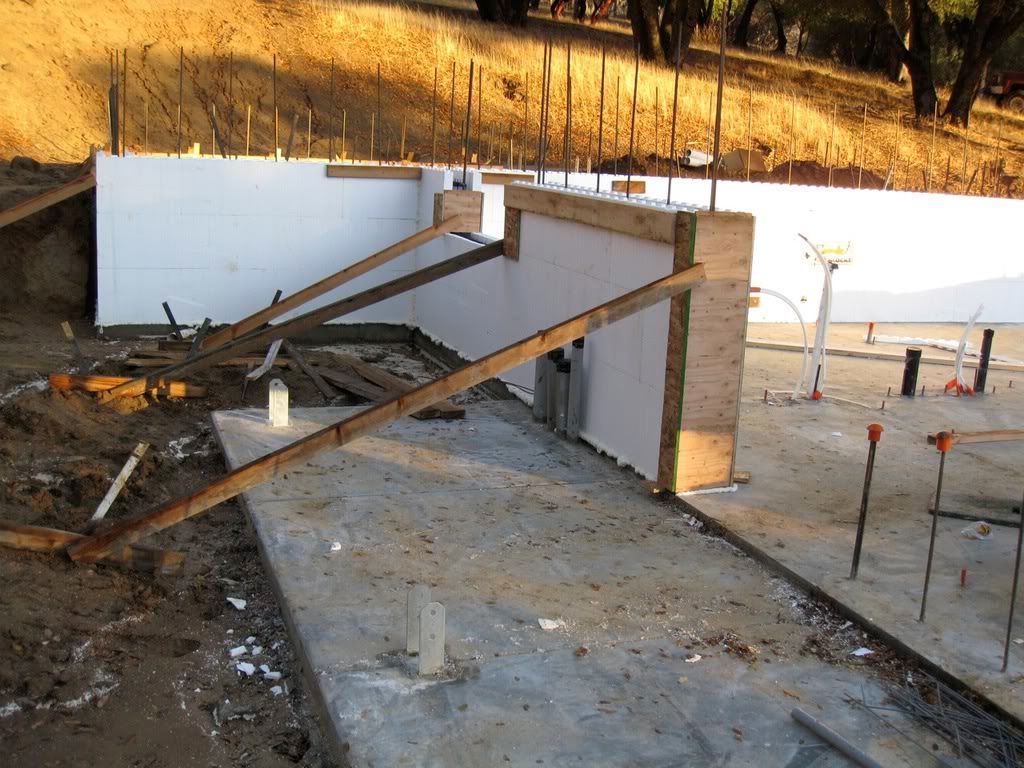
Post by tuffytractor on Feb 11, 2009 17:55:08 GMT -5
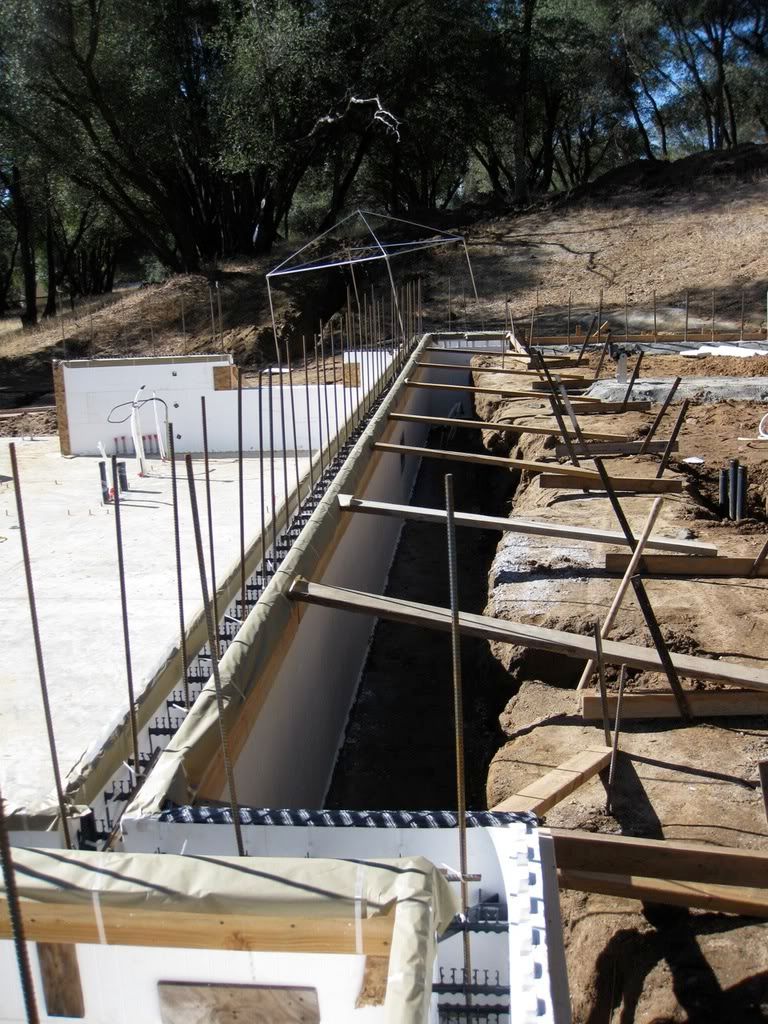
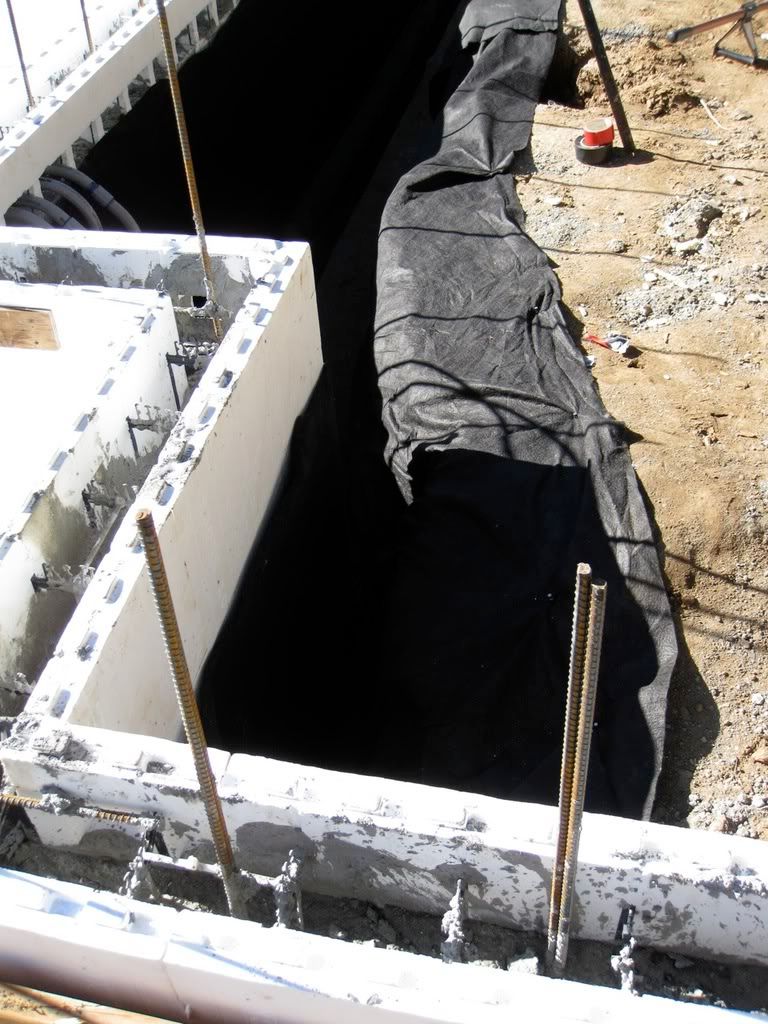
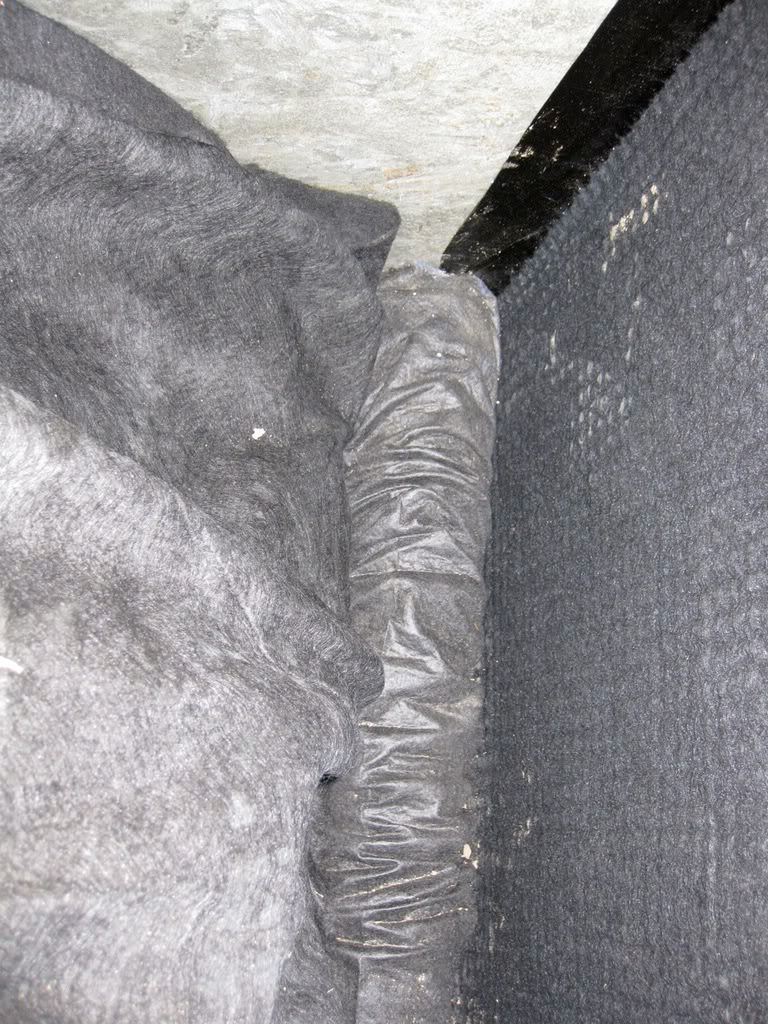
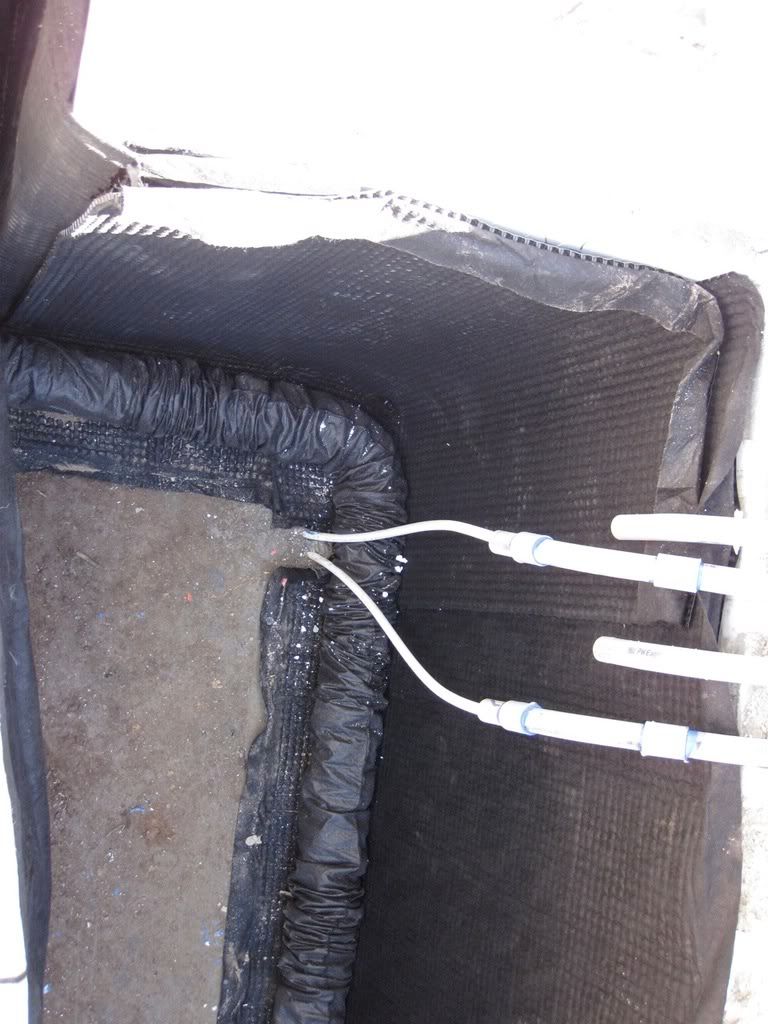
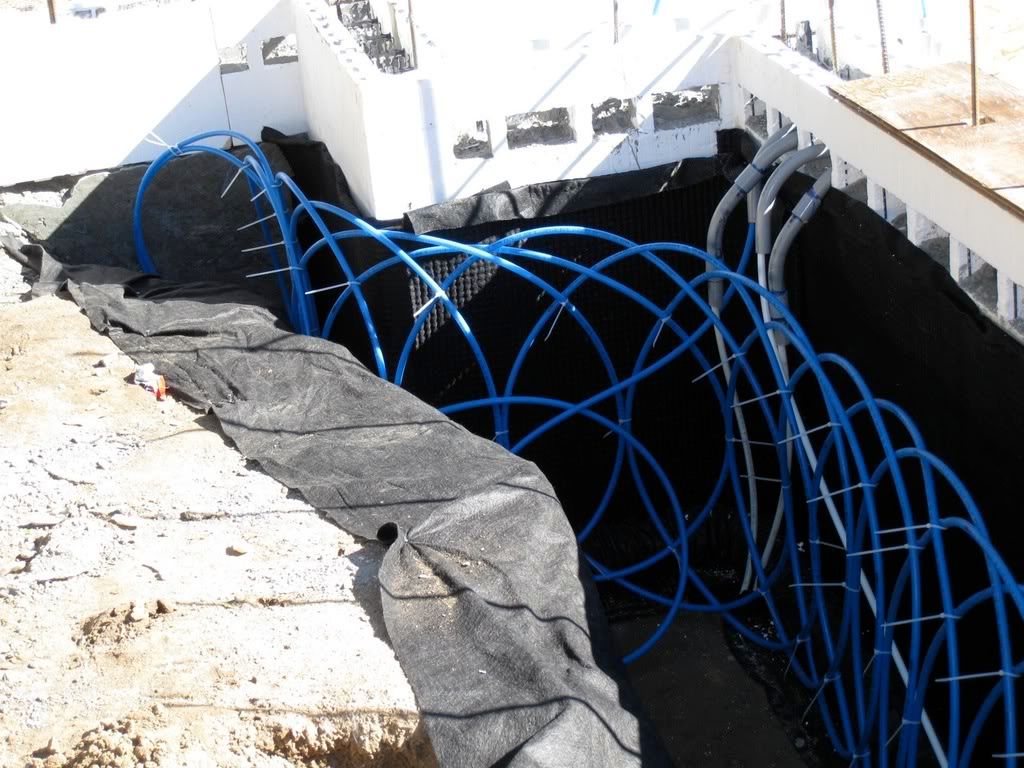
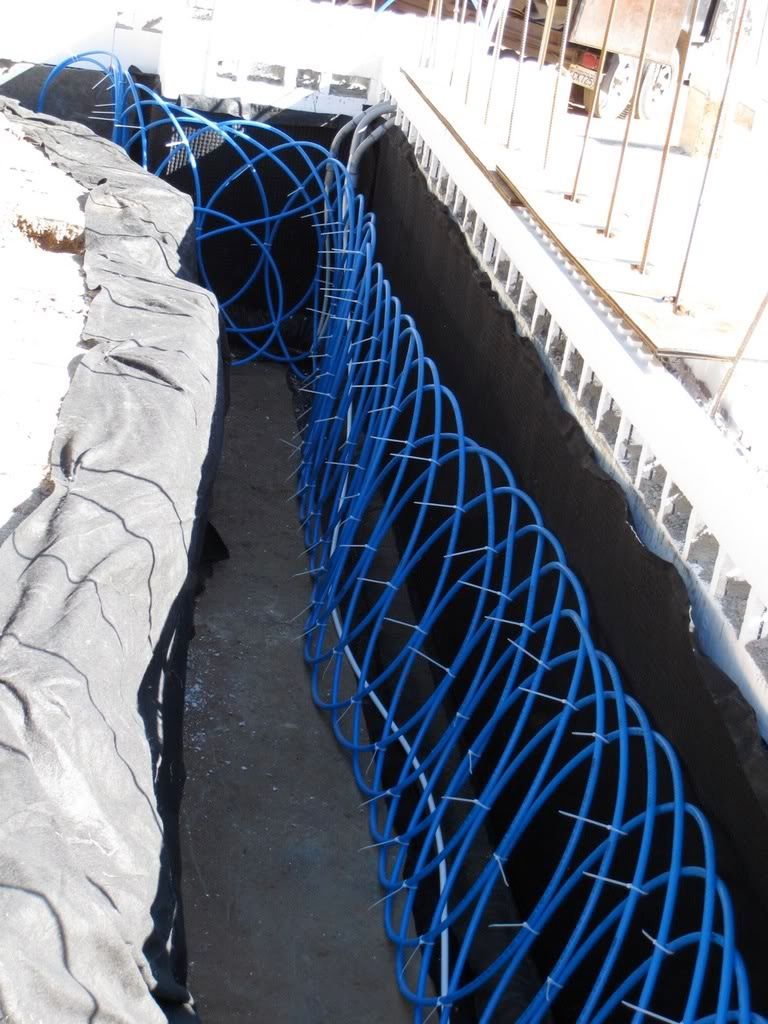
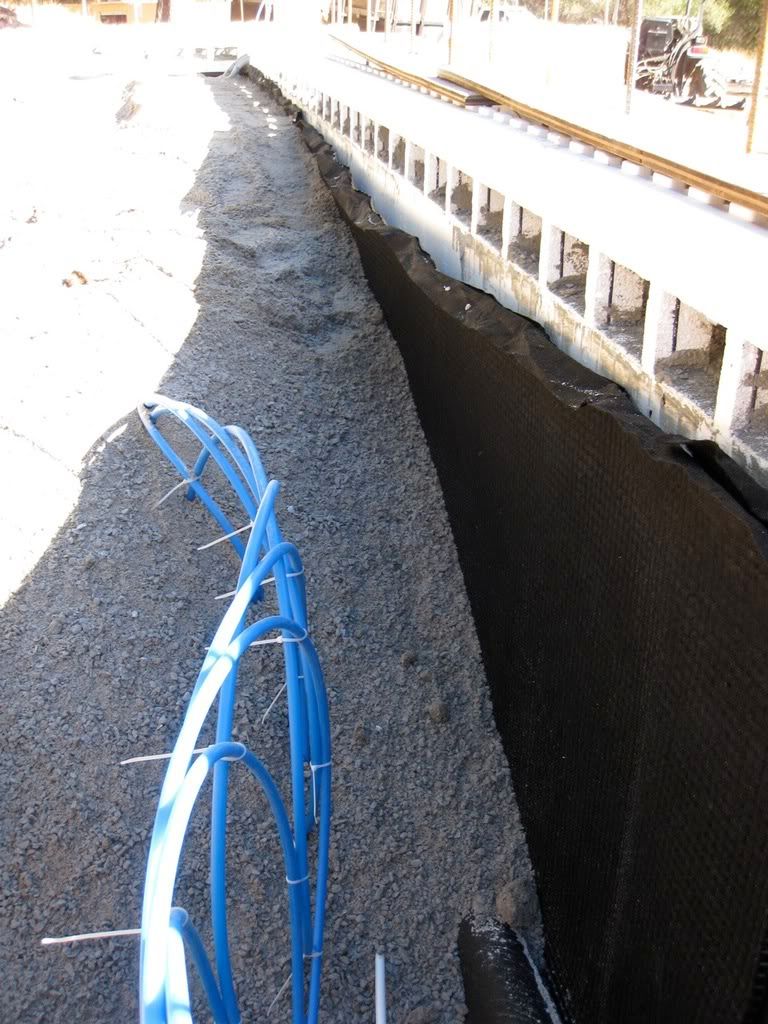
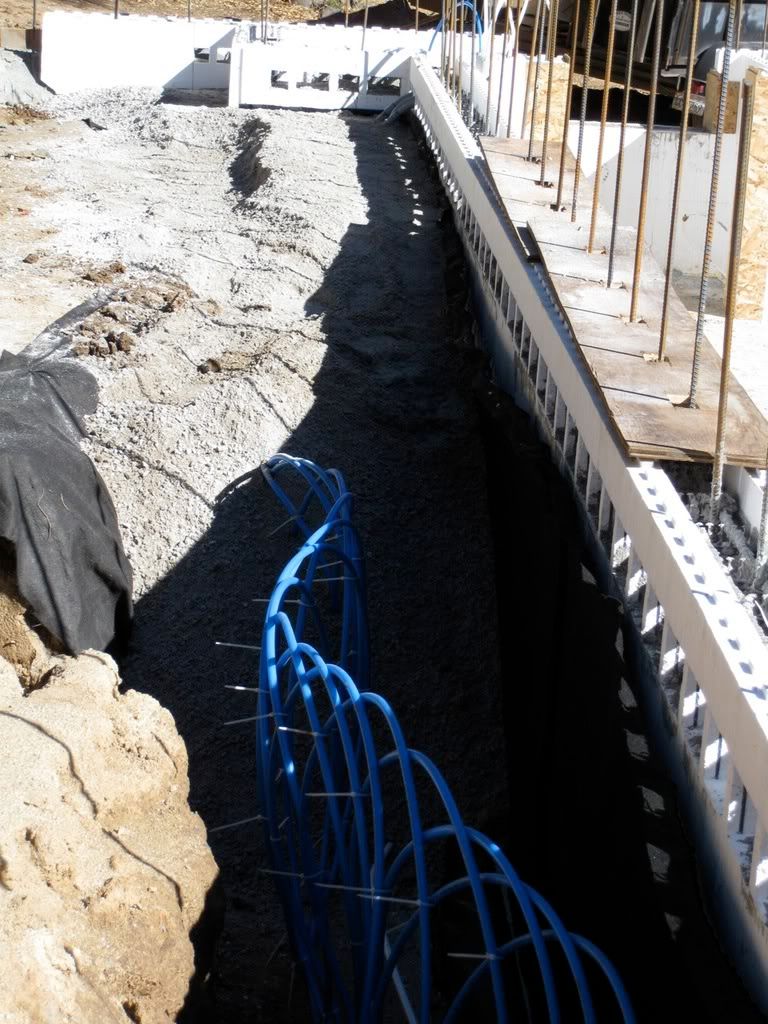
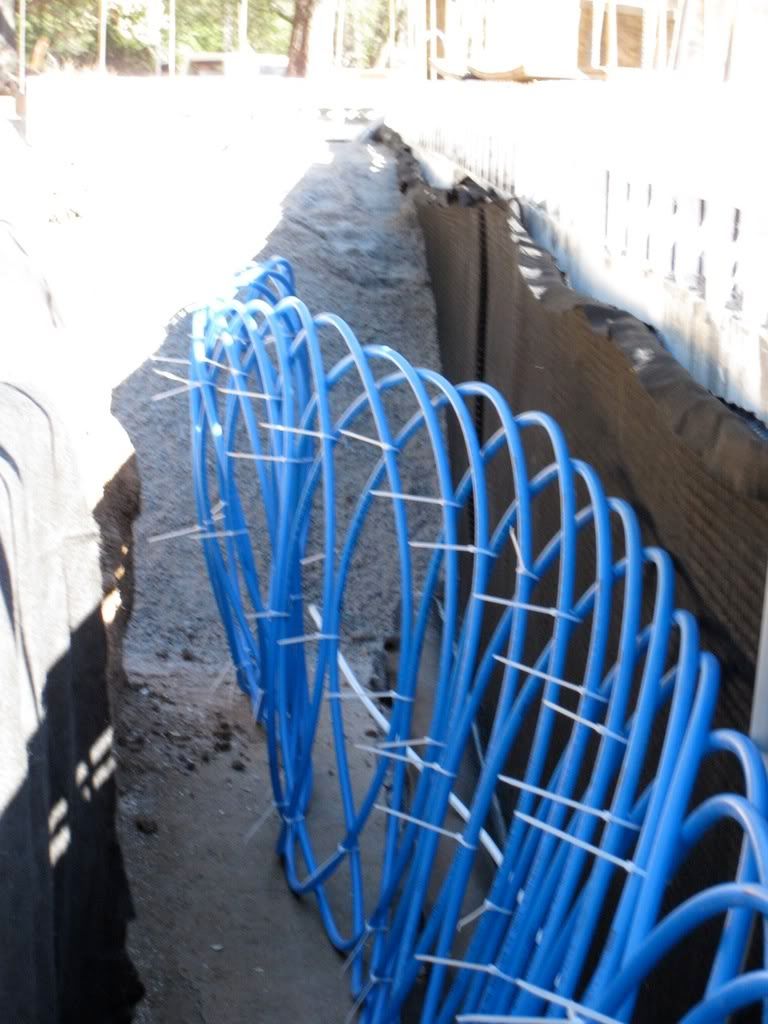
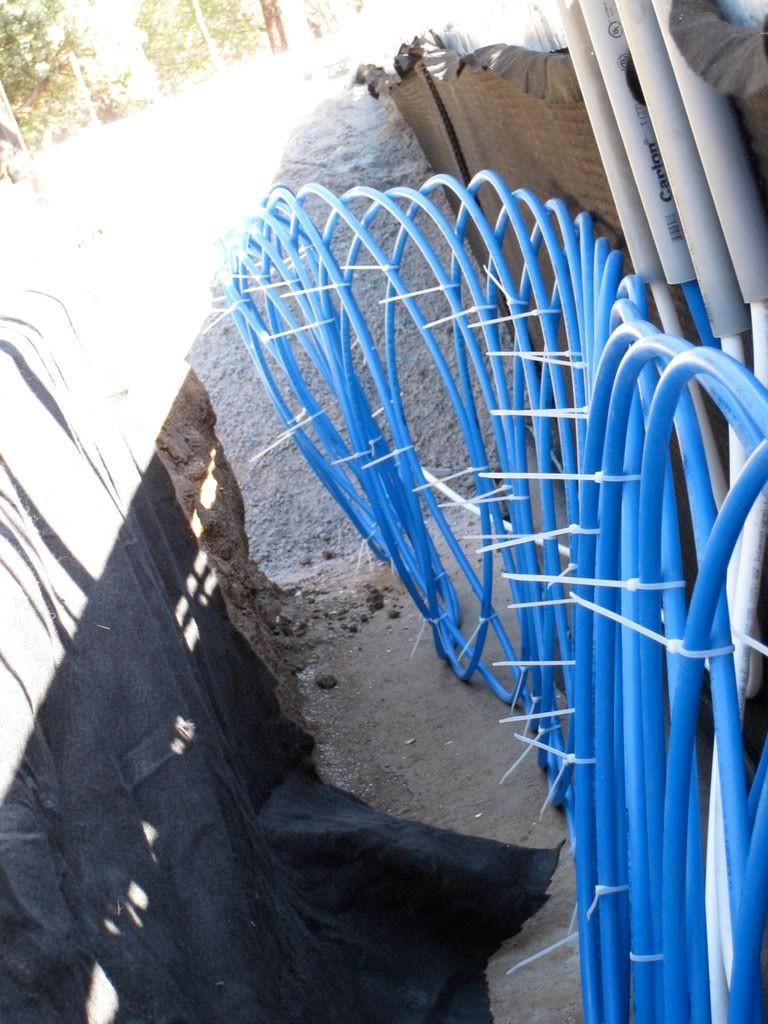
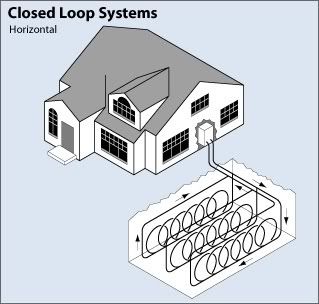
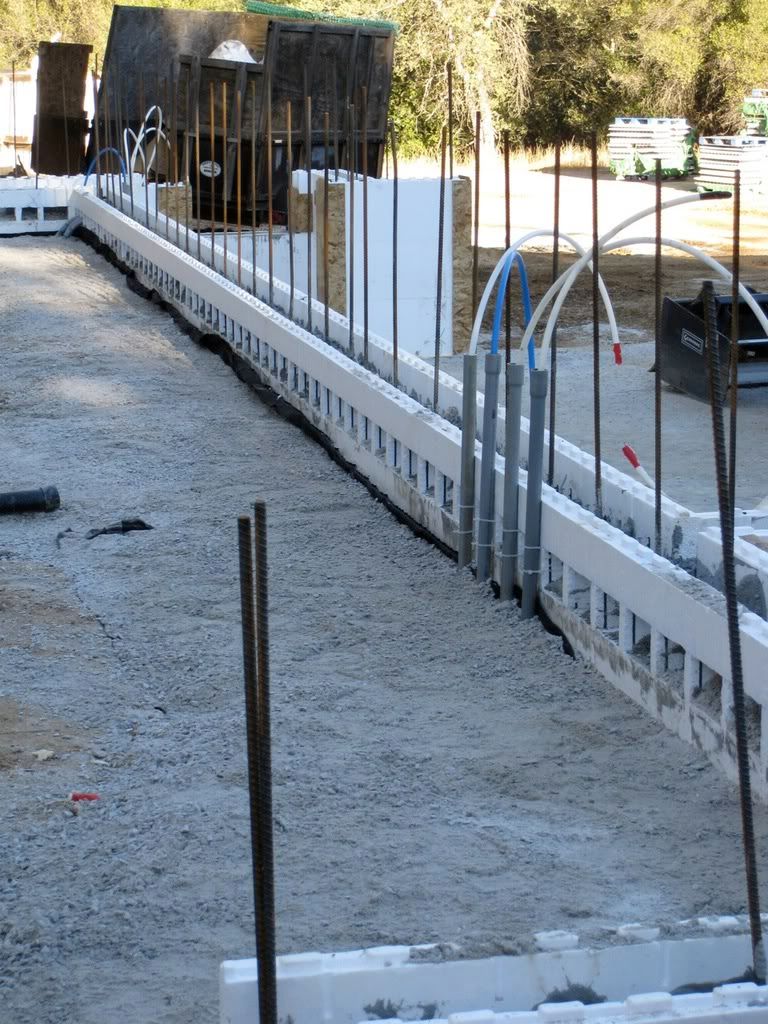
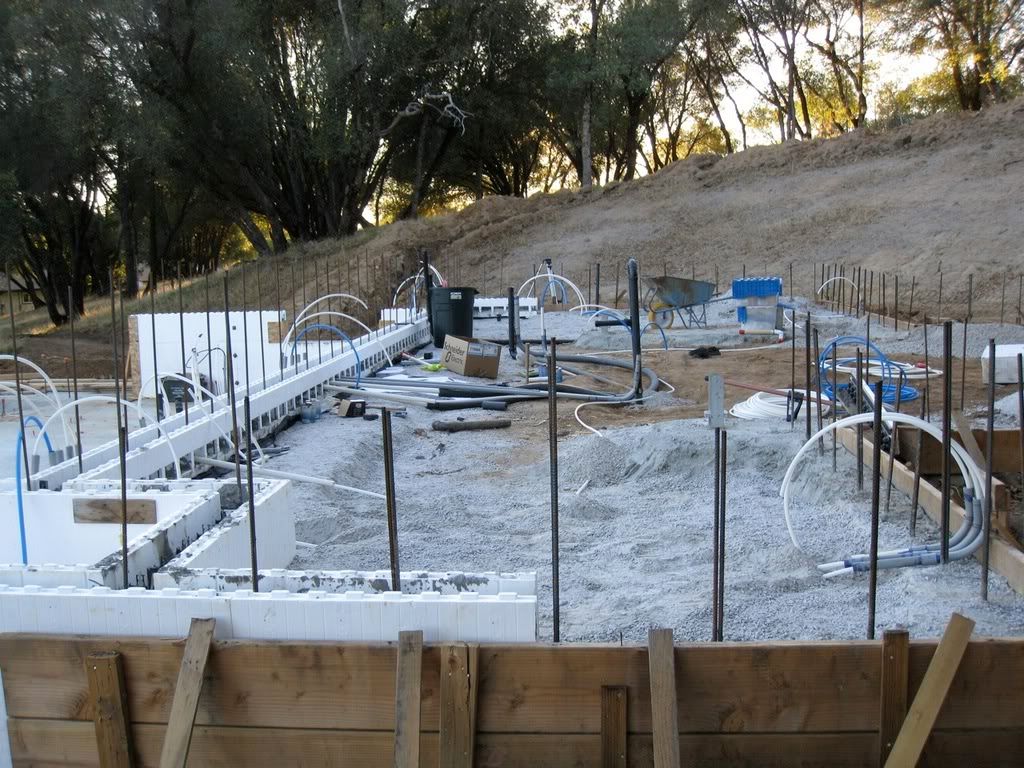
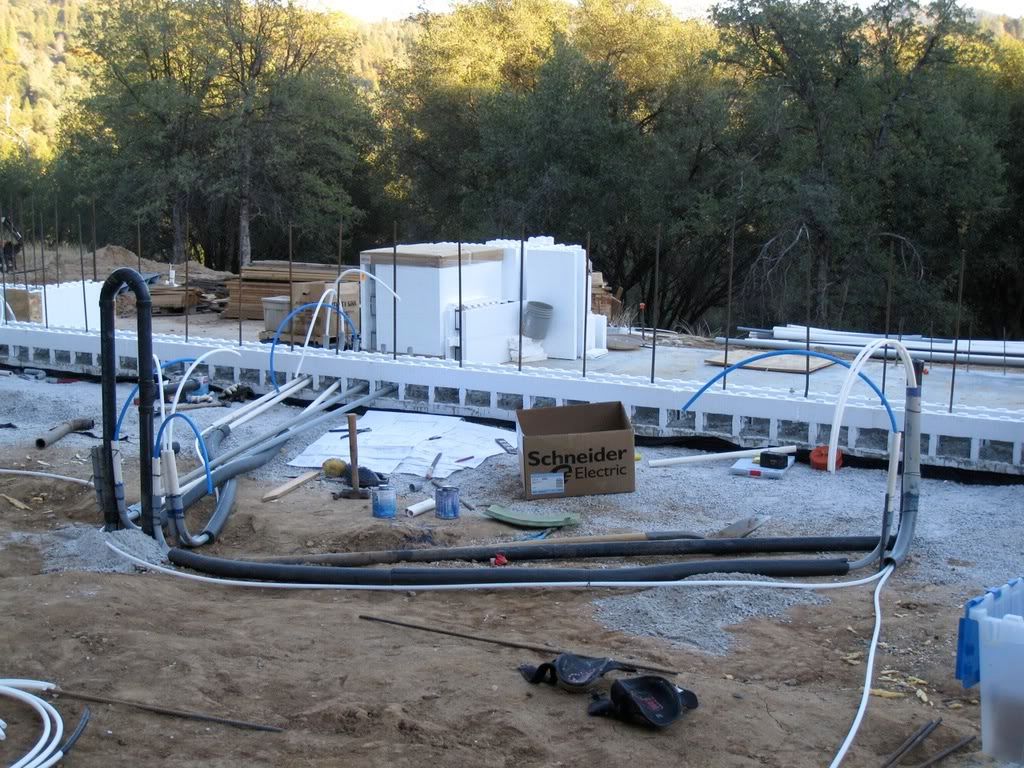
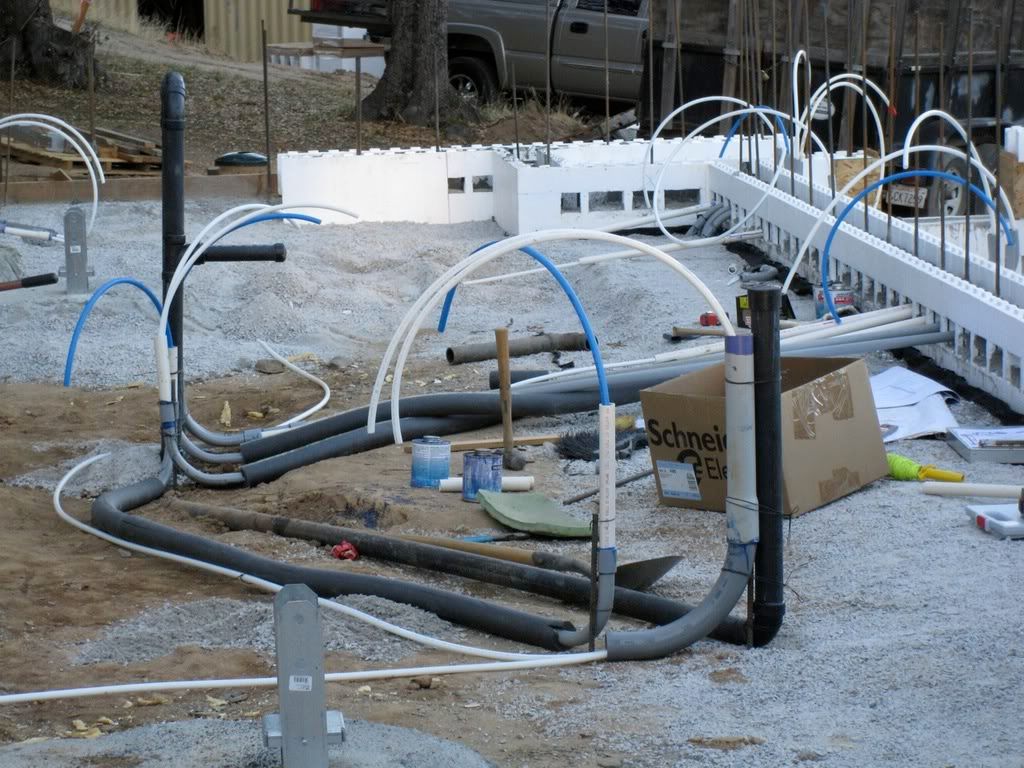
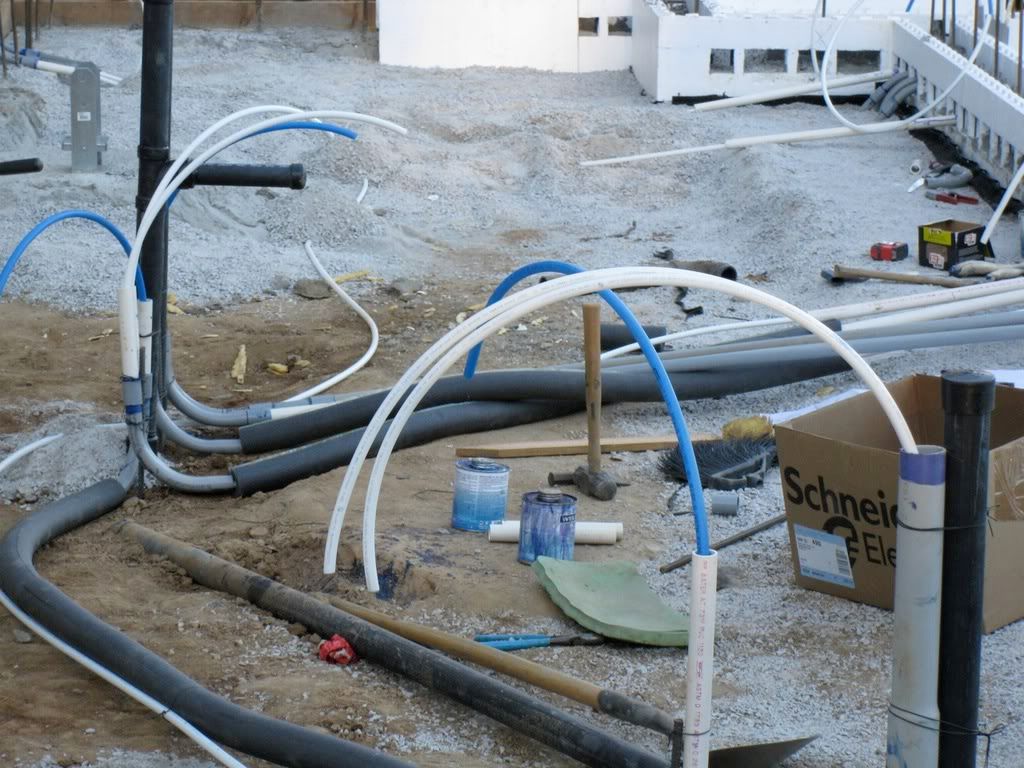
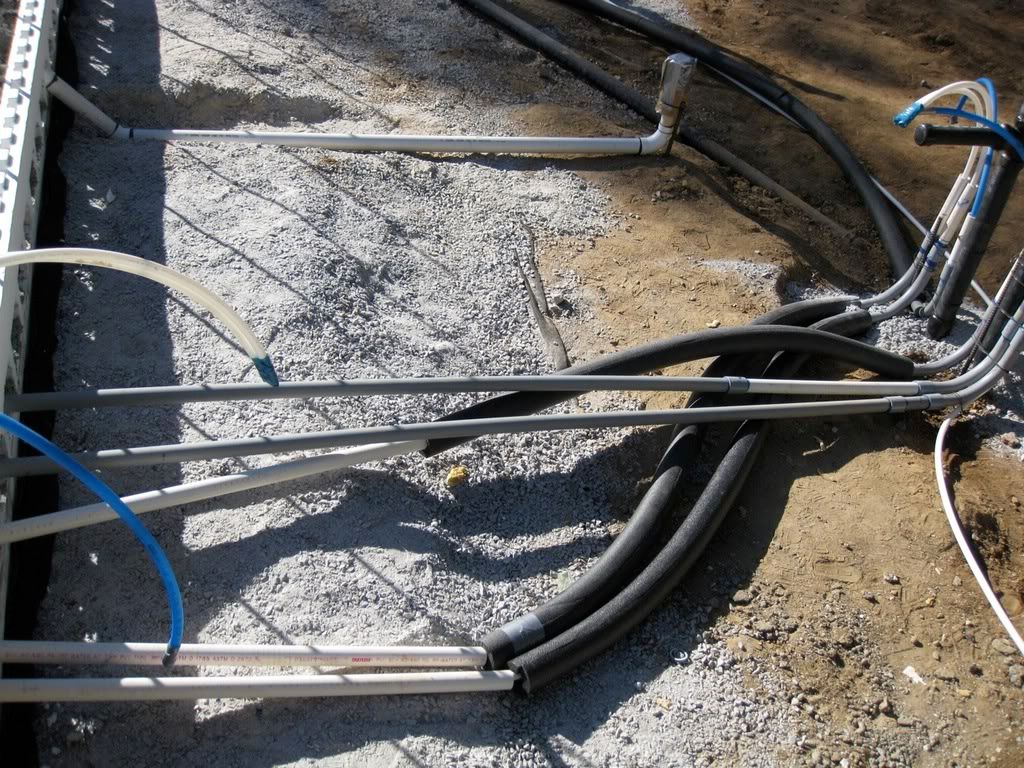
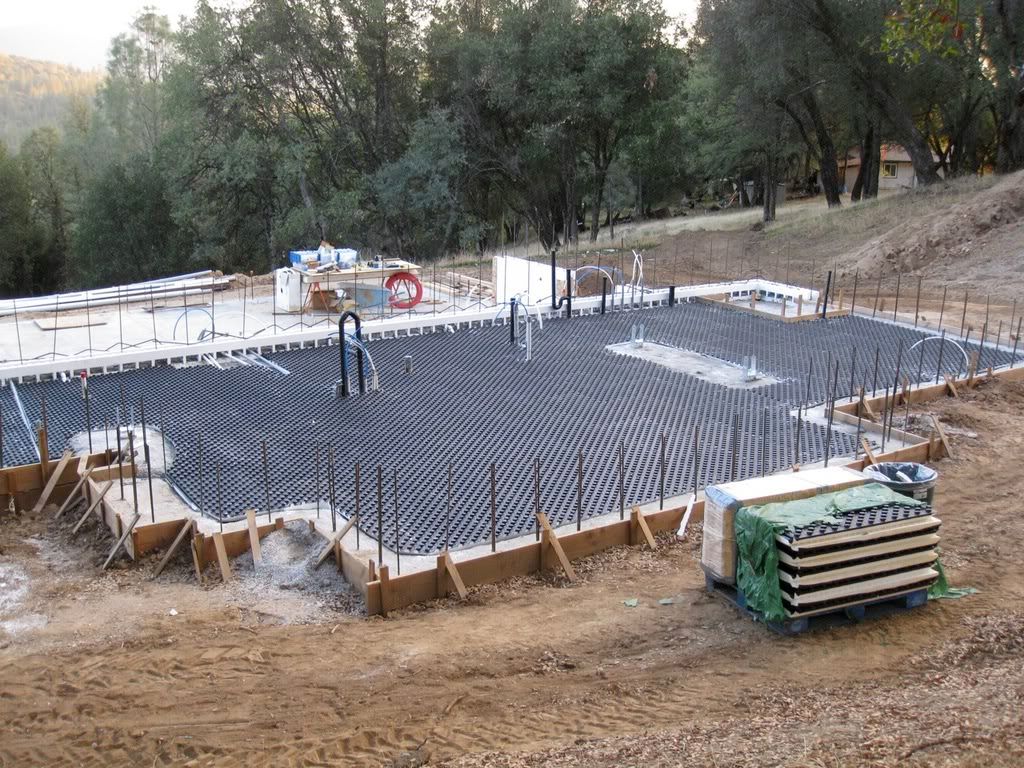
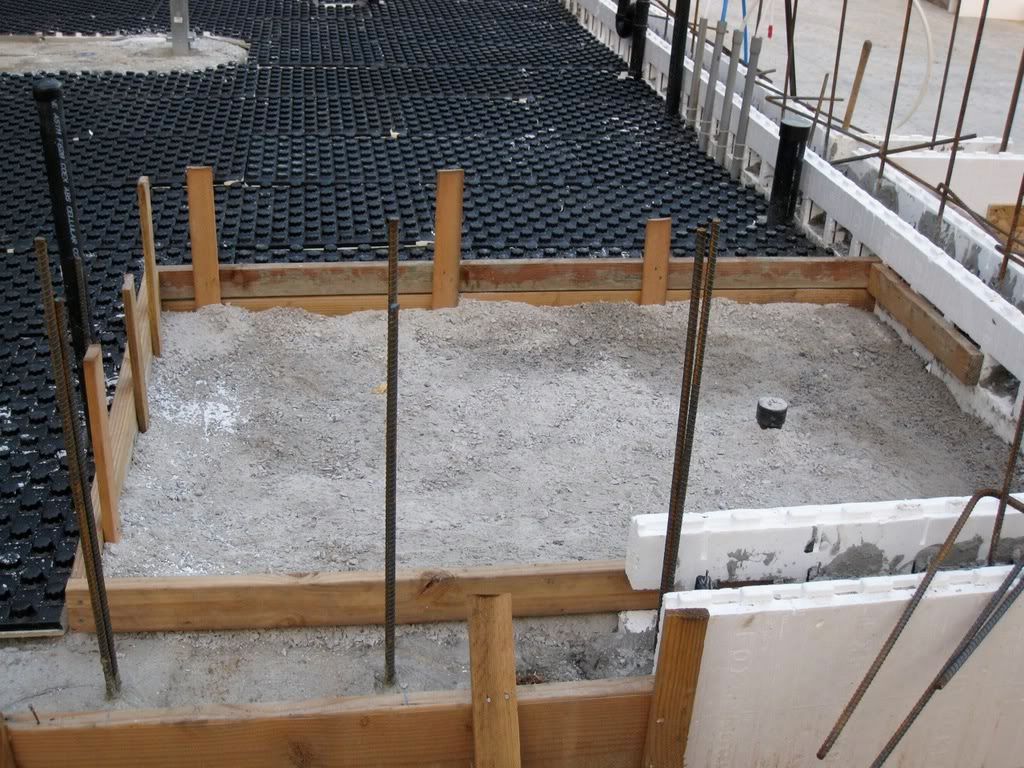
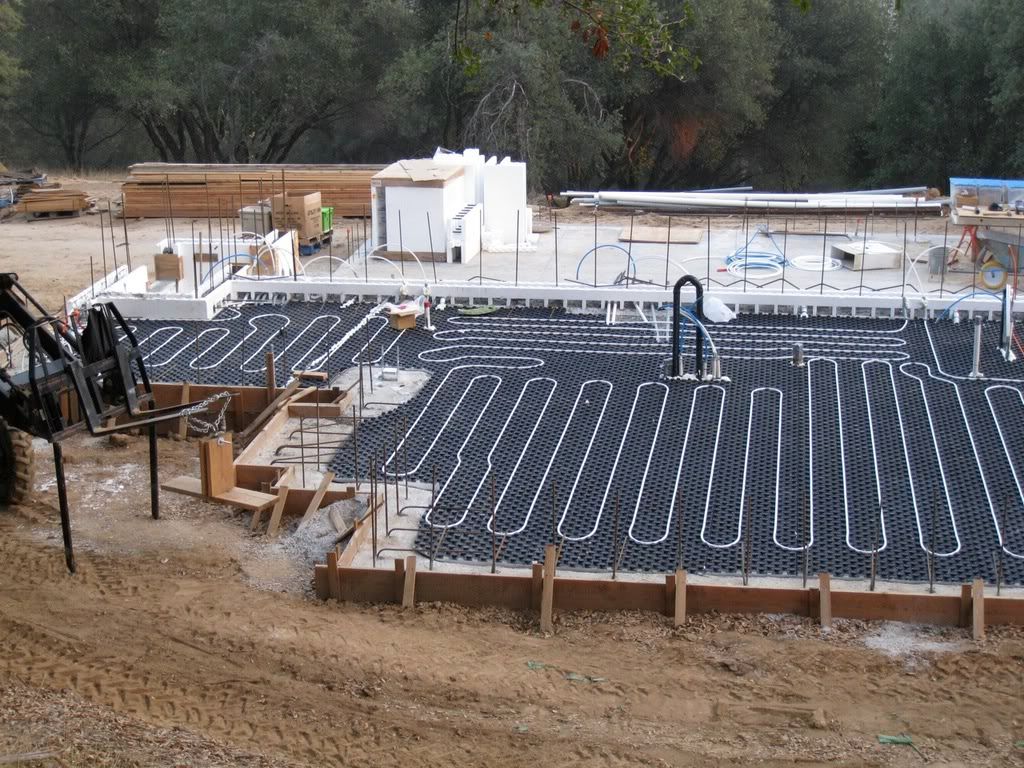
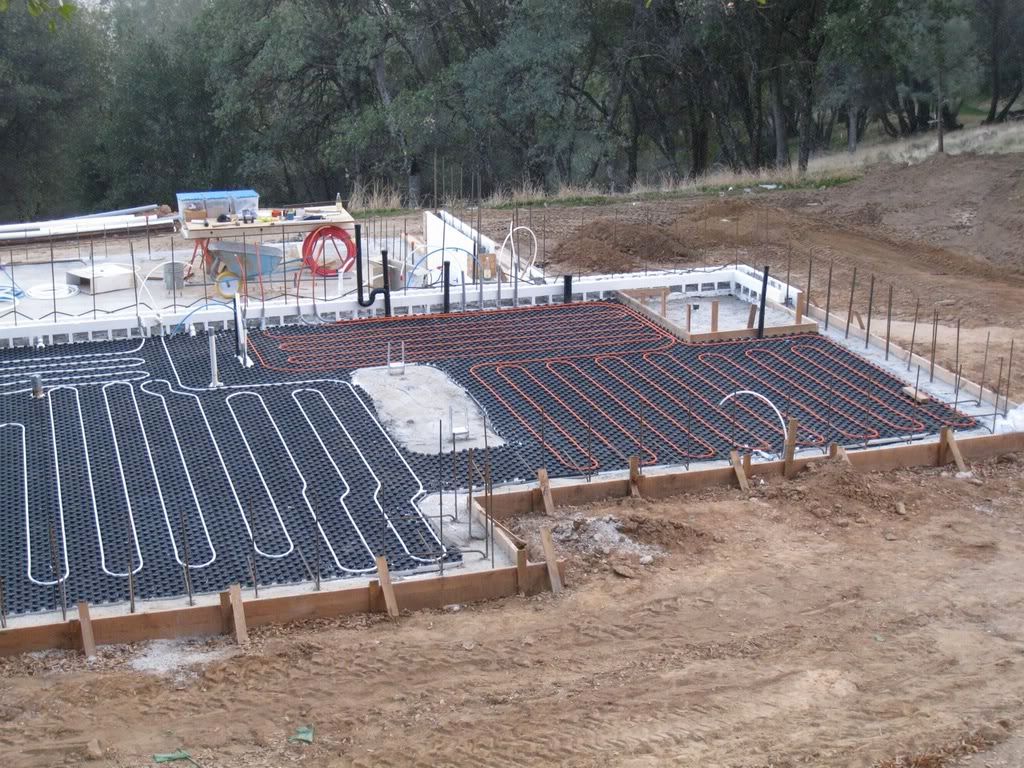
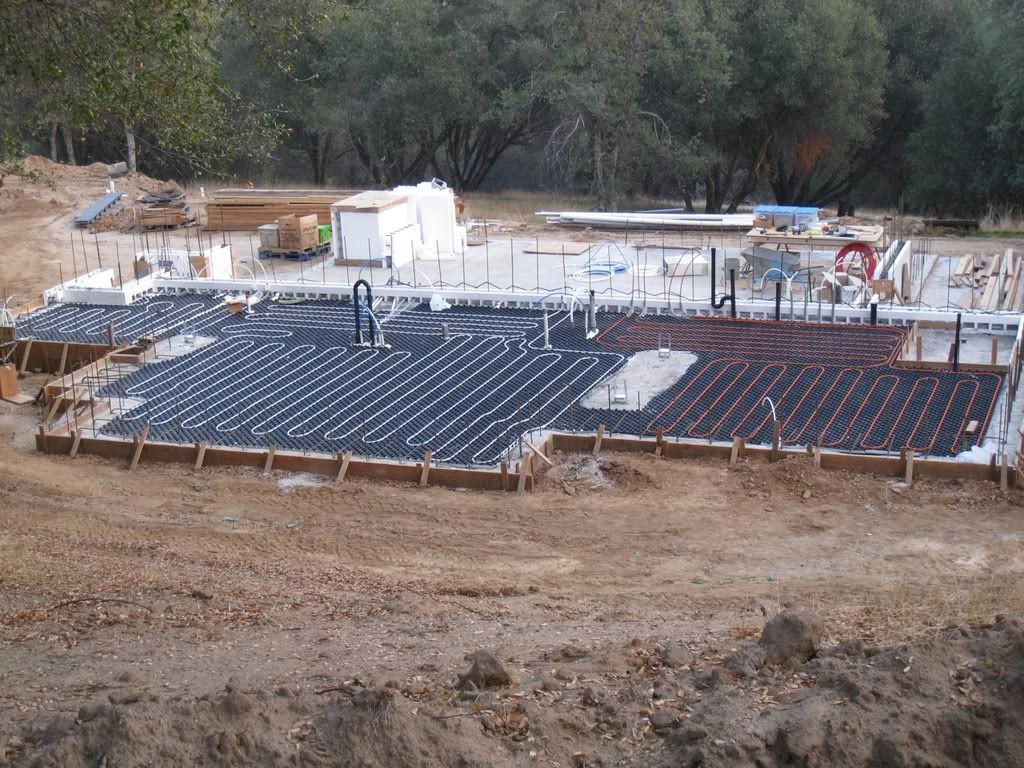
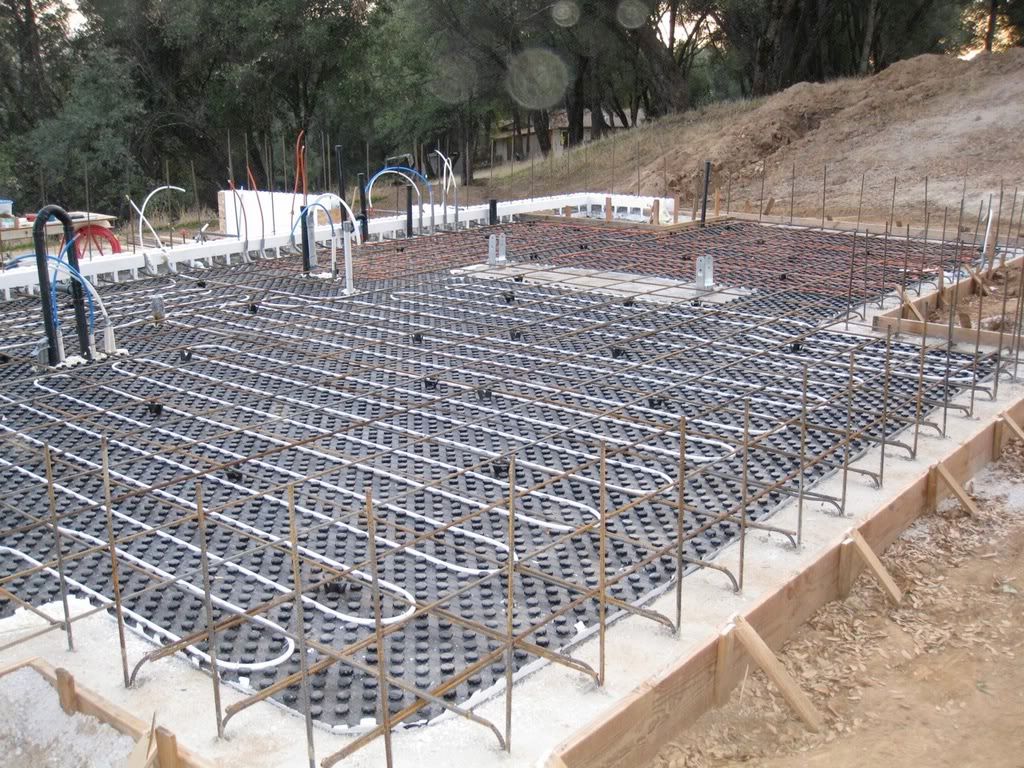
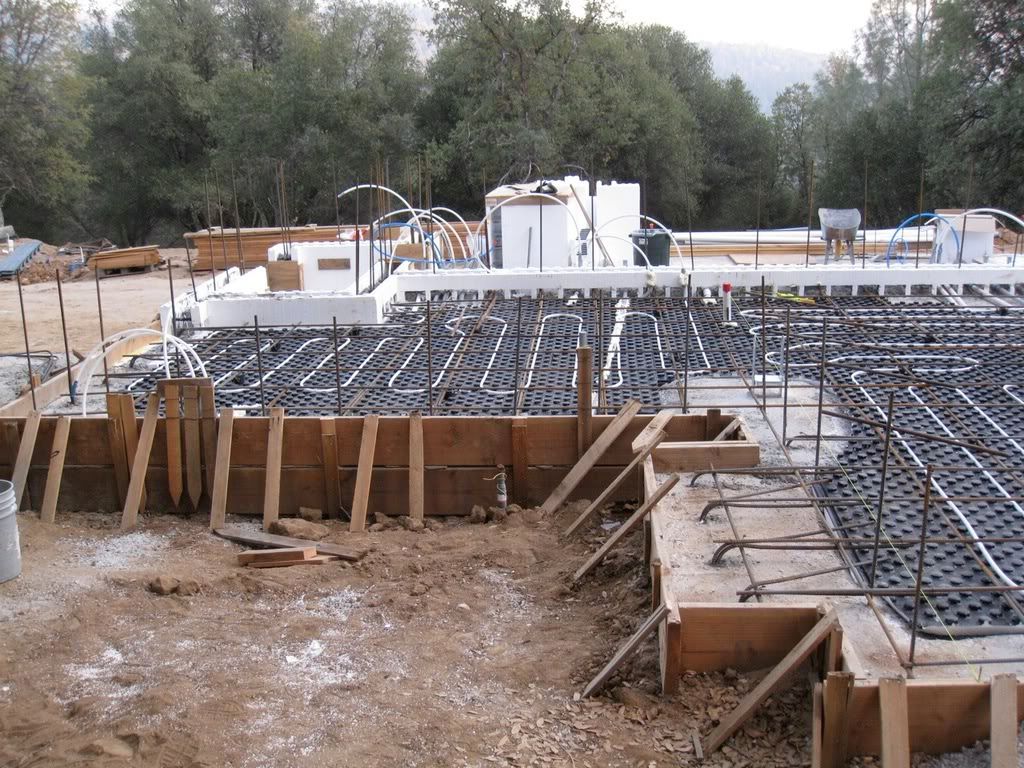
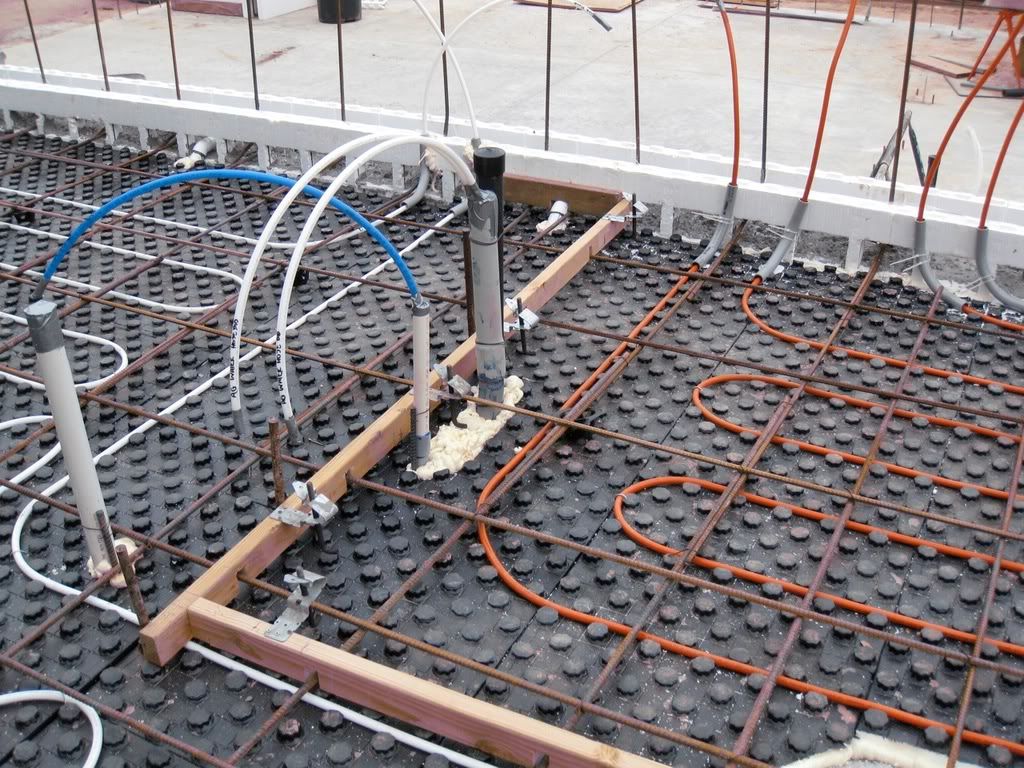
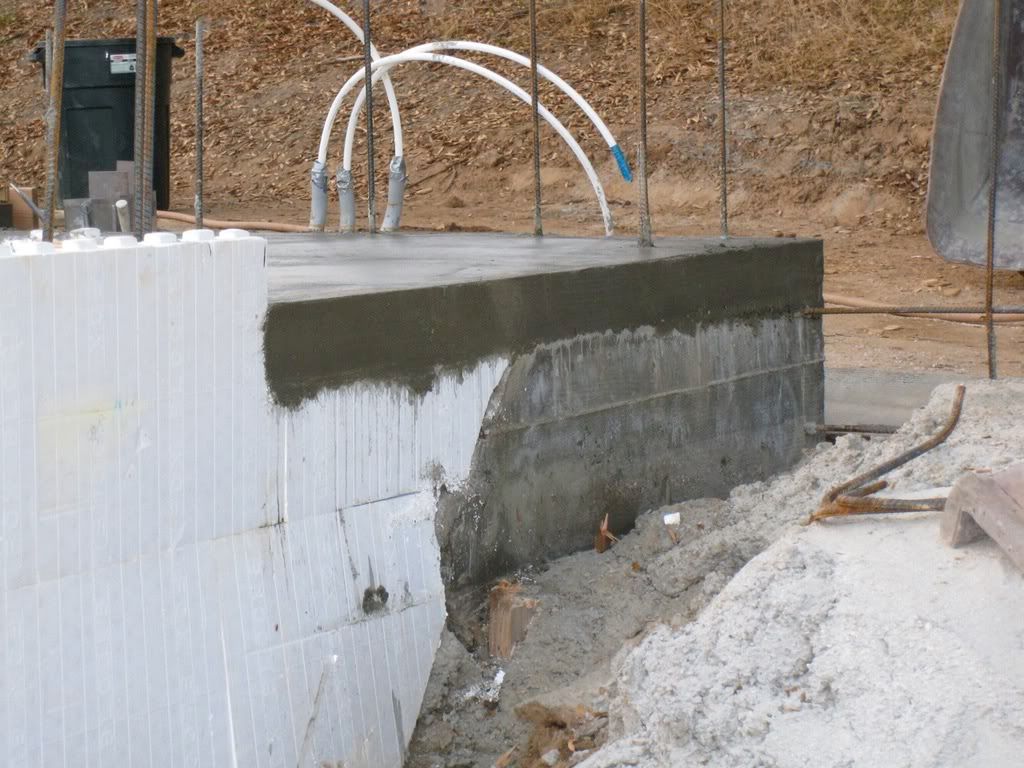
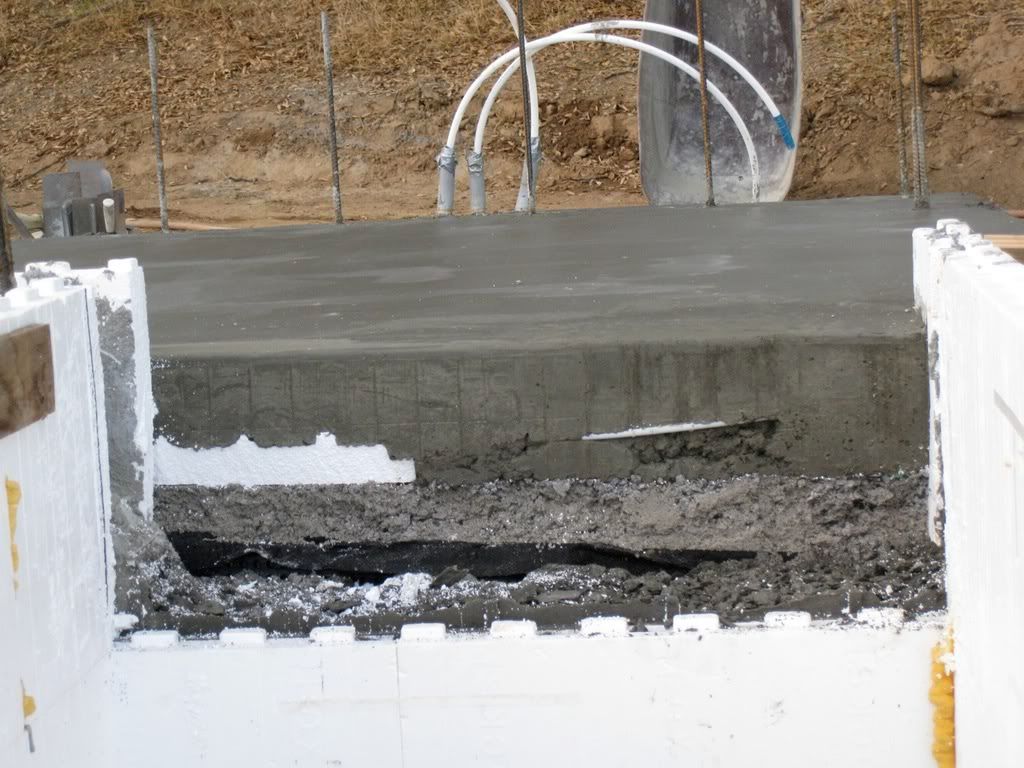
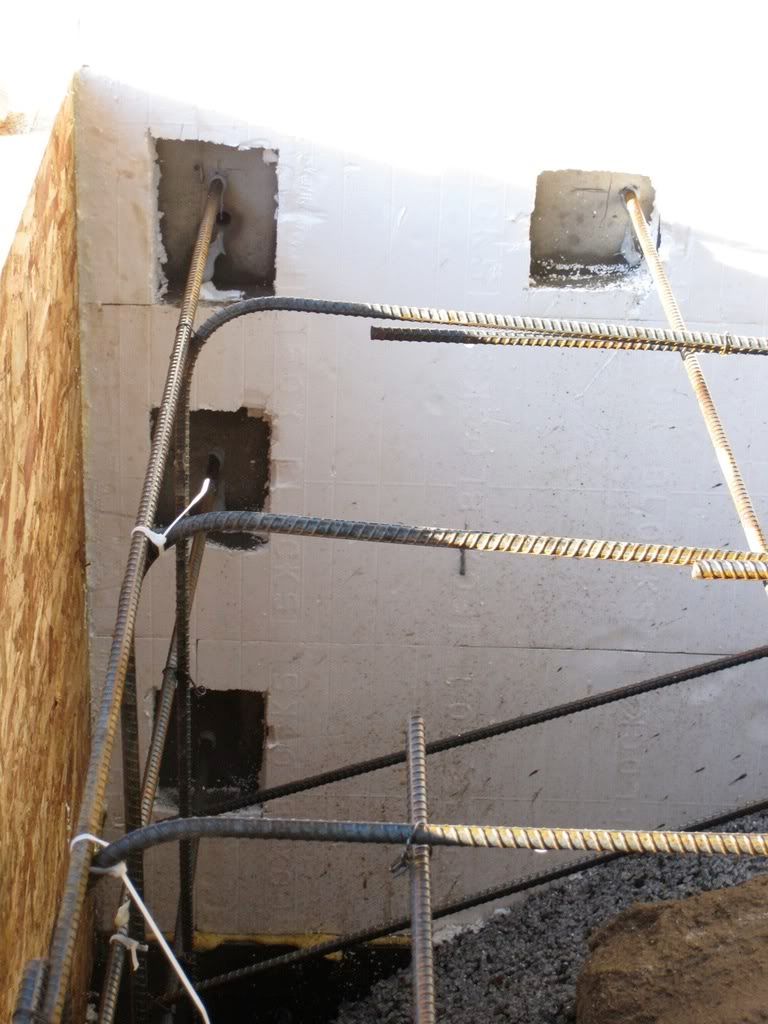
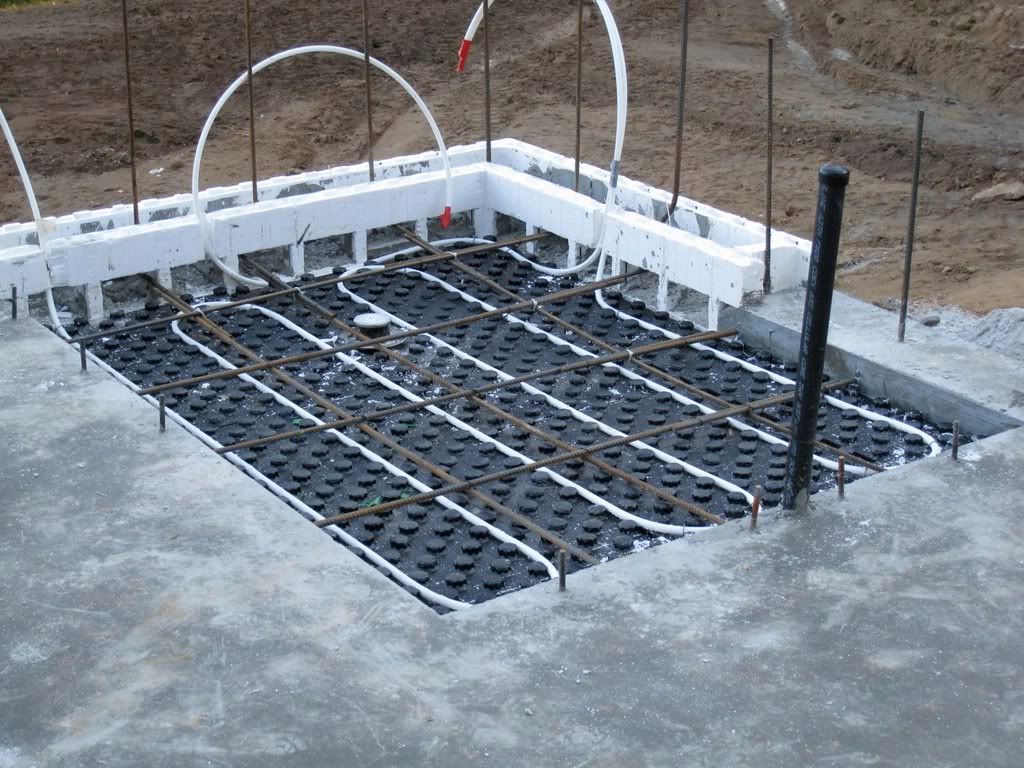
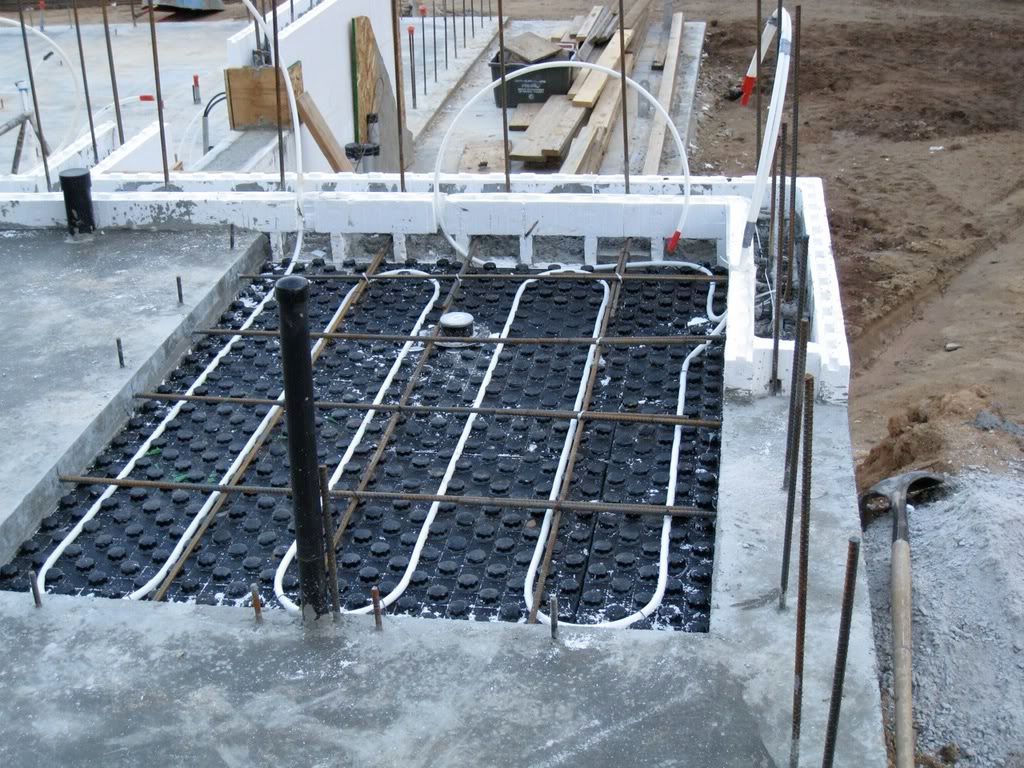
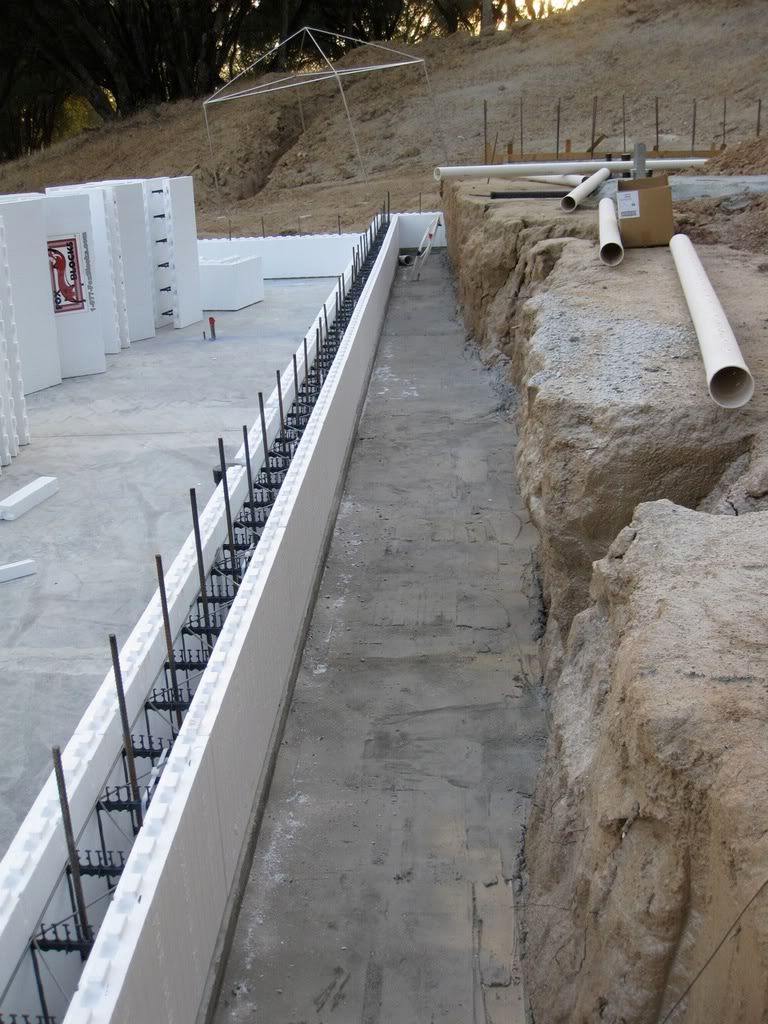
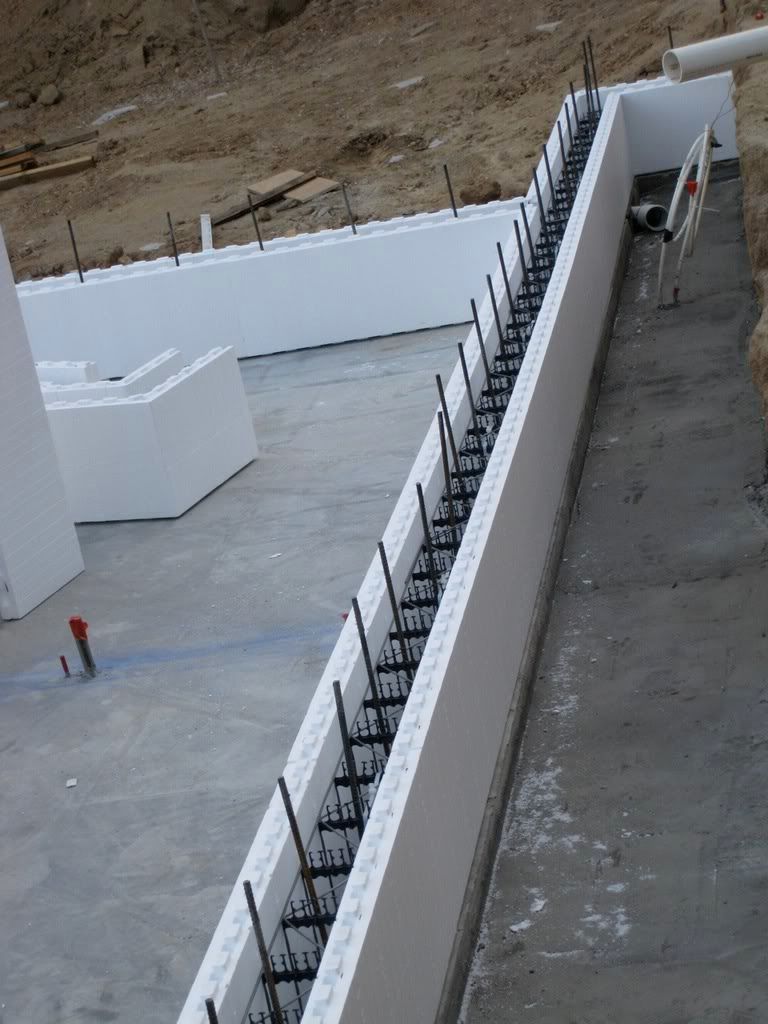
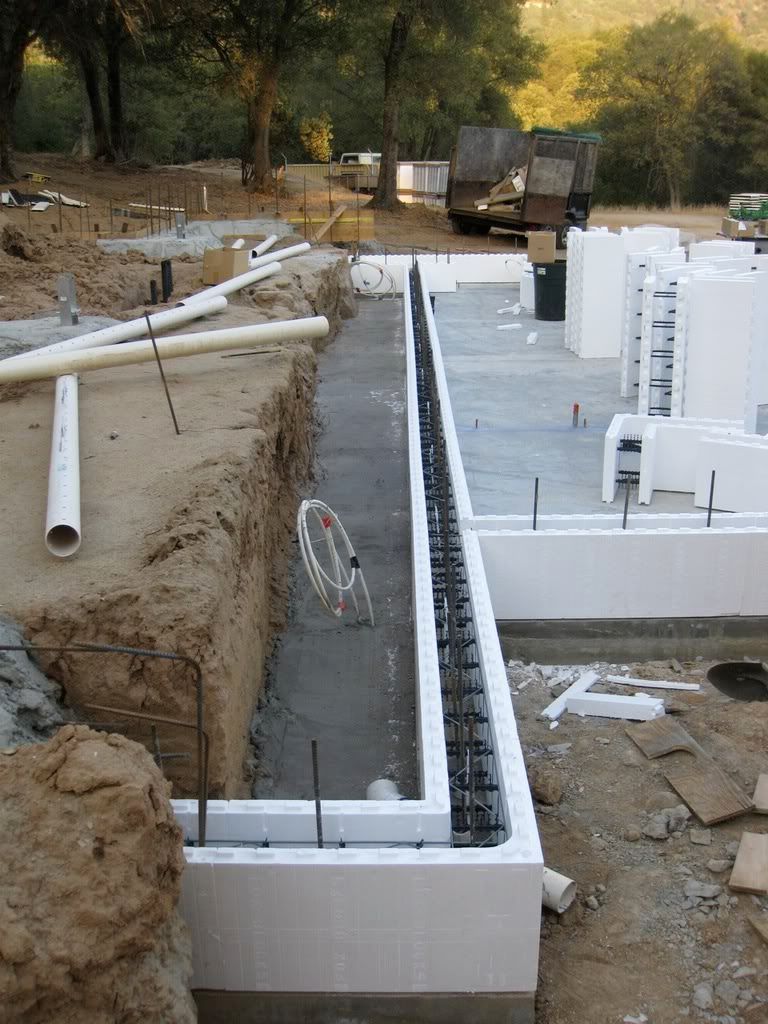
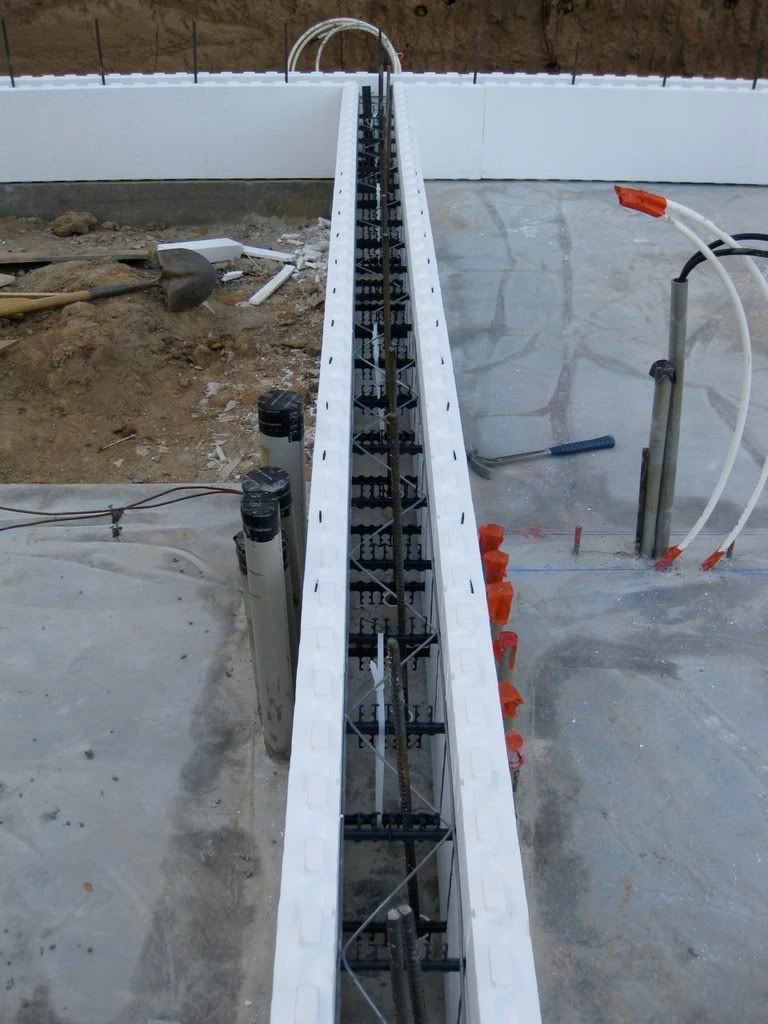
Then after pulling the bracing we got in and sealed the back of the ICF retaining wall with a couple of products from Protecto Wrap -Jiffy Seal to seal the ICF, which is a peel and stick membrane, then apply the Drain board. Then line the trench with Filter Cloth and put a filter sock on the French Drain itself. www.protectowrap.com/products/waterproof.php 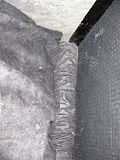 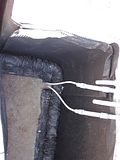 Then I strung a slinky cooling coil down the length of the trench to get additional cooling. 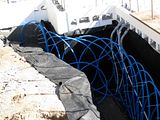  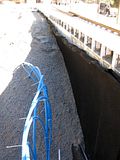  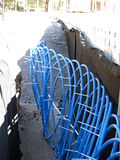 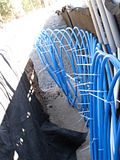 In my new house I am planning on using radiant heat, but was looking for a way to get cooling running through the same system. I didn't want the added expense of a traditional Geo thermal system, so I talked with a few people and came up with the idea of stringing Pex lines through the footings. And additionlly, I'm also placing a Slinky line in the back of one of the retaining walls between the split levels. I'm hoping to get from this heat dissipation source (between the perimeter footing loops and the slinky) over 6 tons of cooling. I've heard that 200' feet of Pex line is equivalent to 1 ton of cooling. I have about 500 feet in the footings and another 750' or so behind the split level retaining wall. I have a shop that is about 1000 sq ft but I don't want to use AC to cool it, so I'm trying this with an additional pump to circulate the cooling water through the same Pex that will carry the Radiant heat in winter.  Slinky coil geothermal ground loops Slinky coil geothermal ground loops are gaining popularity, particularly in residential geothermal system installations. Slinky coil ground loops are essentially a more economic and space efficient version of a horizontal ground loop. Rather than using straight pipe, slinky coils, as you might expect, use overlapped loops of piping laid out horizontally along the bottom of a wide trench. Depending on soil, climate and your heat pumps’ run fraction, slinky coil trenches can be anywhere from one third to two thirds shorter than traditional horizontal loop trenches. |
|
|
|
Post by tuffytractor on Feb 11, 2009 18:13:35 GMT -5
|
|
|
|
Post by tuffytractor on Feb 11, 2009 20:29:27 GMT -5
|
|
|
|
Post by tuffytractor on Feb 11, 2009 20:55:17 GMT -5
|
|
|
|
Post by stumppuller on Feb 11, 2009 21:20:44 GMT -5
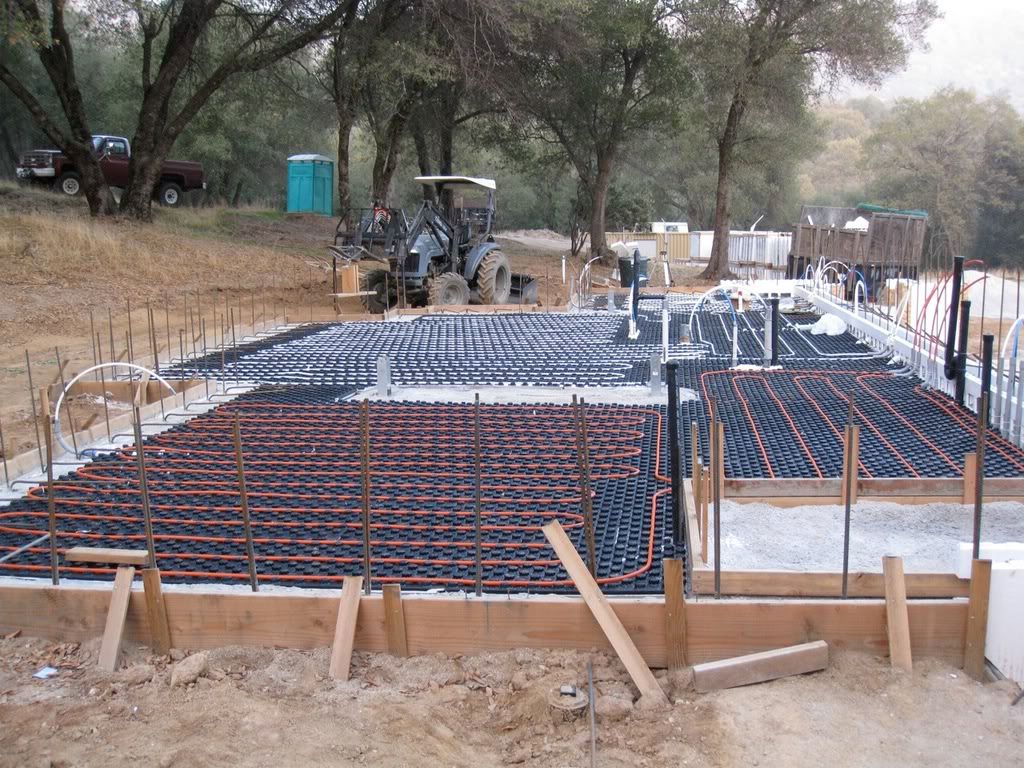
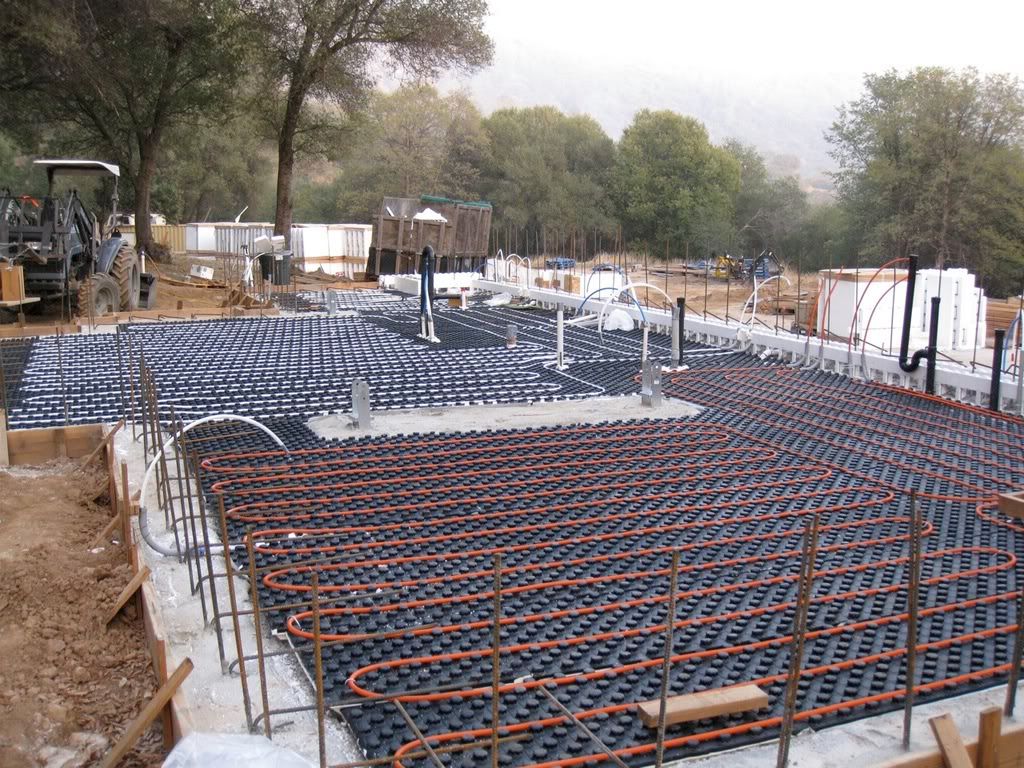
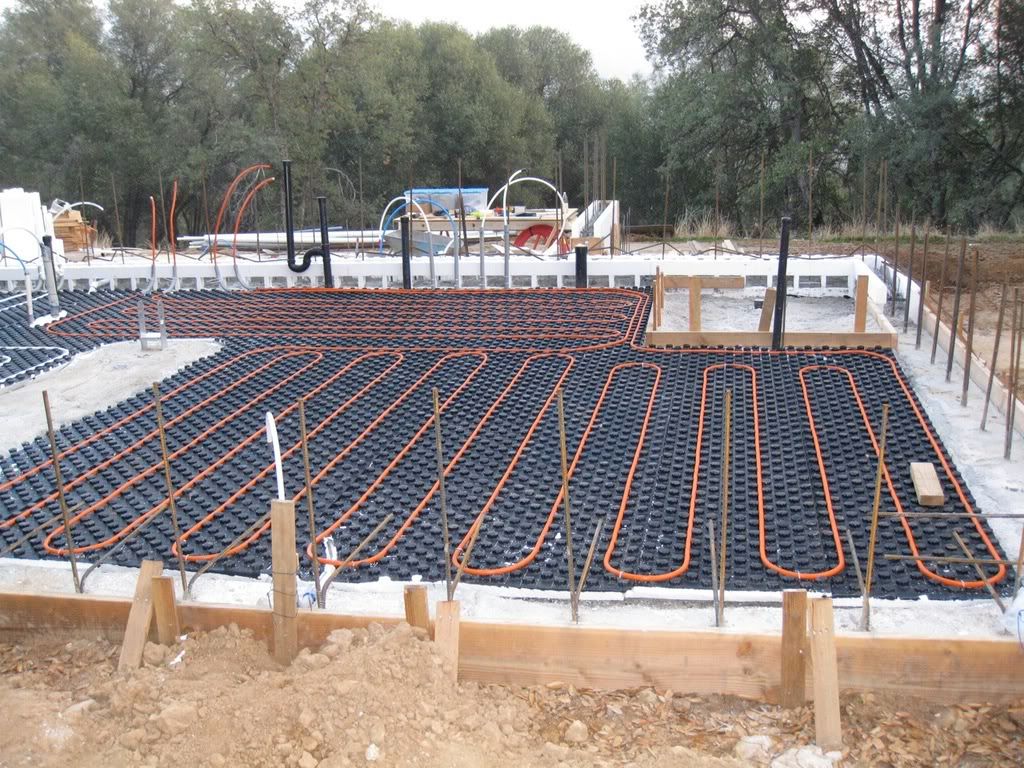
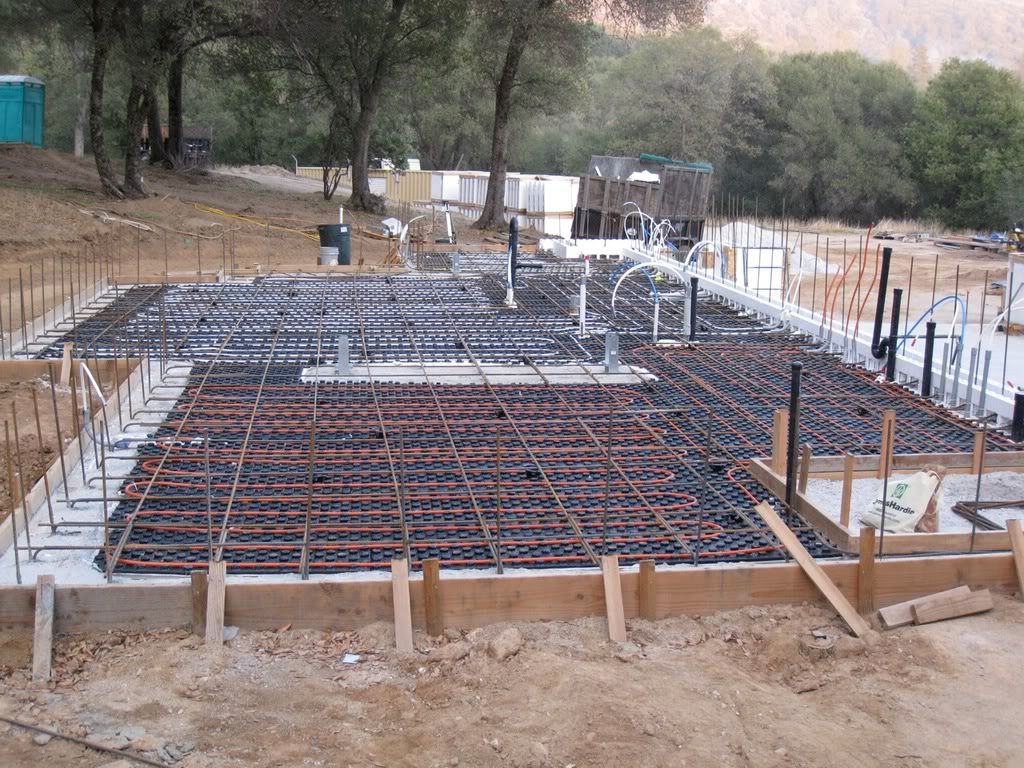
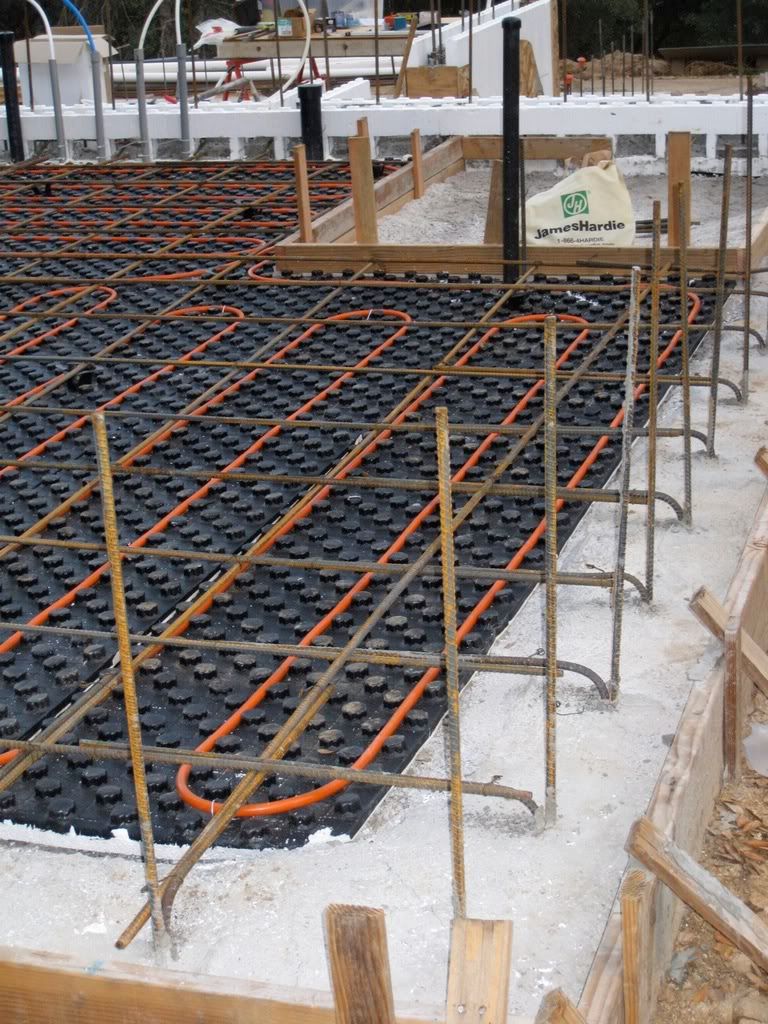
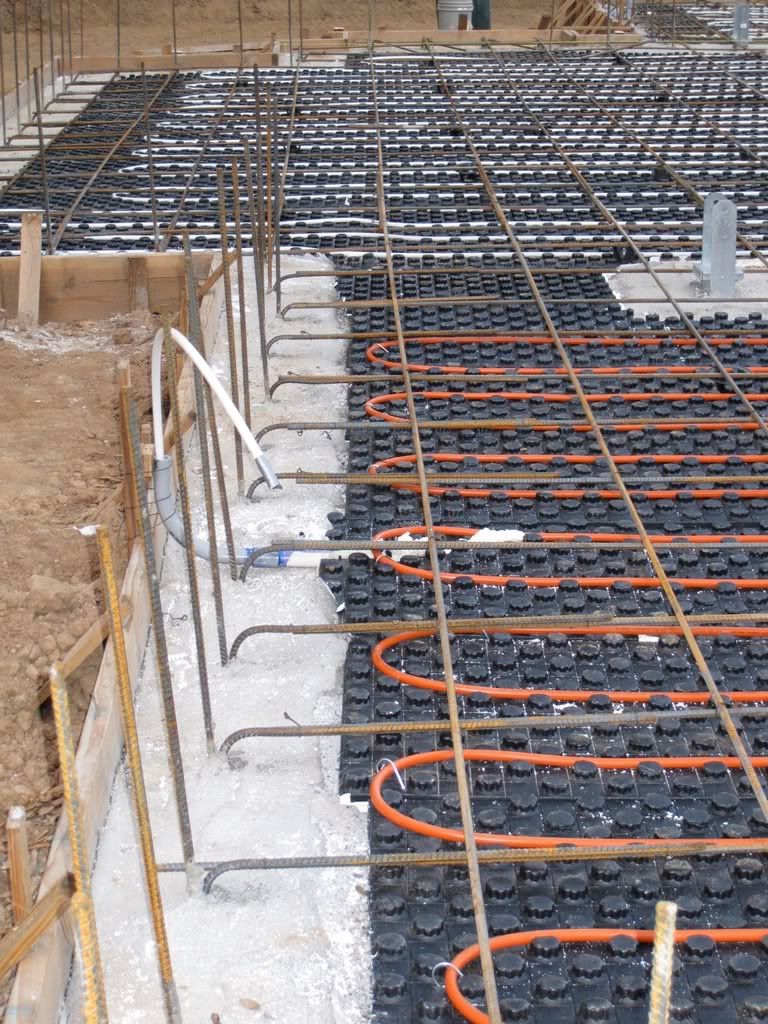
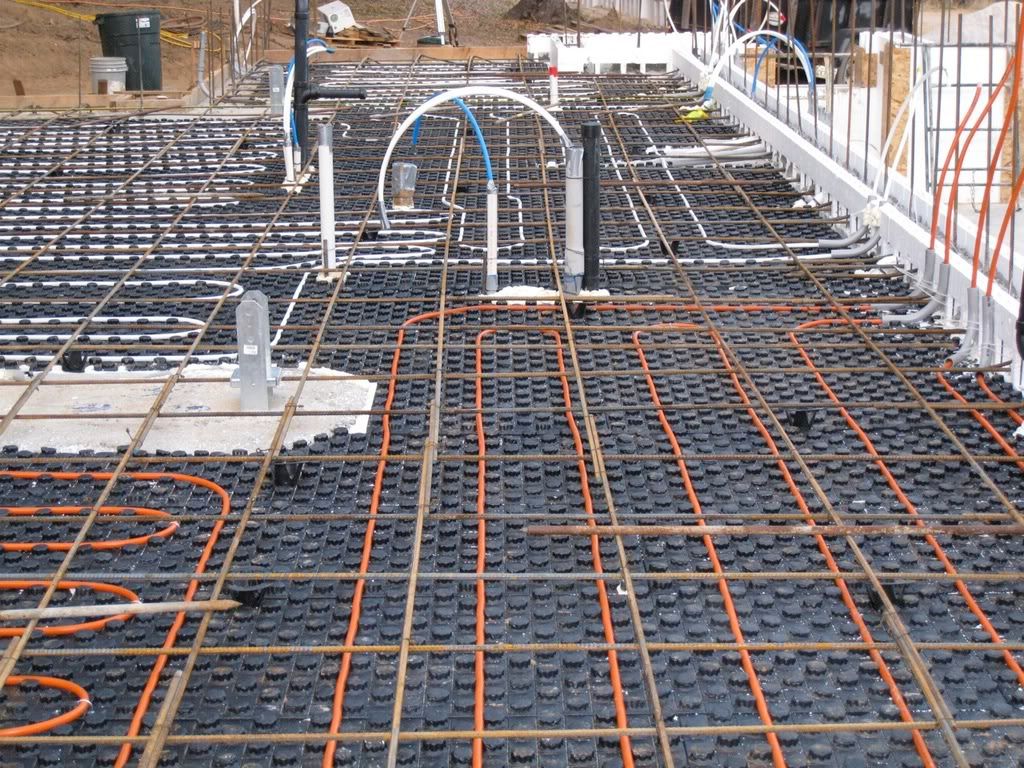
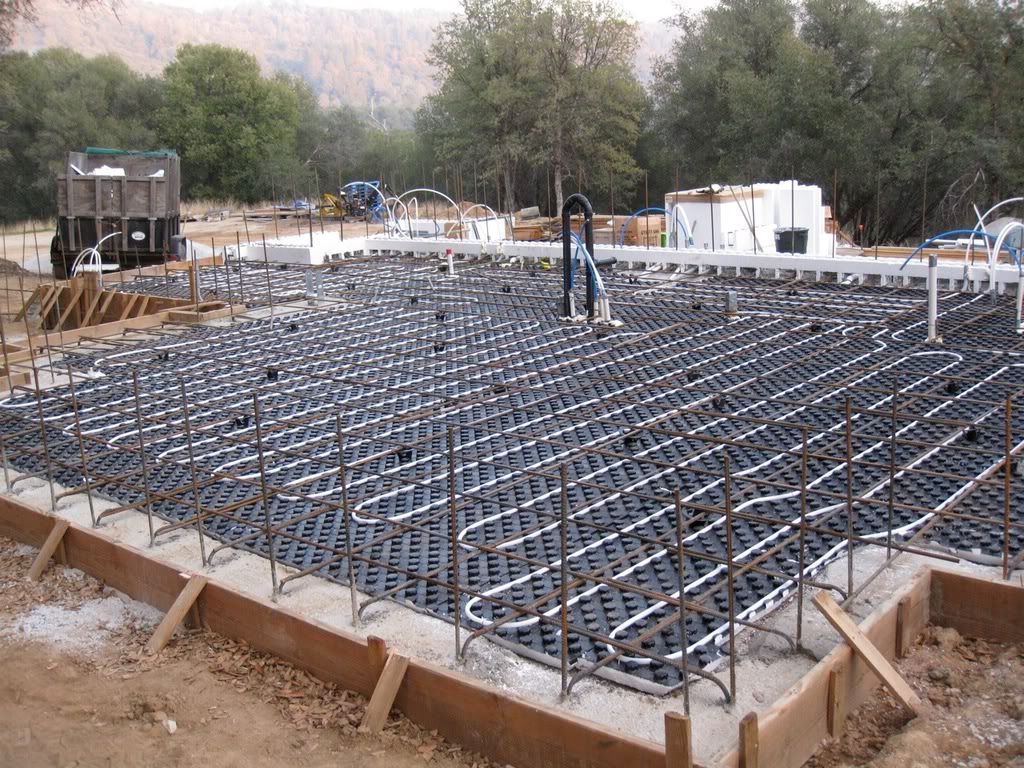
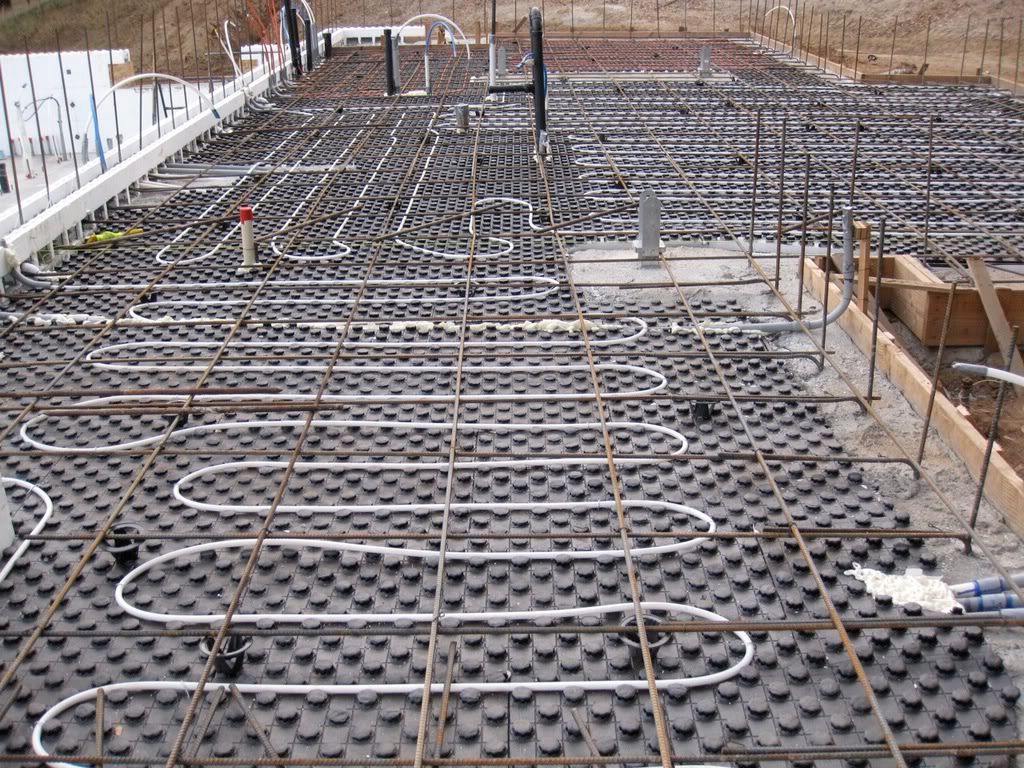
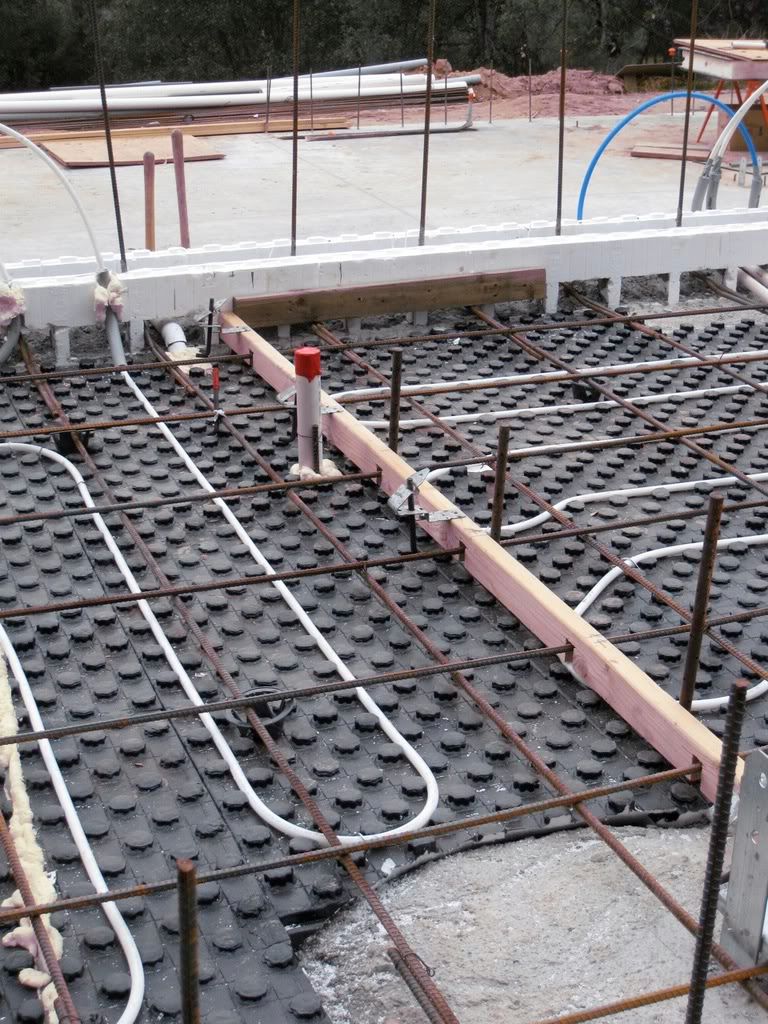
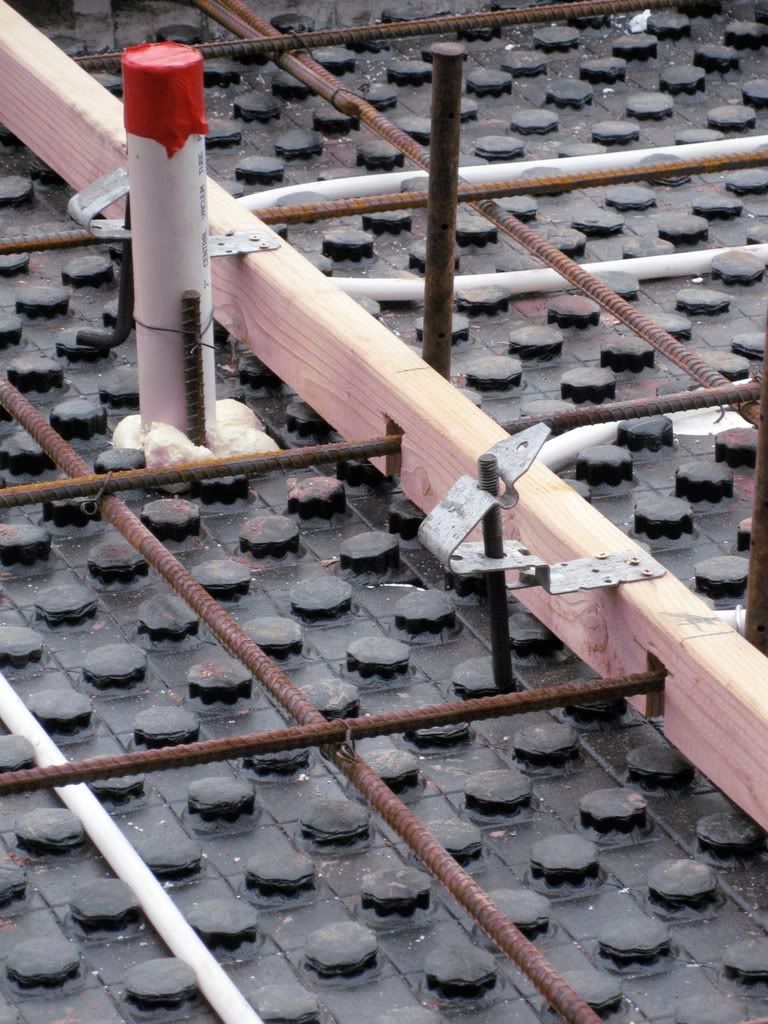
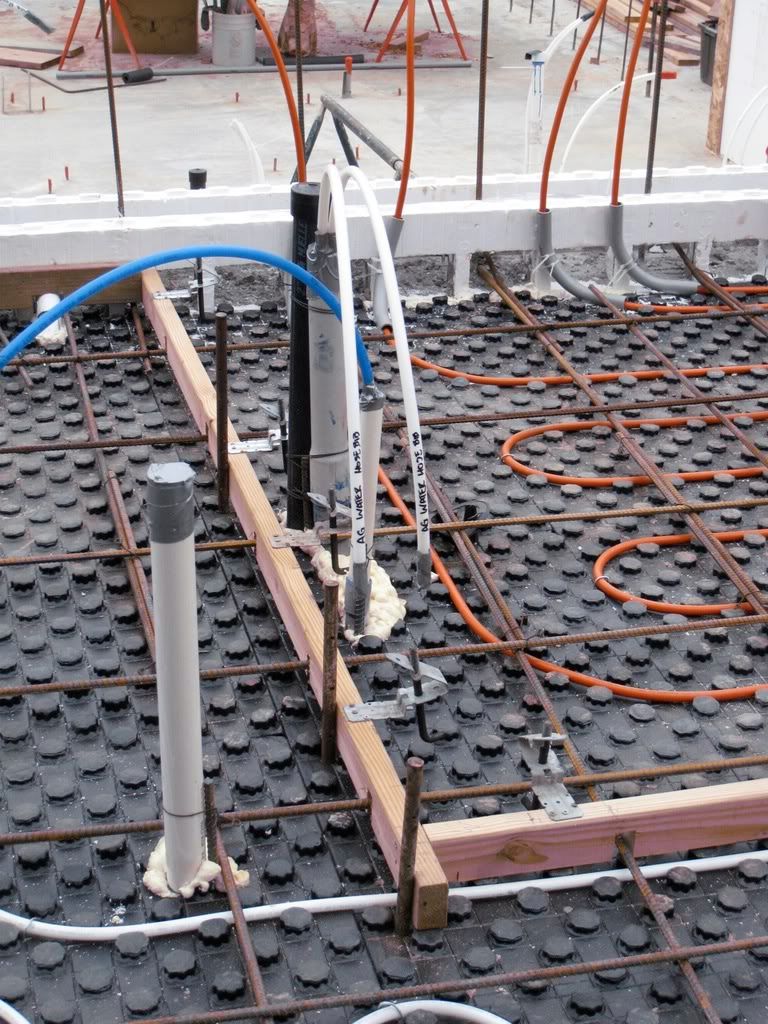
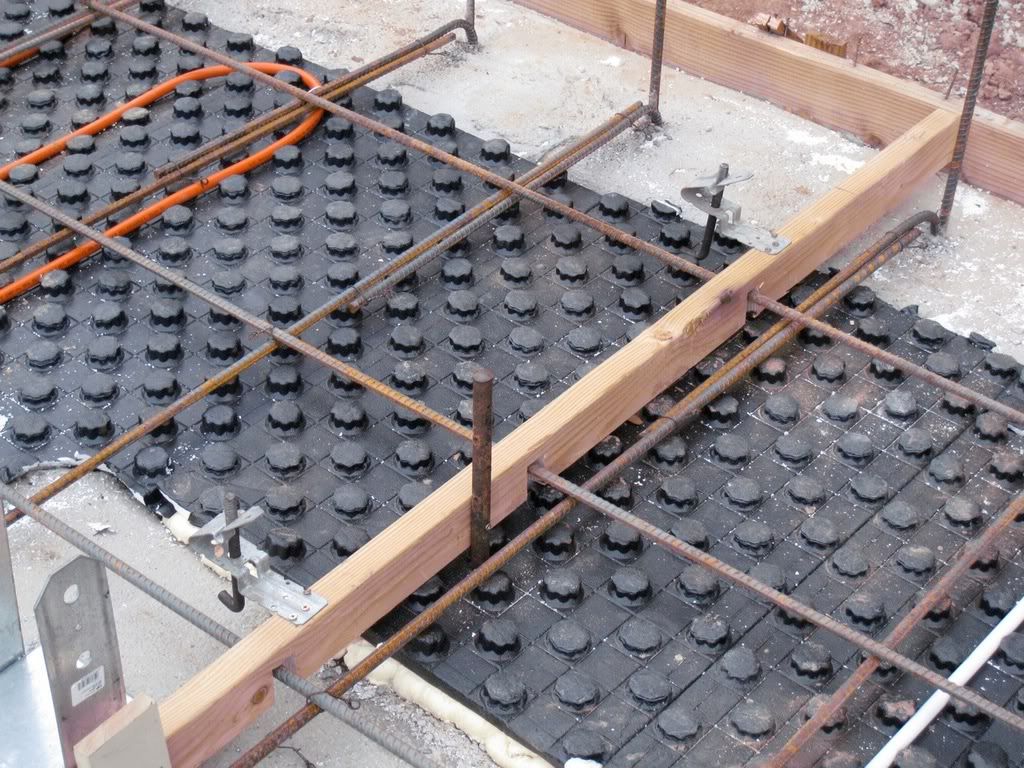
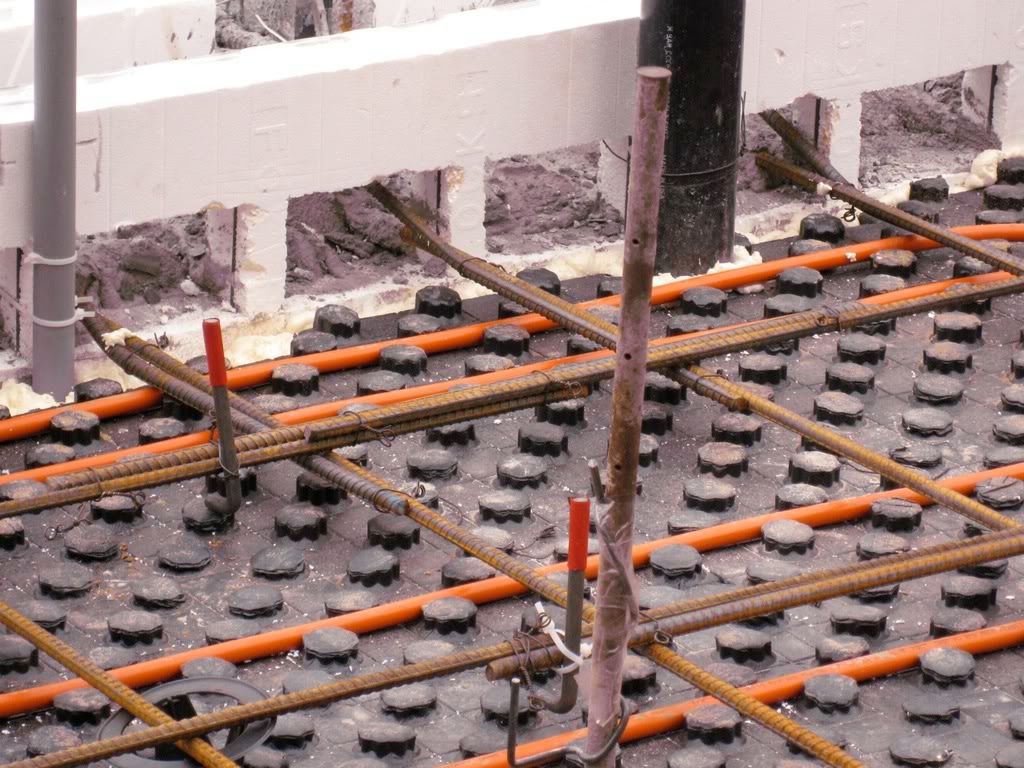
What is the lattice work I see beneath the pex? I am also planning radiant heating for the house, but on a suspended floor, which brings its own set of problems. However, the garage will be a slab with radiant heating & hopefully solar powered.
Bruce
|
|
|
|
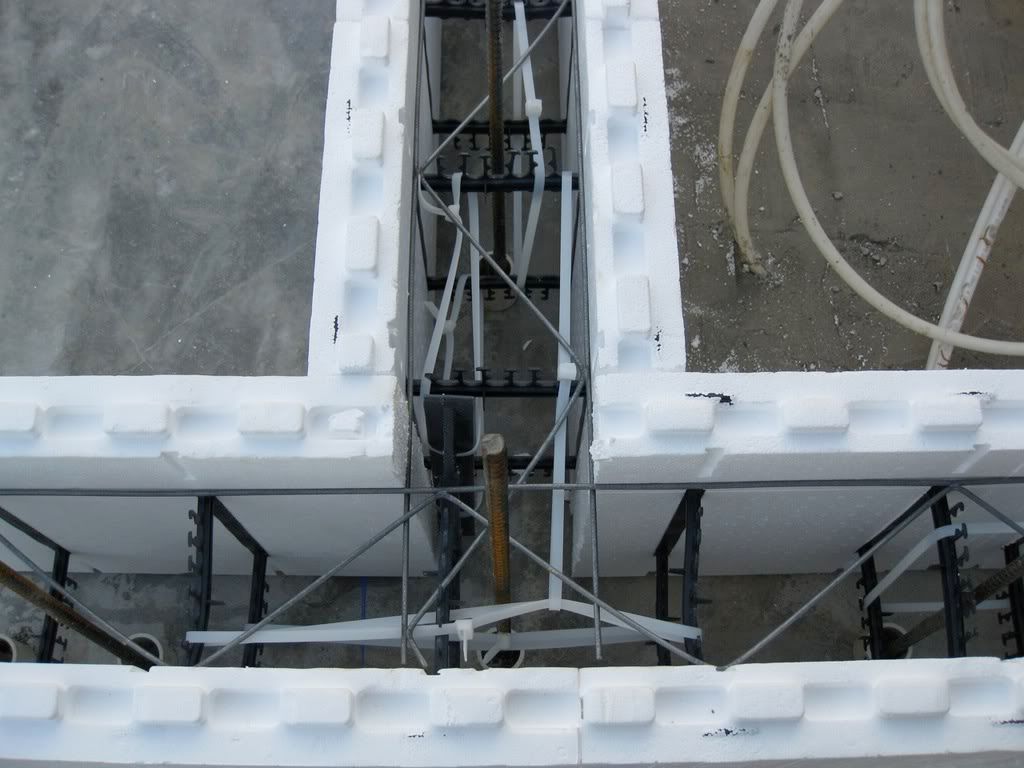
Post by tuffytractor on Feb 11, 2009 21:30:00 GMT -5
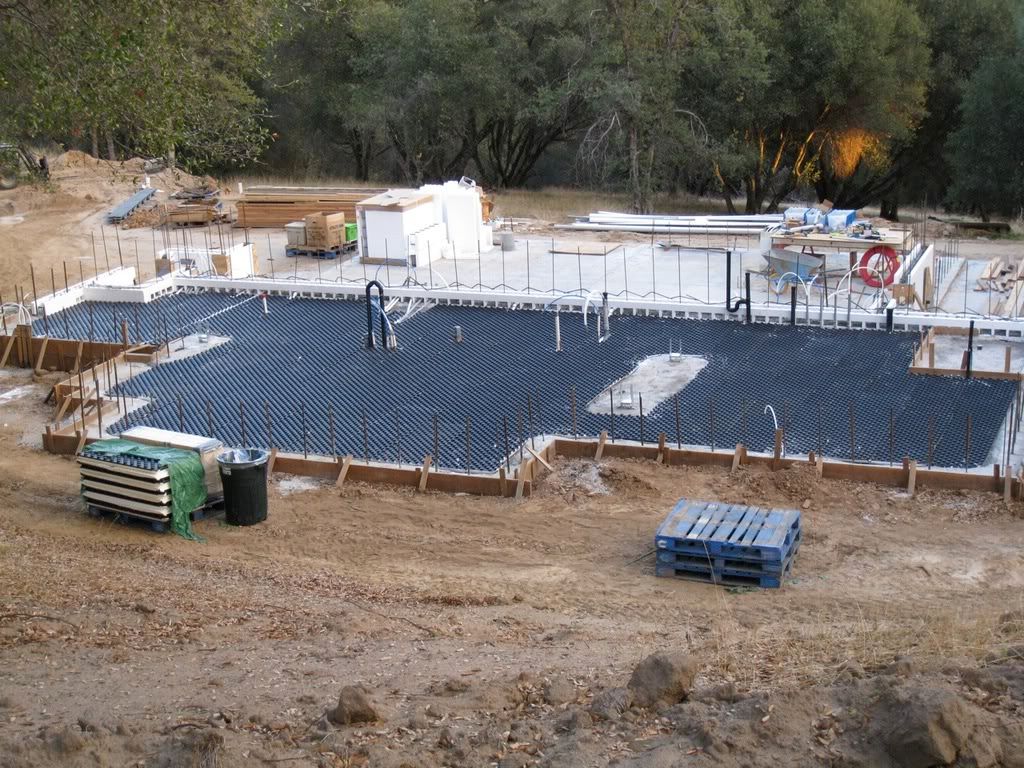
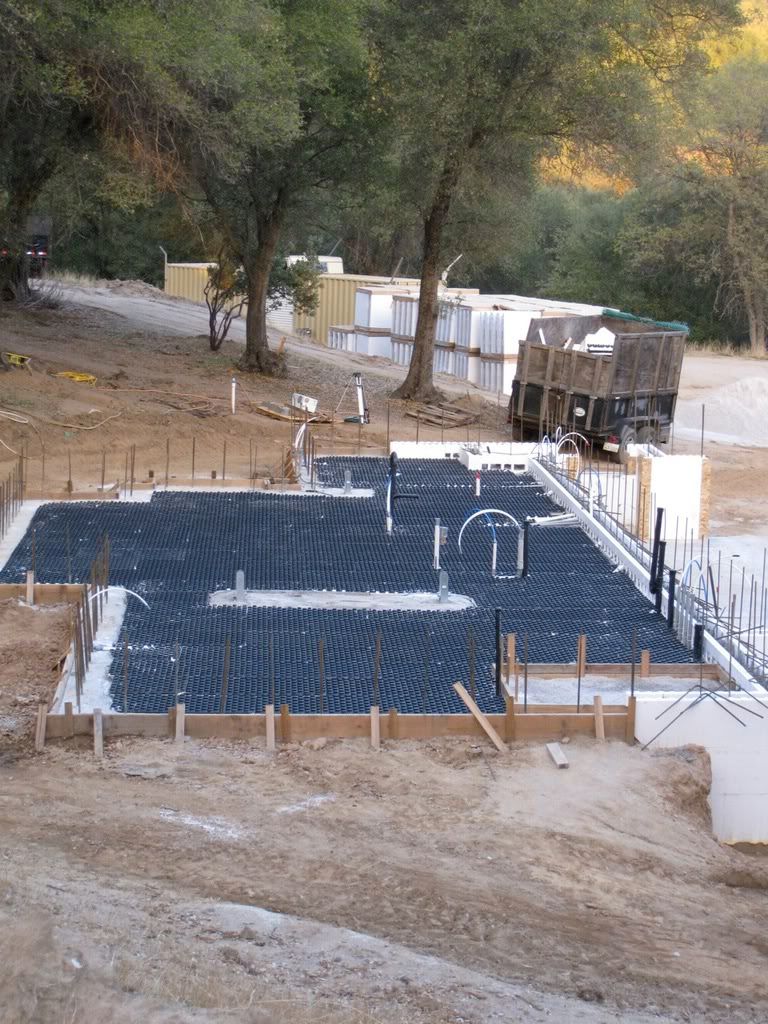
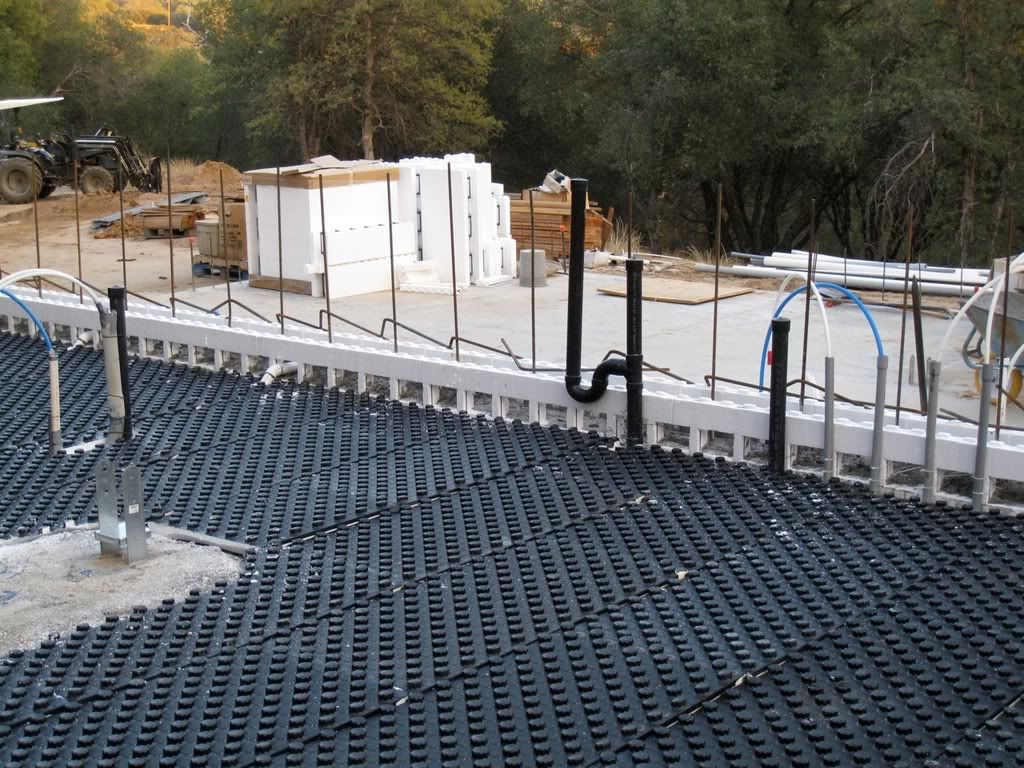
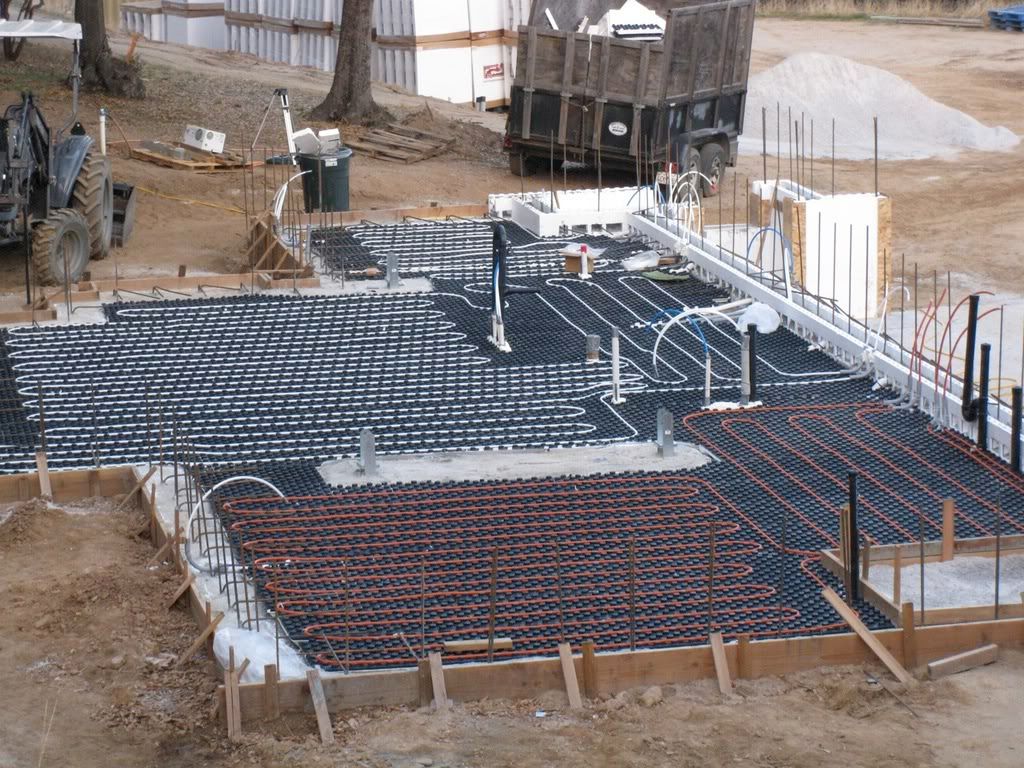
www.ezfloor.com/product.phpE-Z Floor It functions as a vapor barrier, insulation and Pex holder, all in one! I like the product! I find you also need to use Irrigation wire hold downs, the longer the better. Inserted at the bends in the tubing so it won't pop out of the grid when you place the steel. After I got that figured out, it was smooth sailing. I also don't think you can go tighter than a 10" pattern and have it work. But I don't really think you need to go much smaller and still get a plenty warm floor. 
|
|
|
|
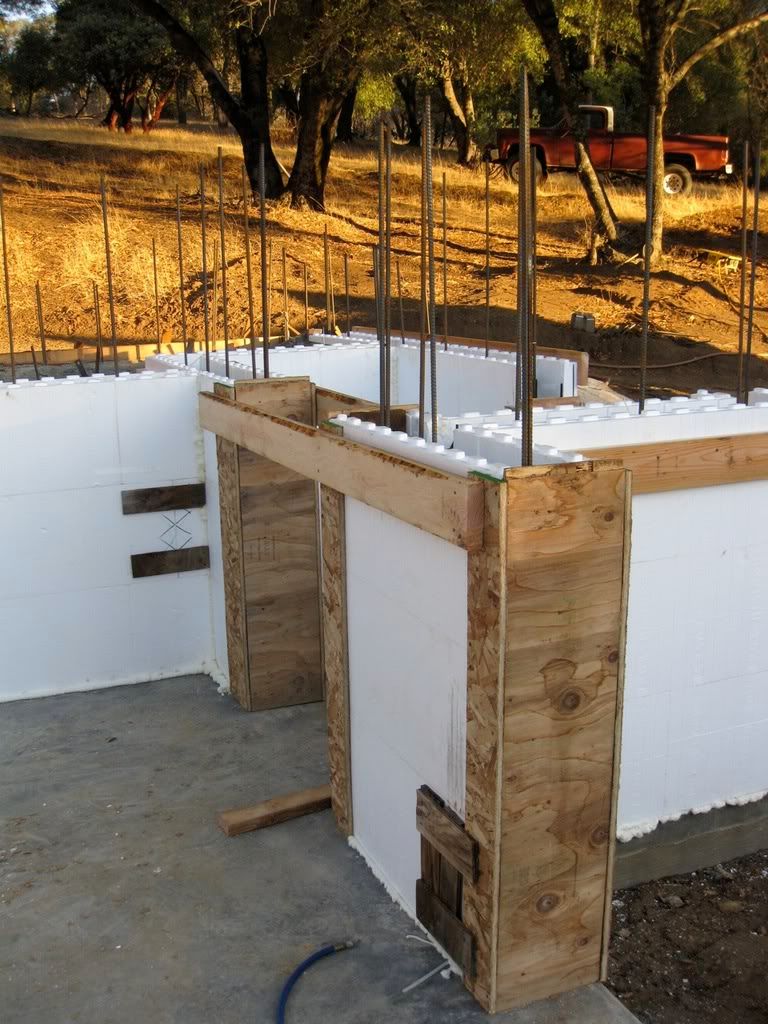
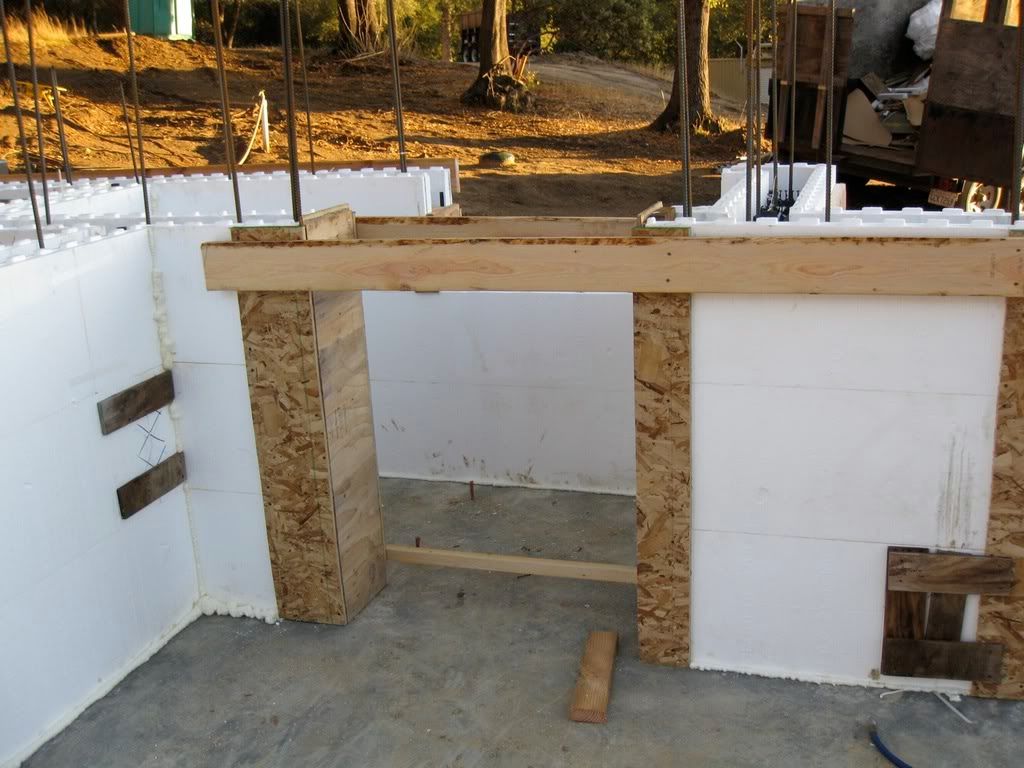
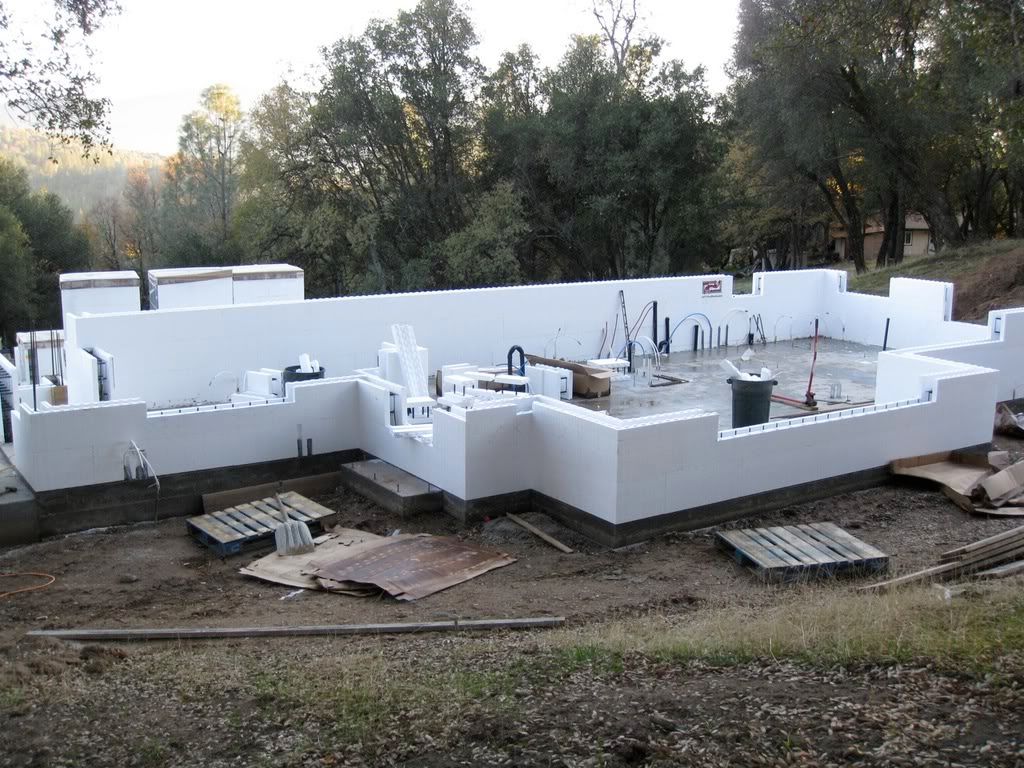
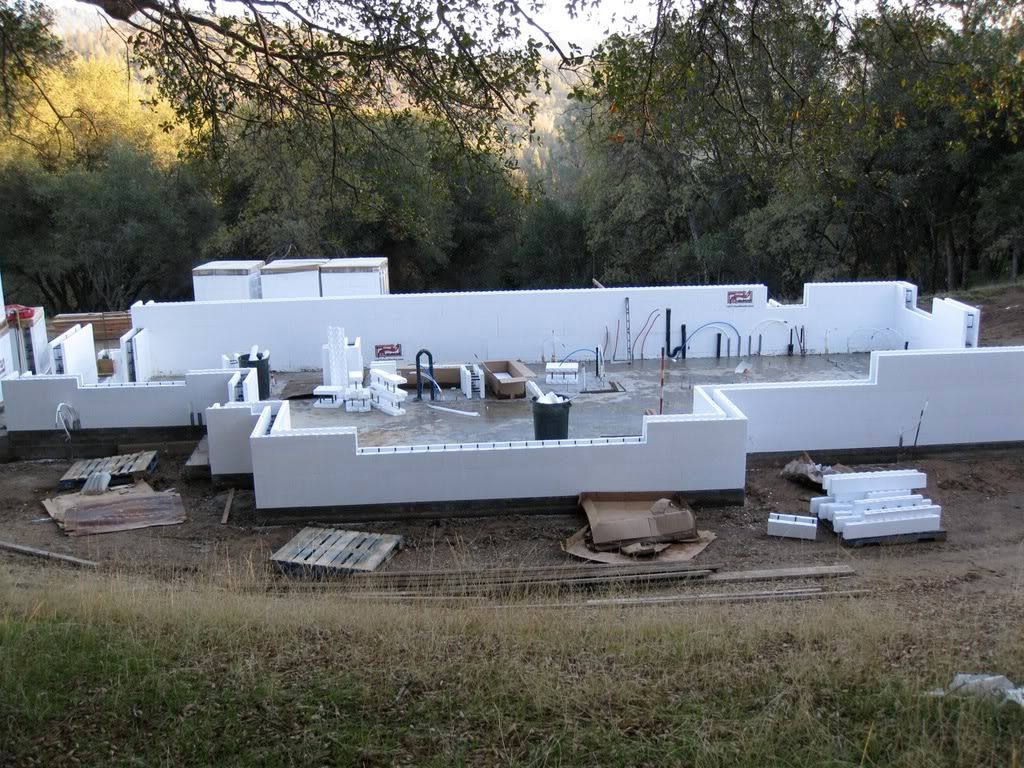
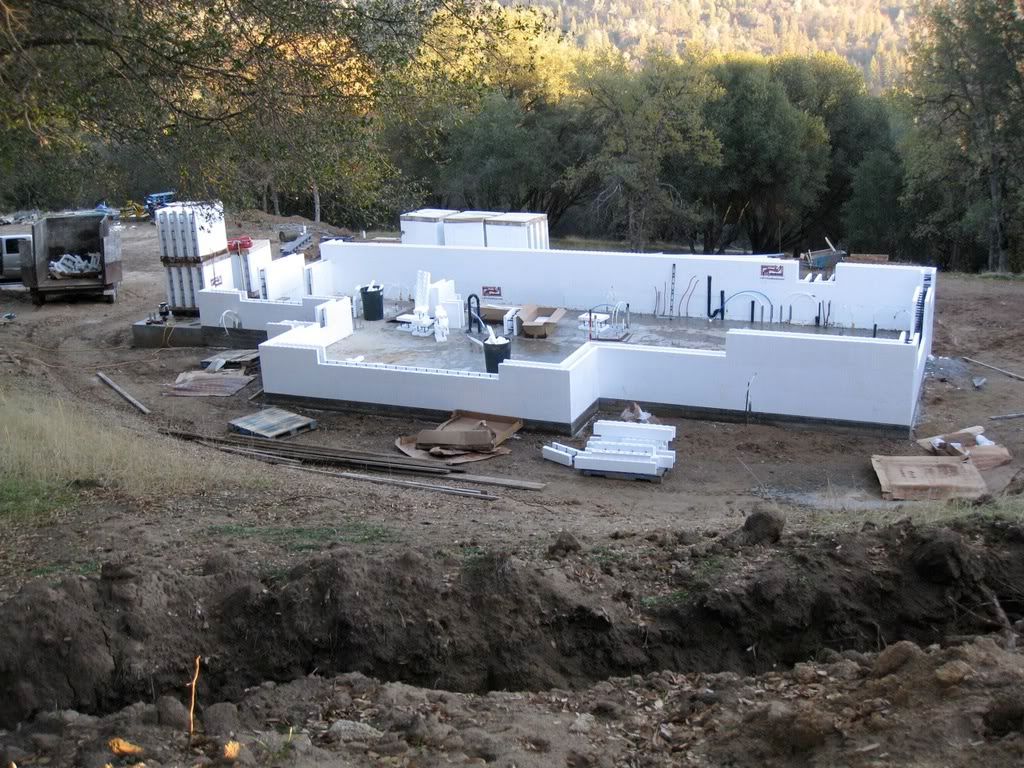
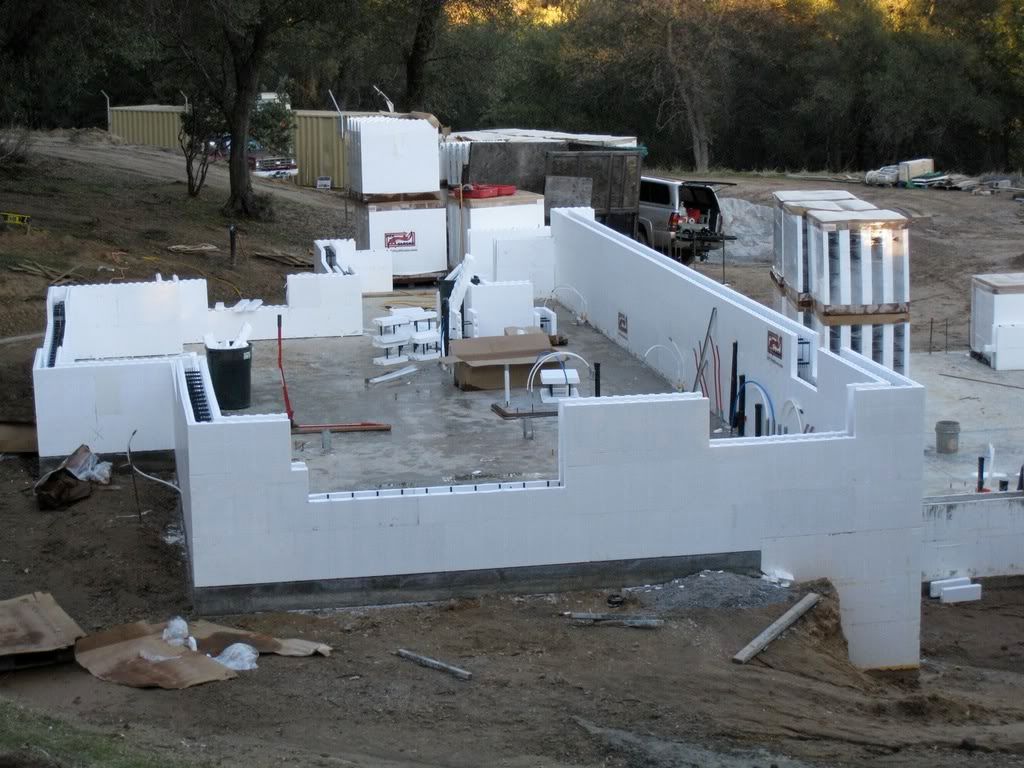
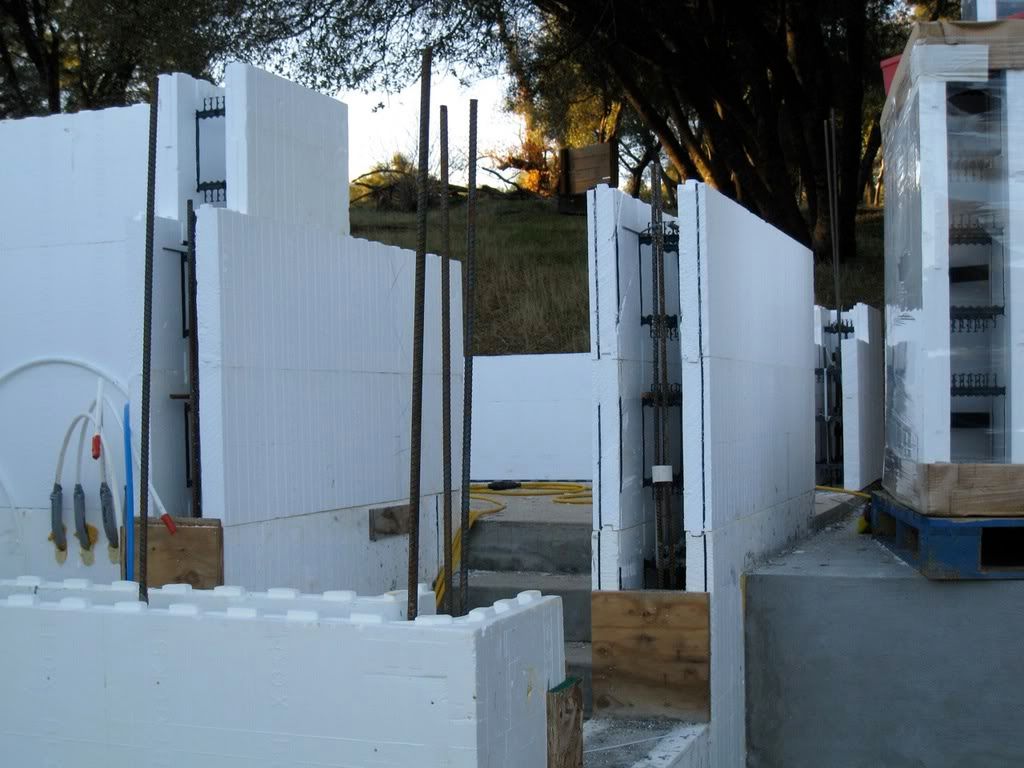
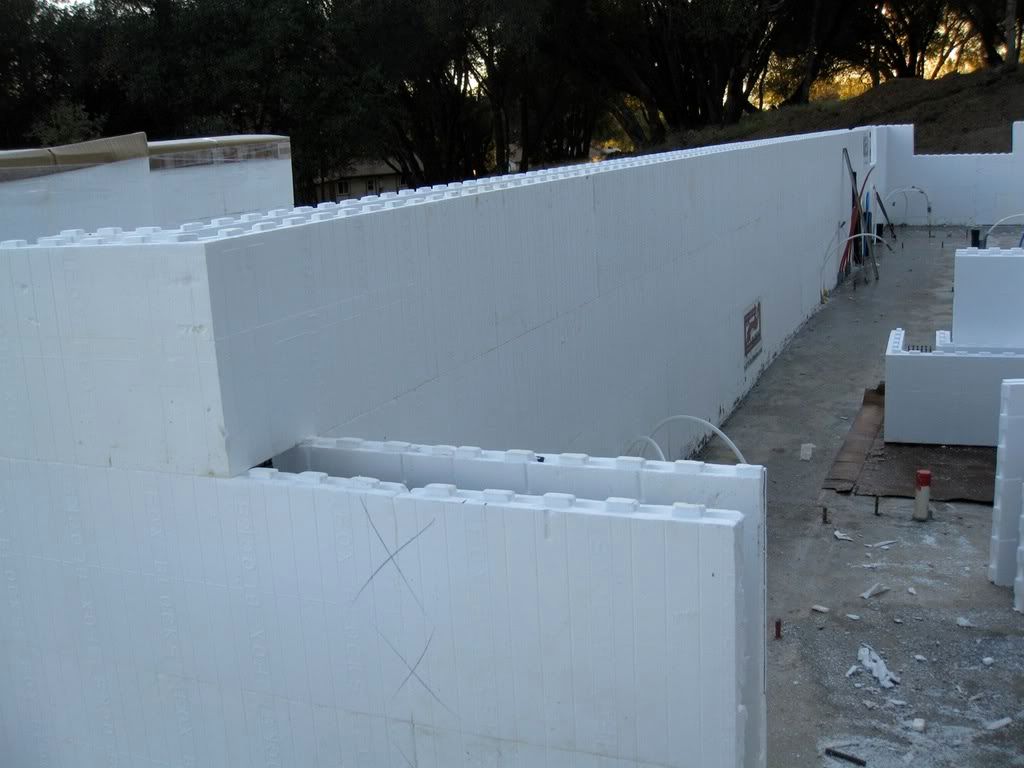
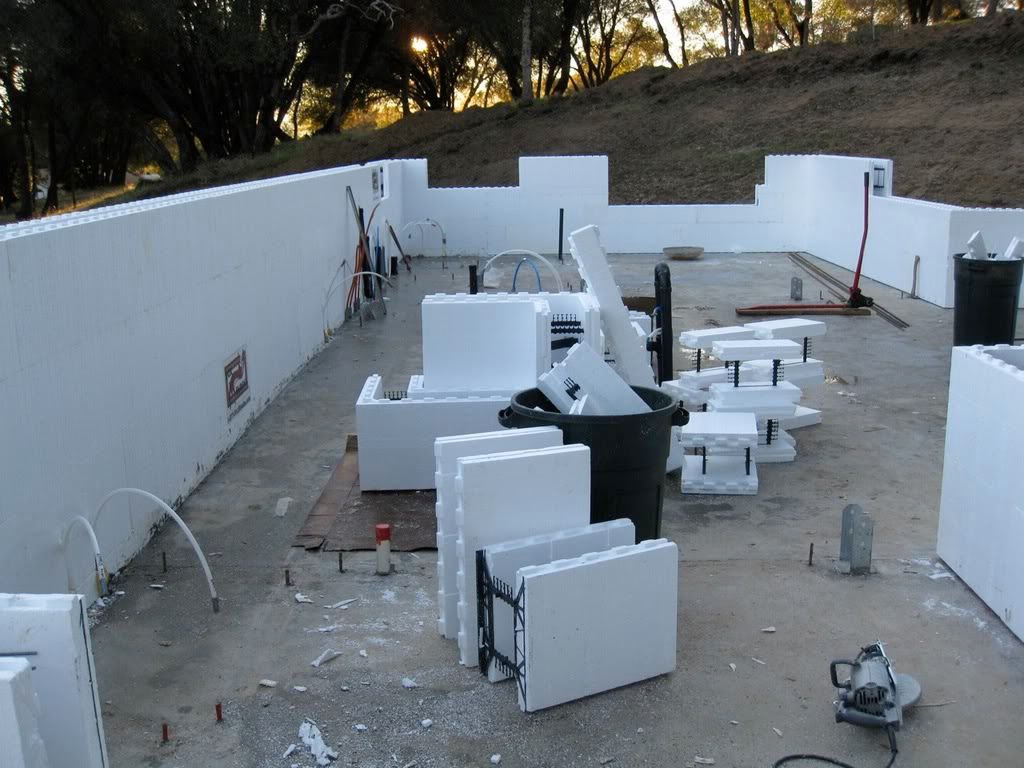
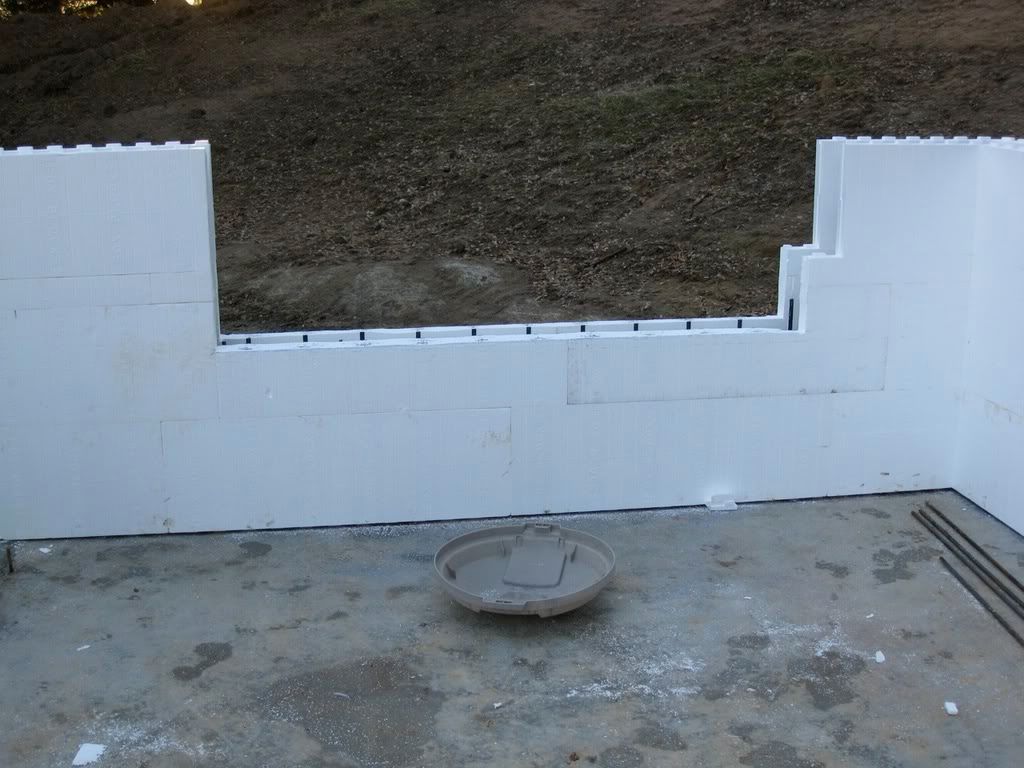
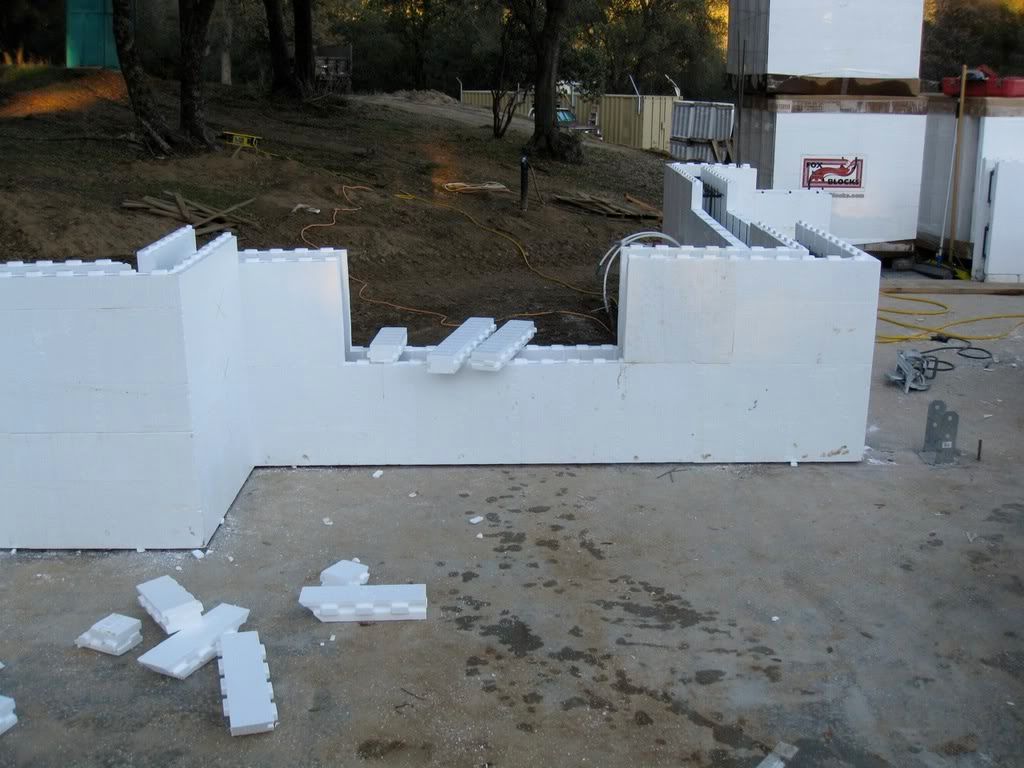
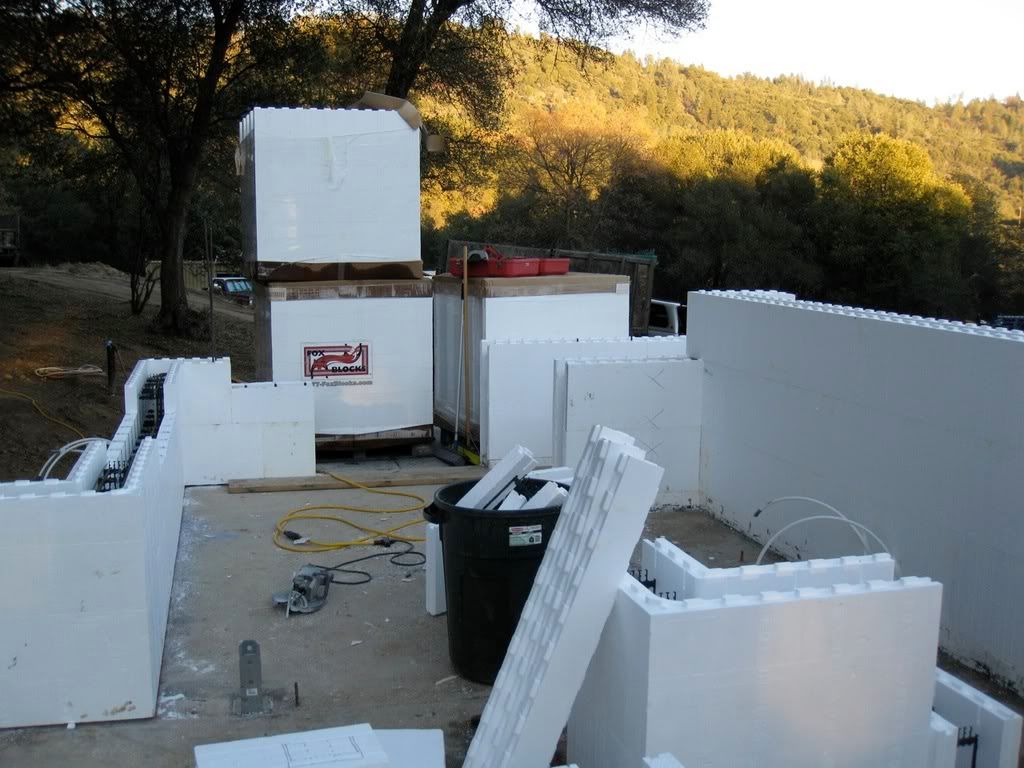
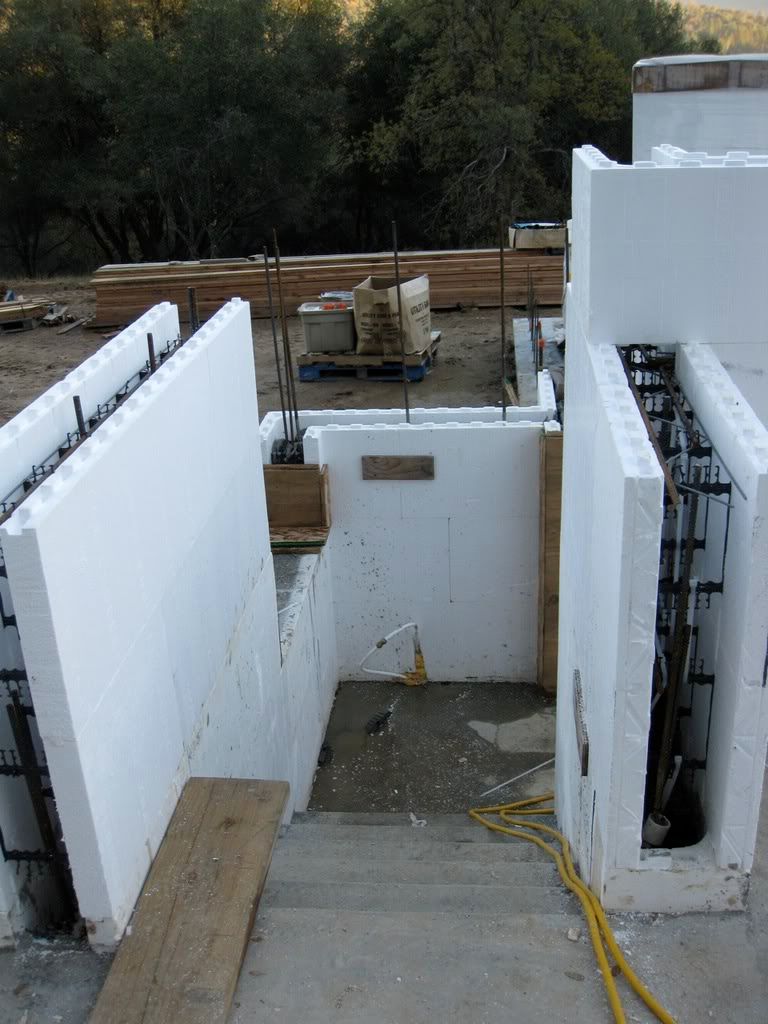
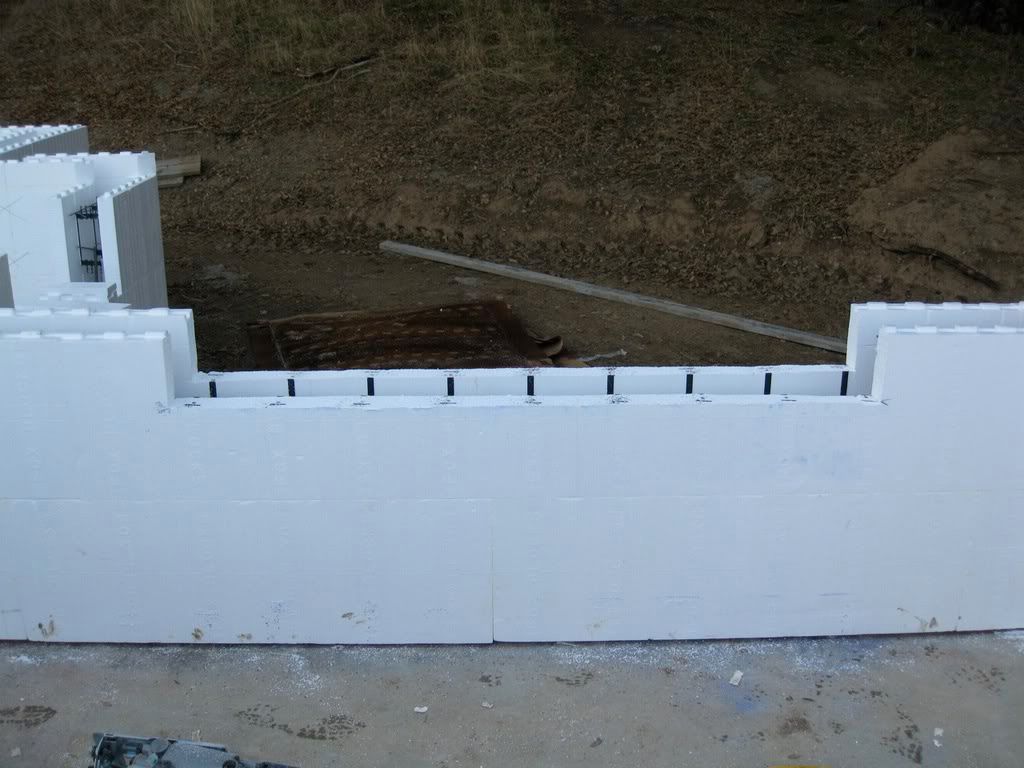
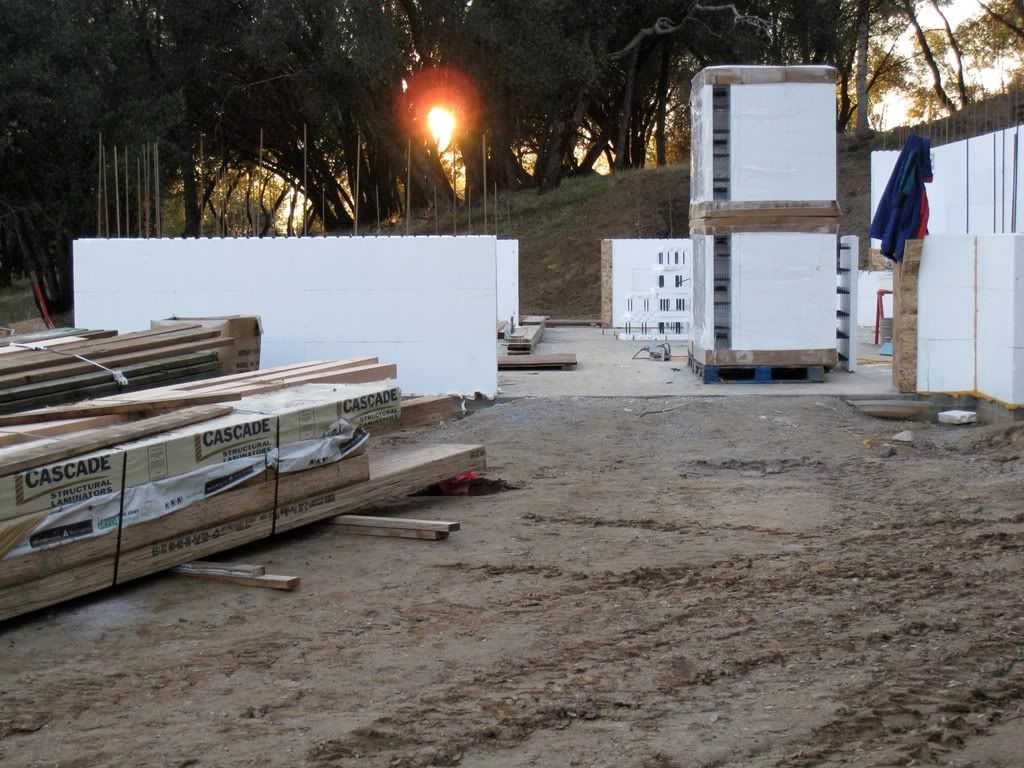
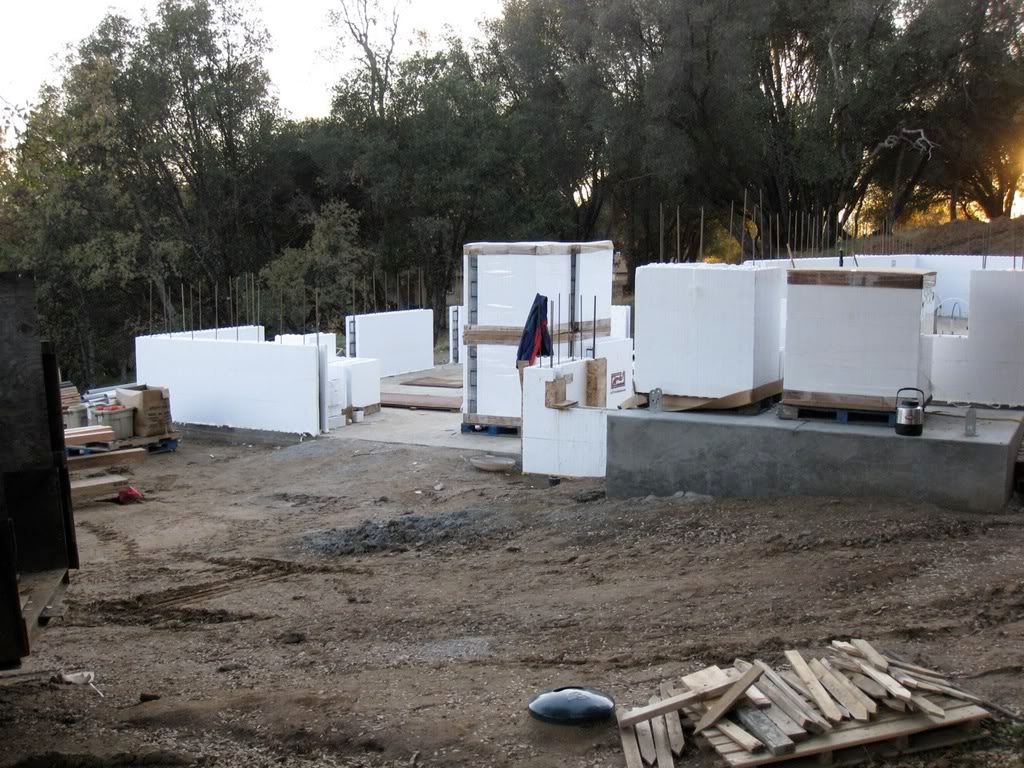
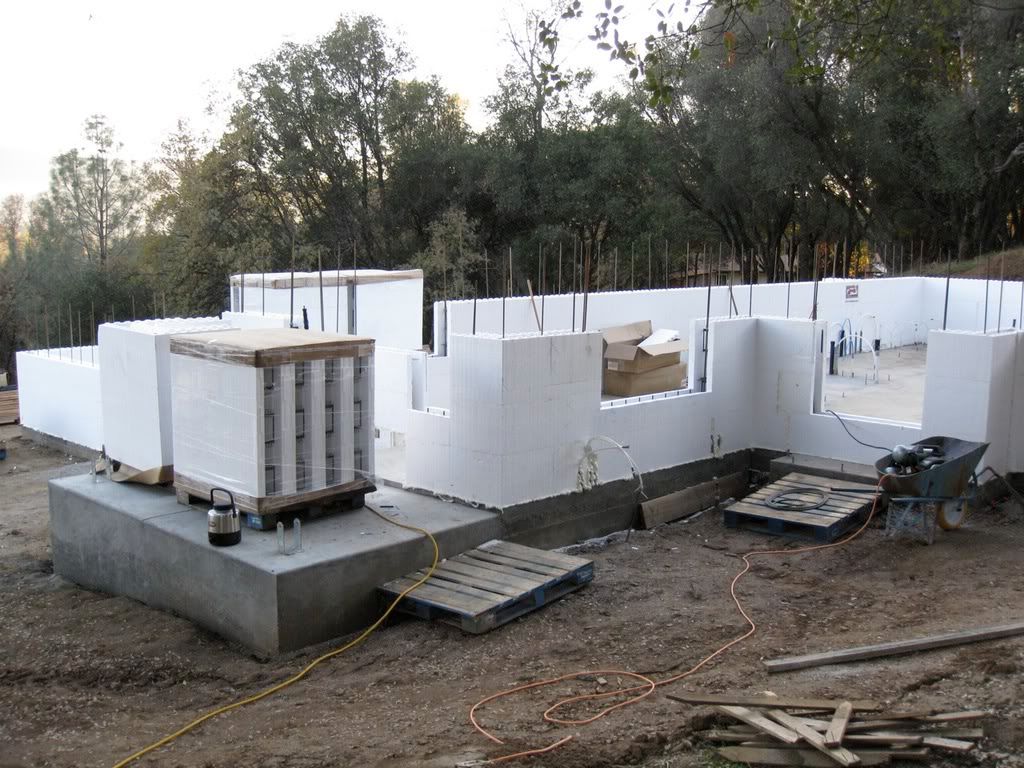
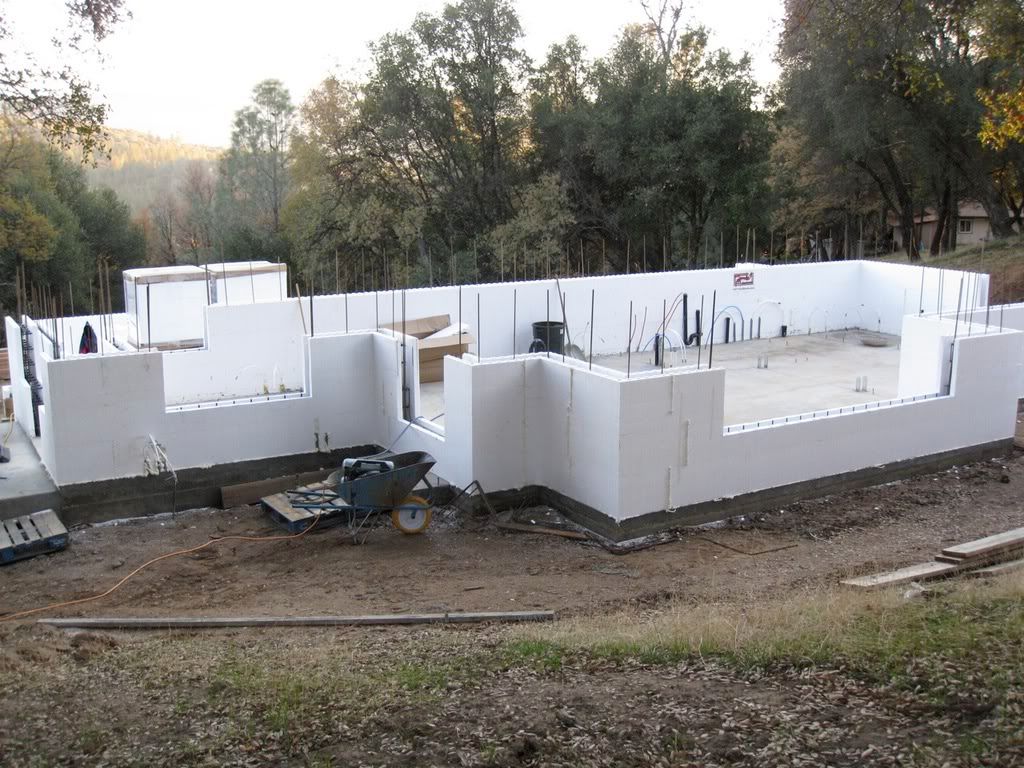
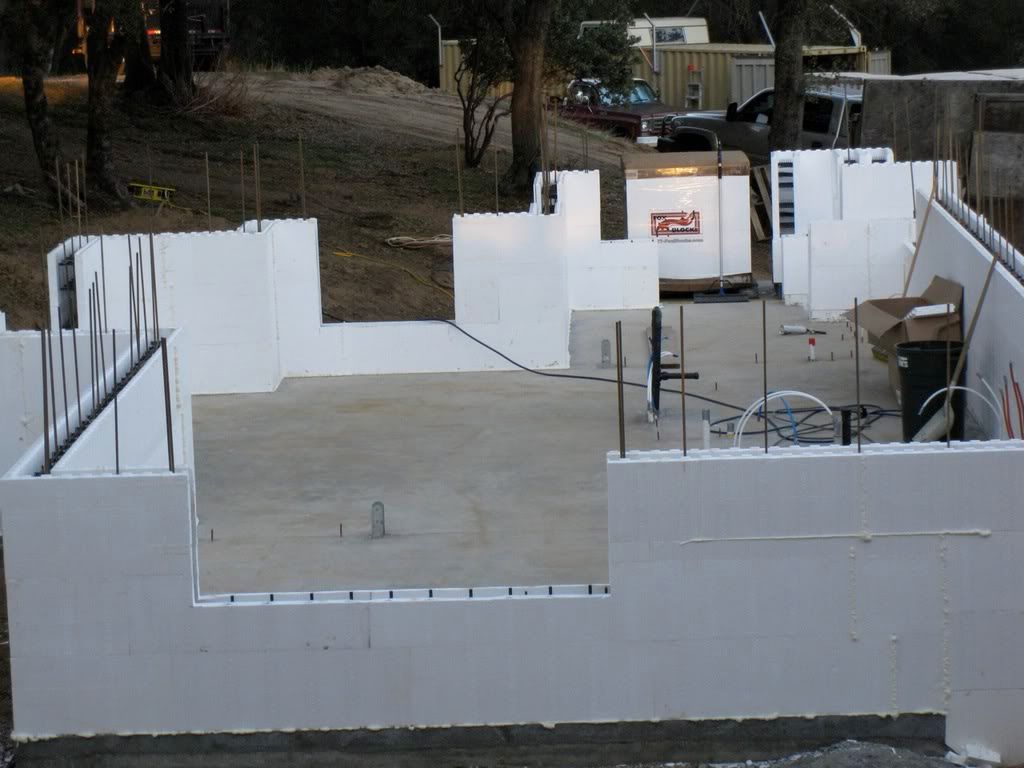
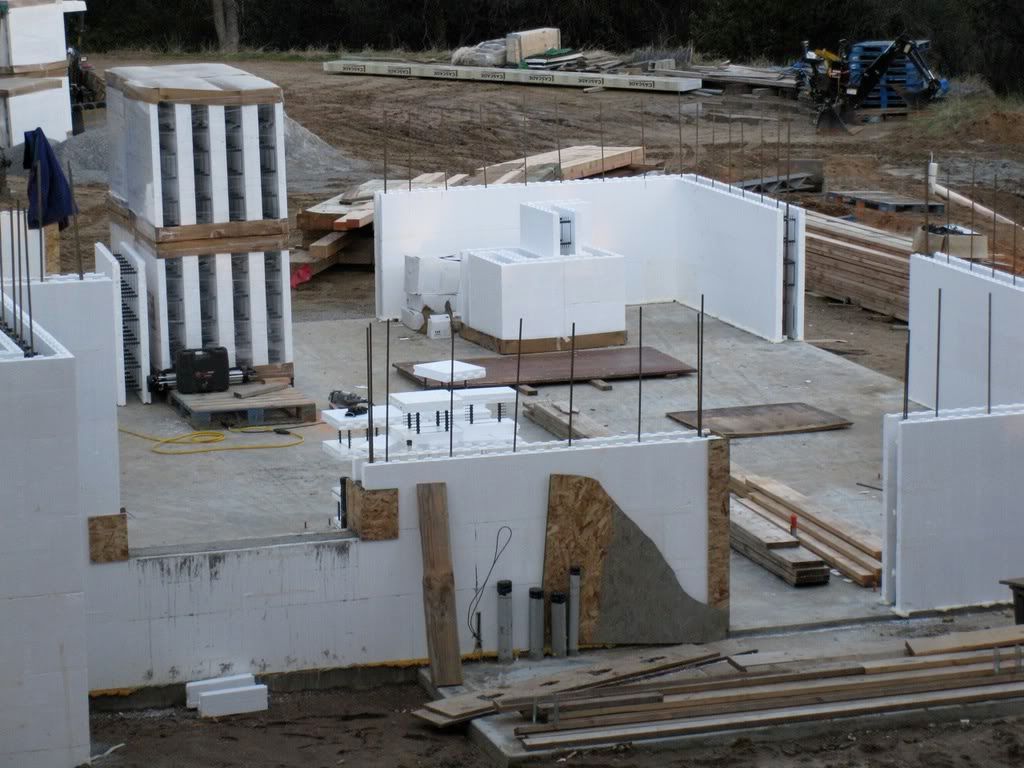
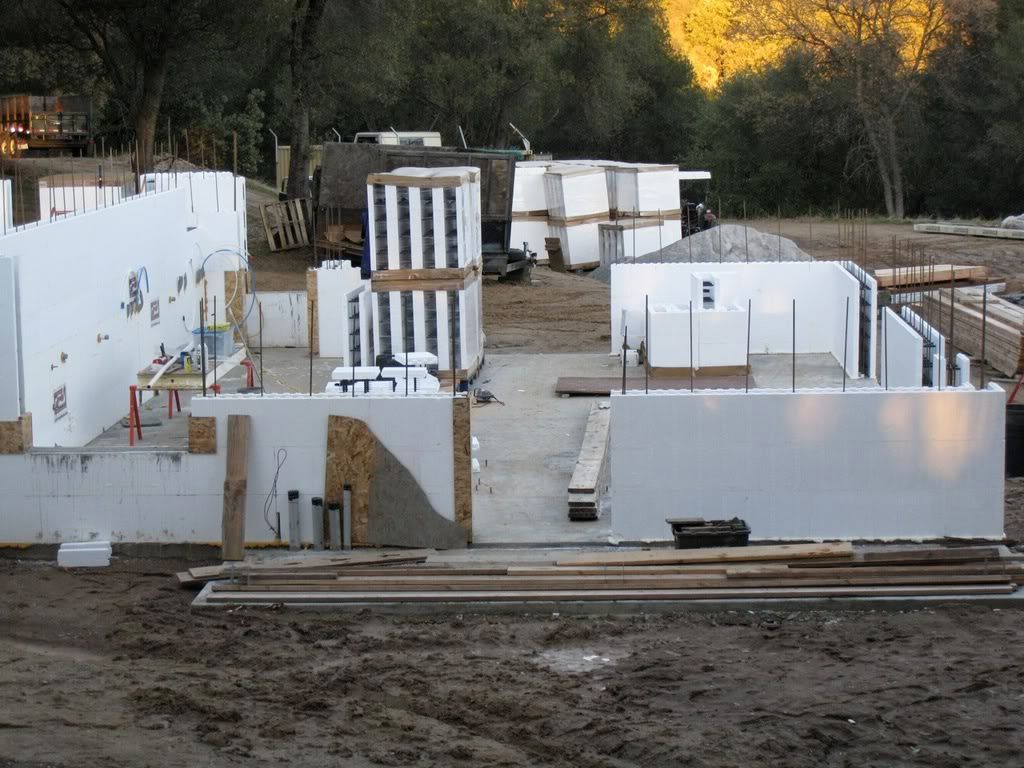
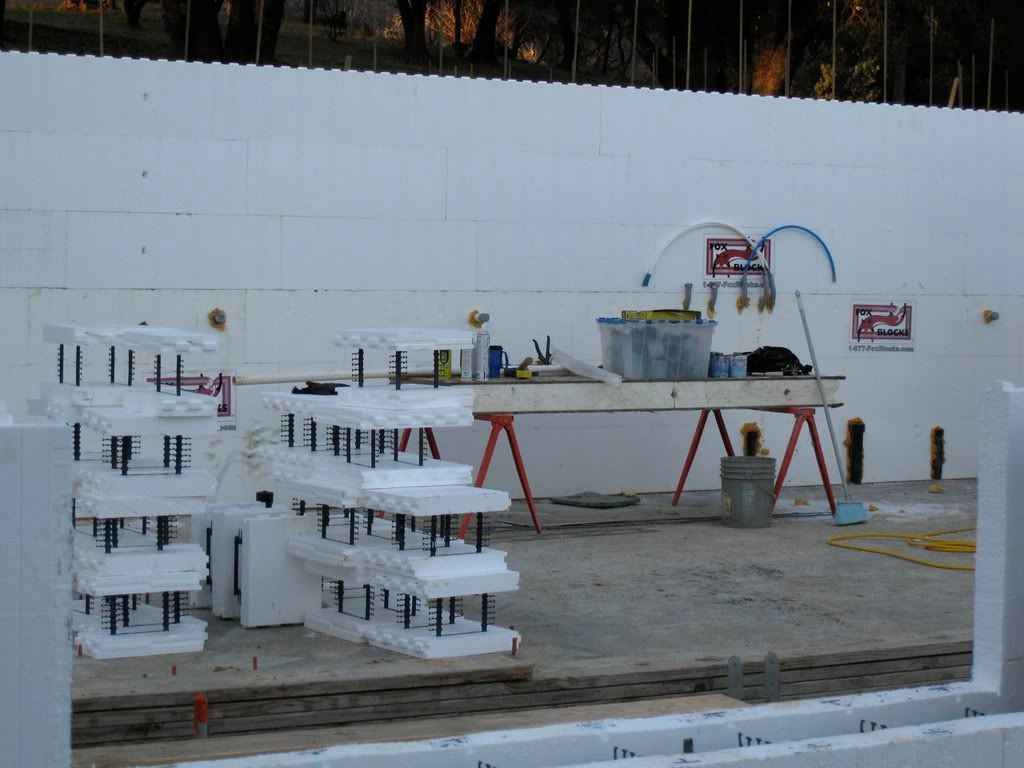
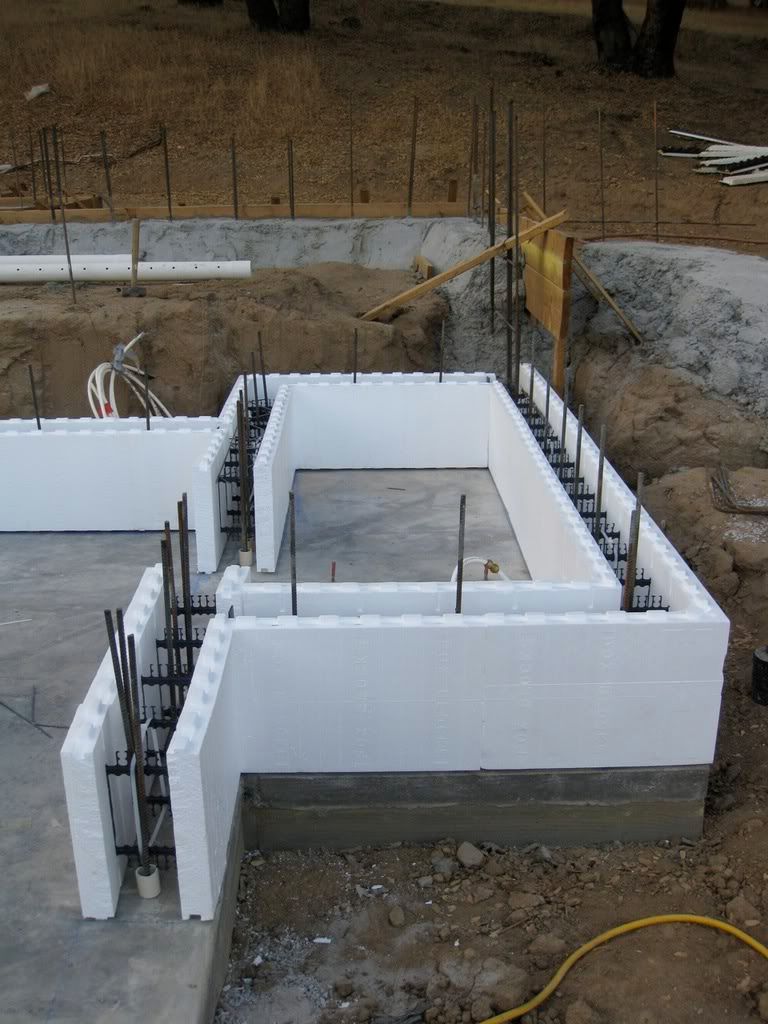
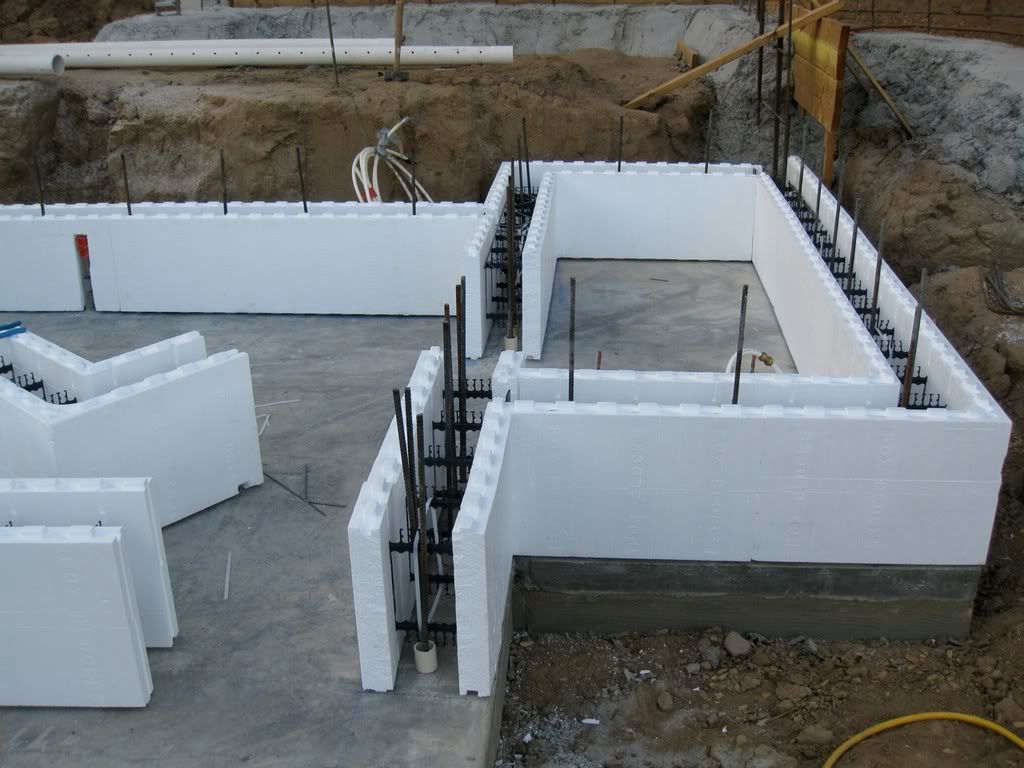
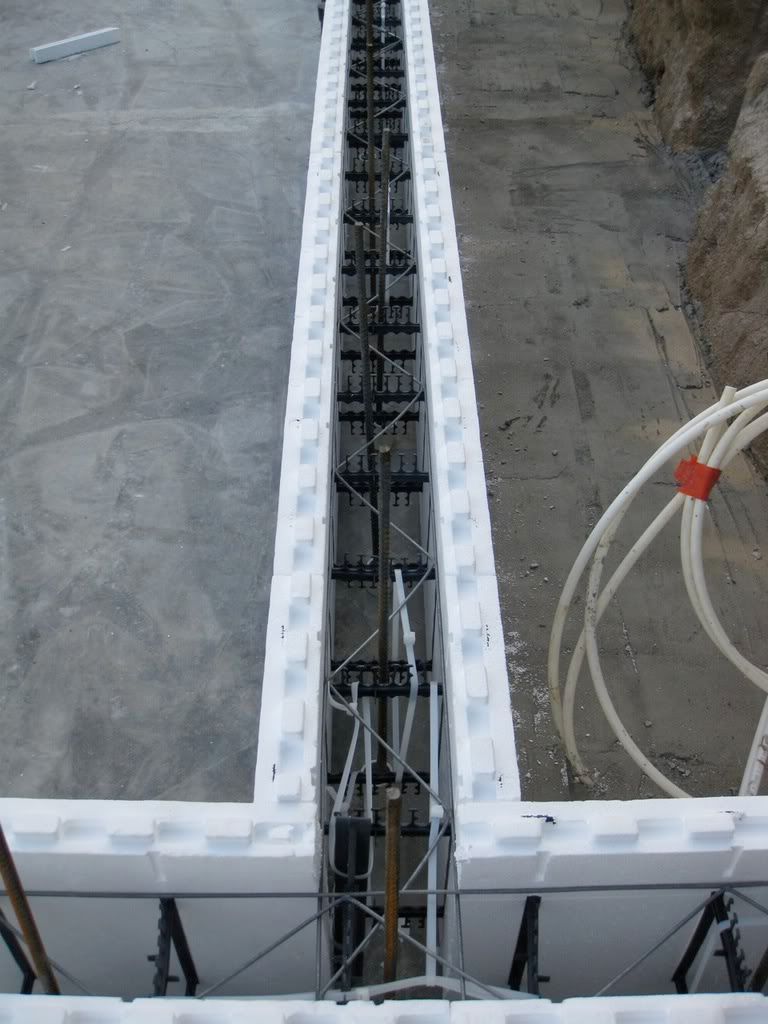
Post by tuffytractor on Feb 11, 2009 22:28:46 GMT -5
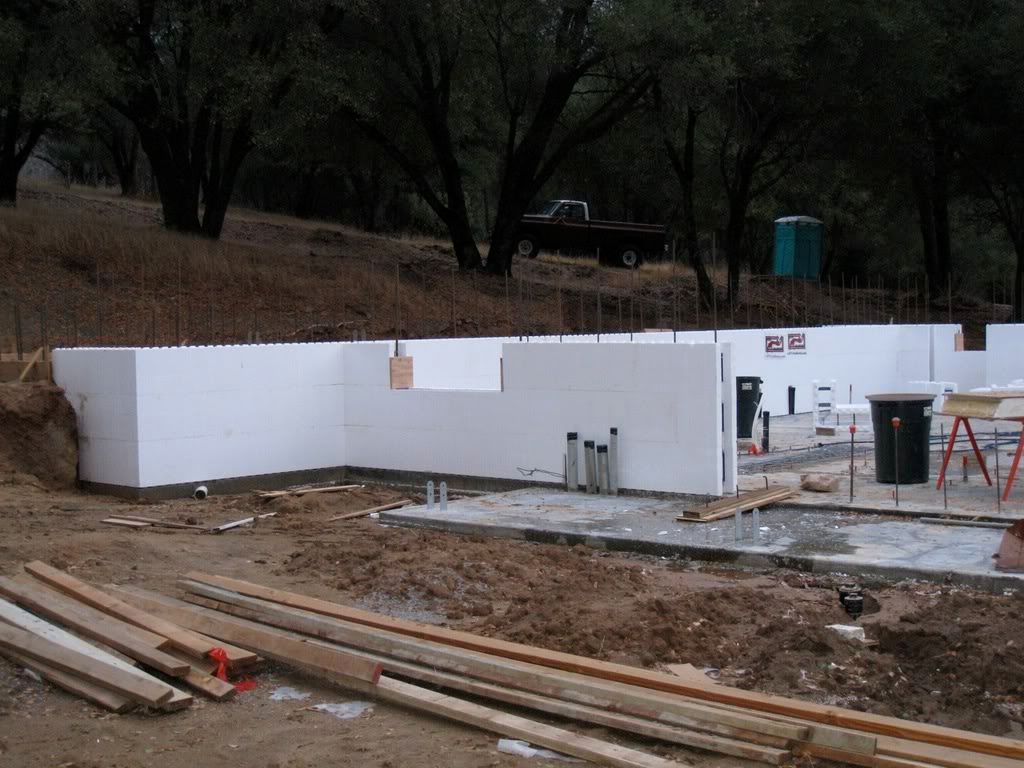
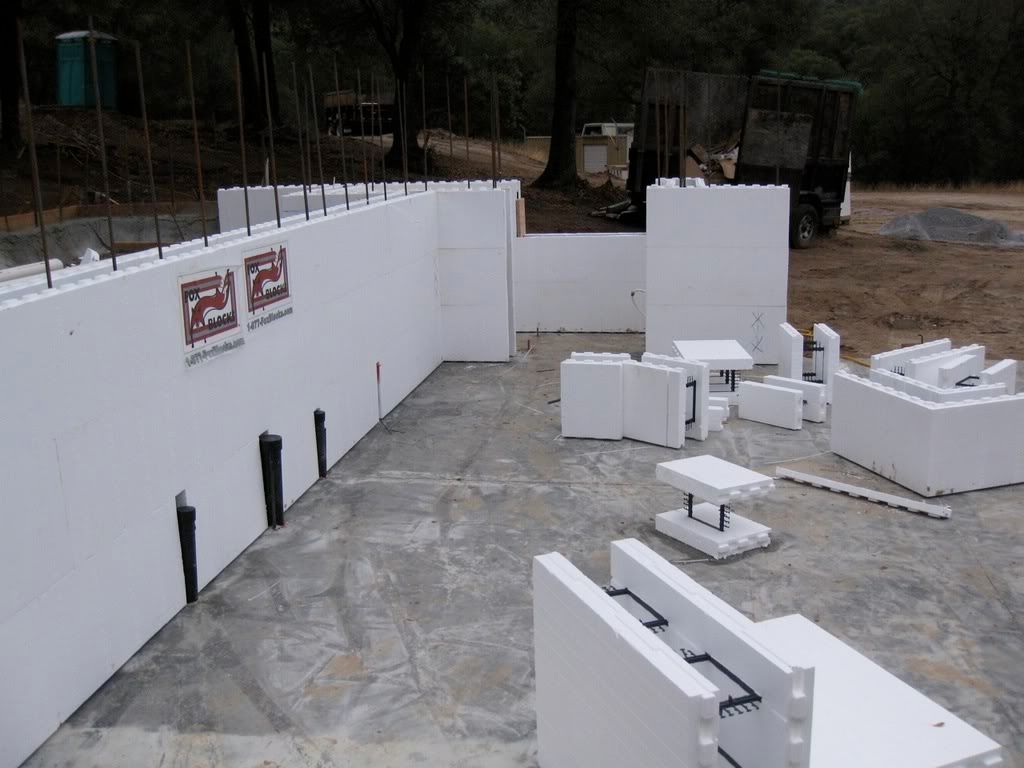
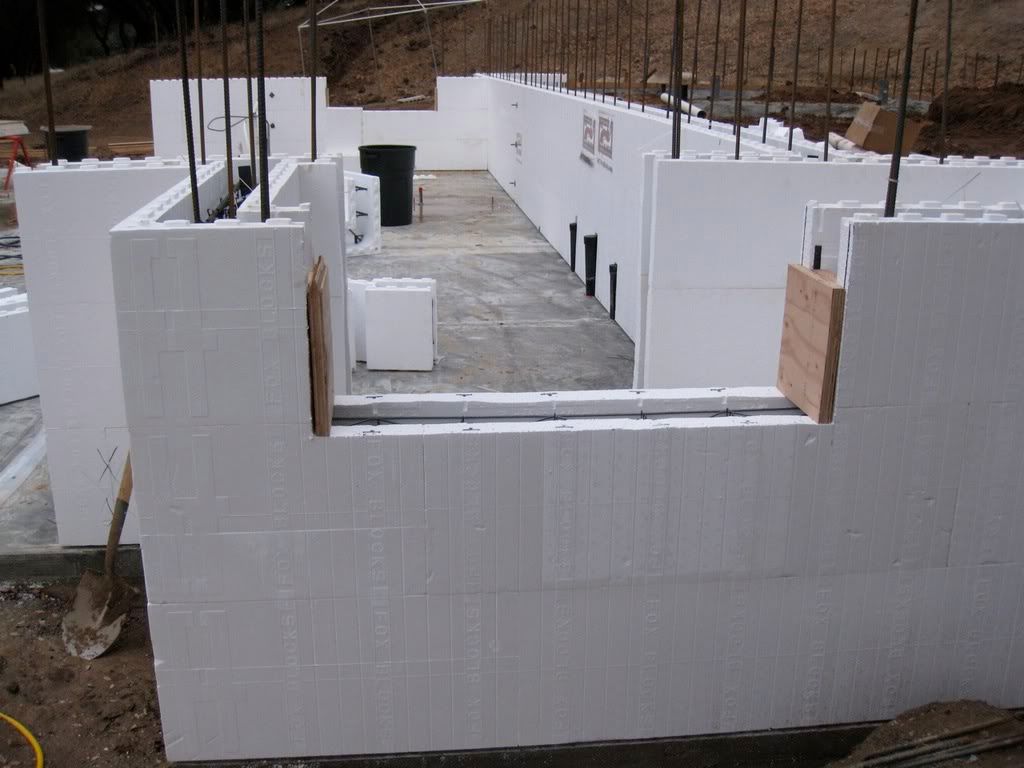
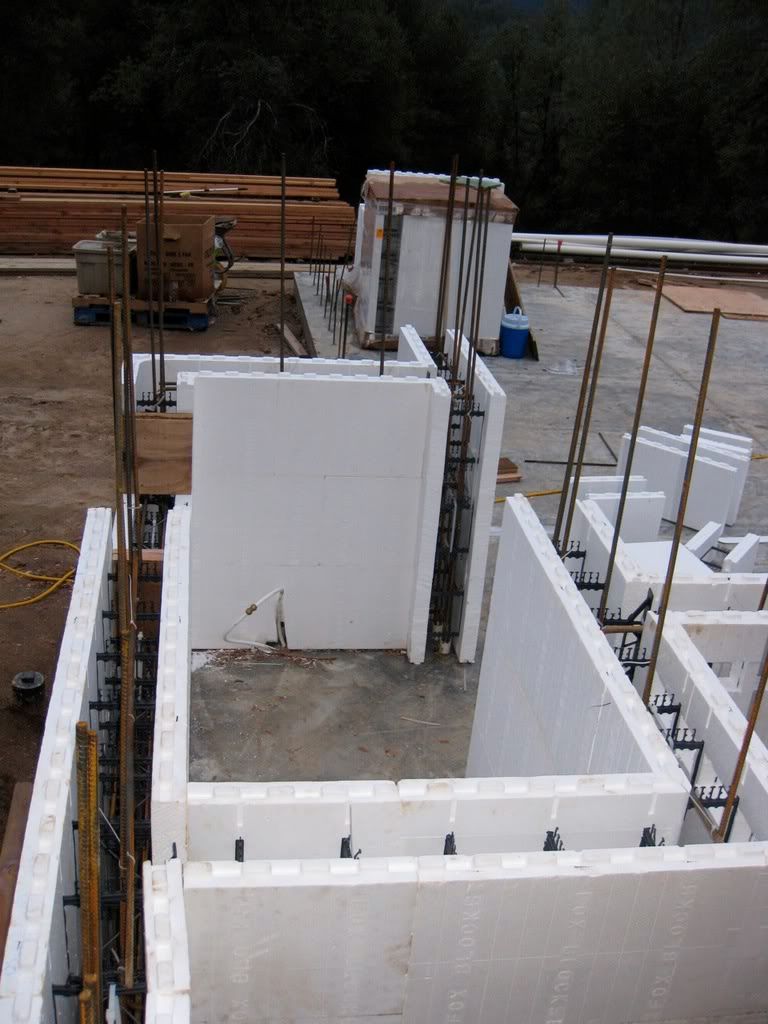
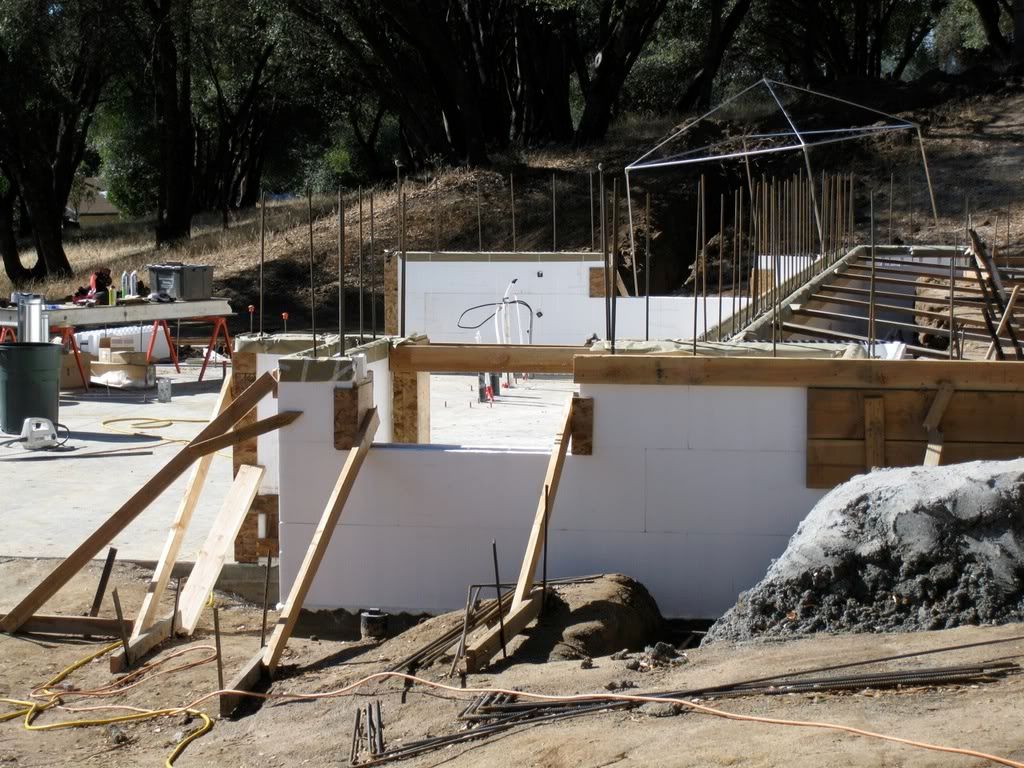
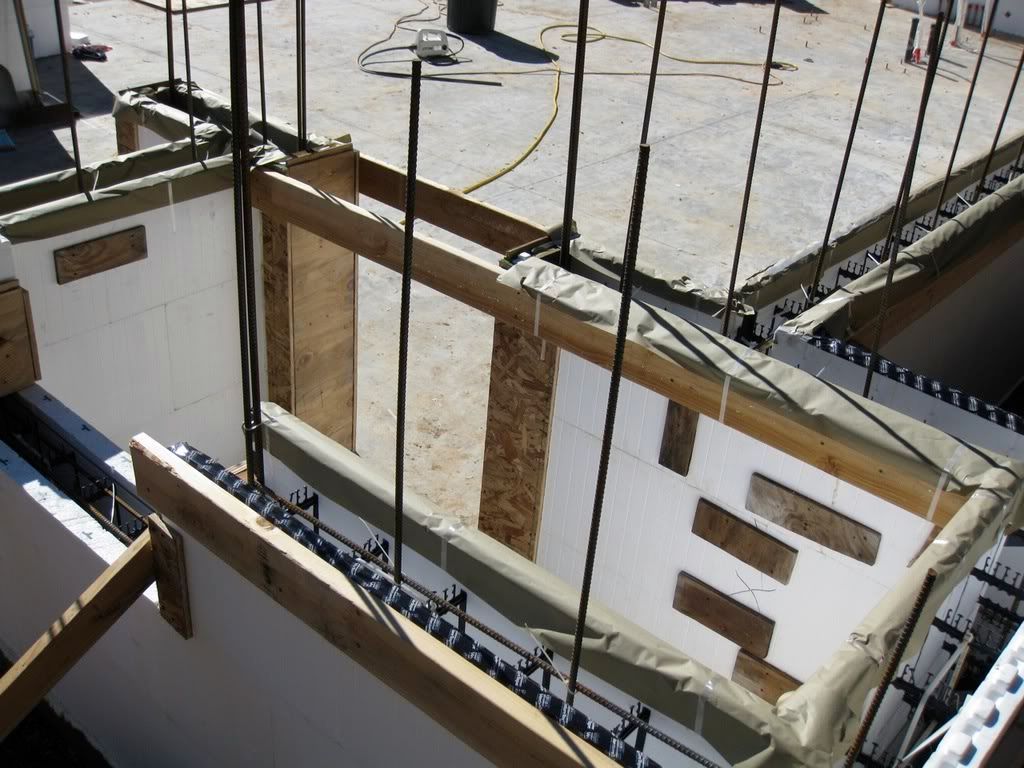
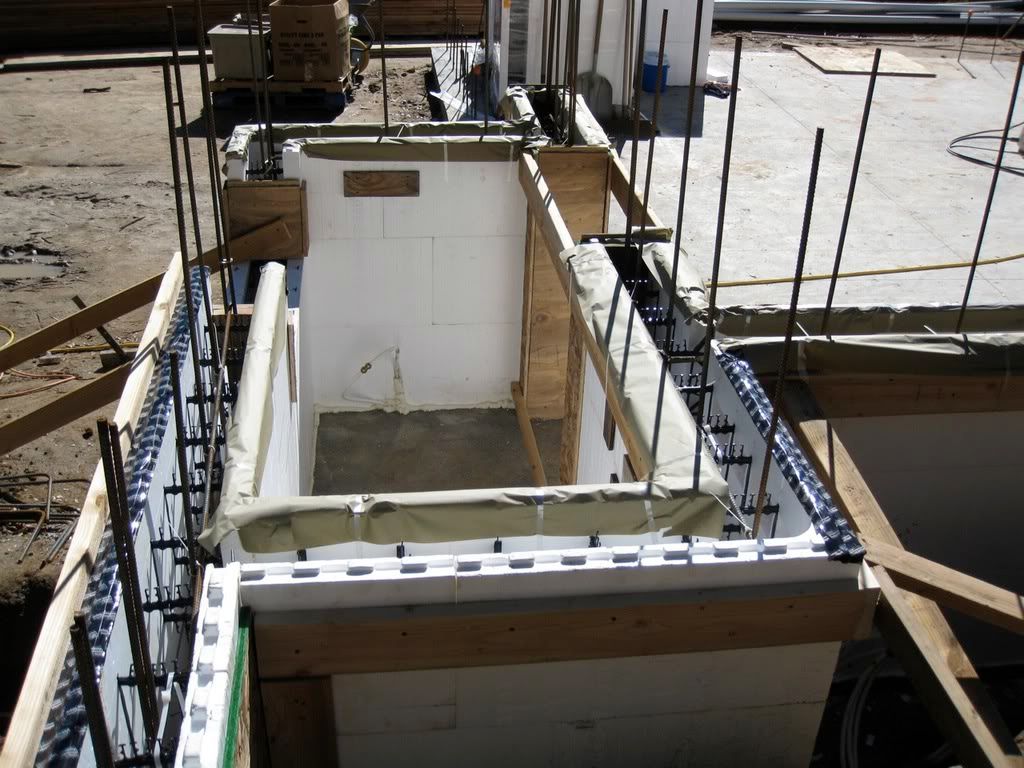
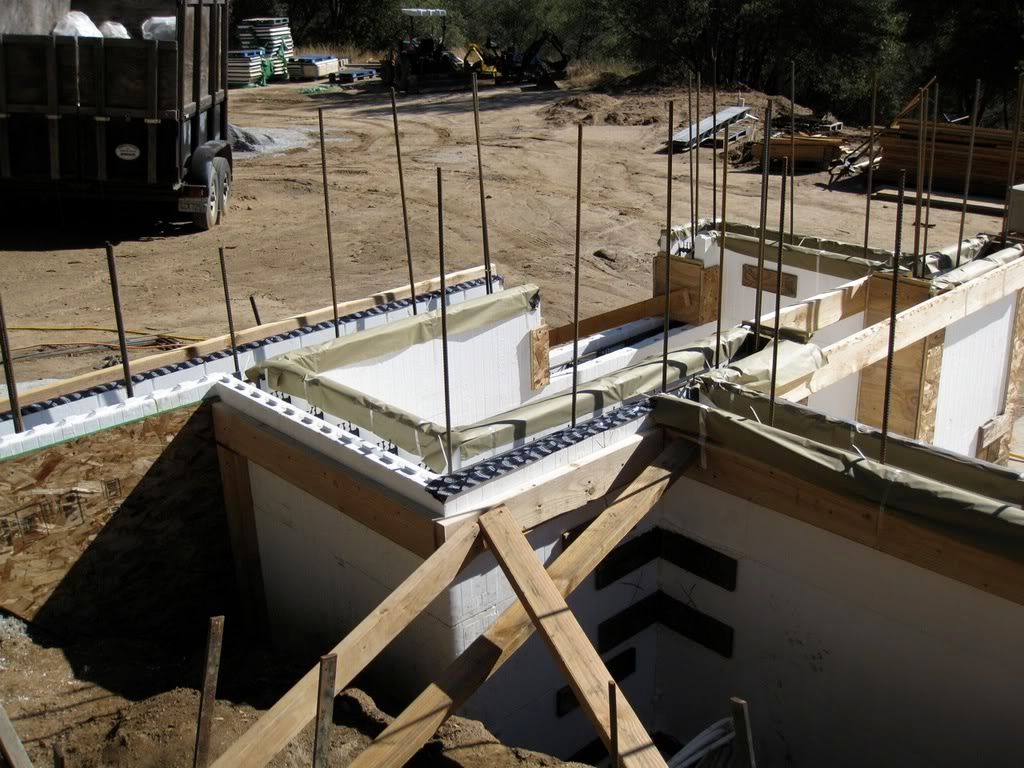
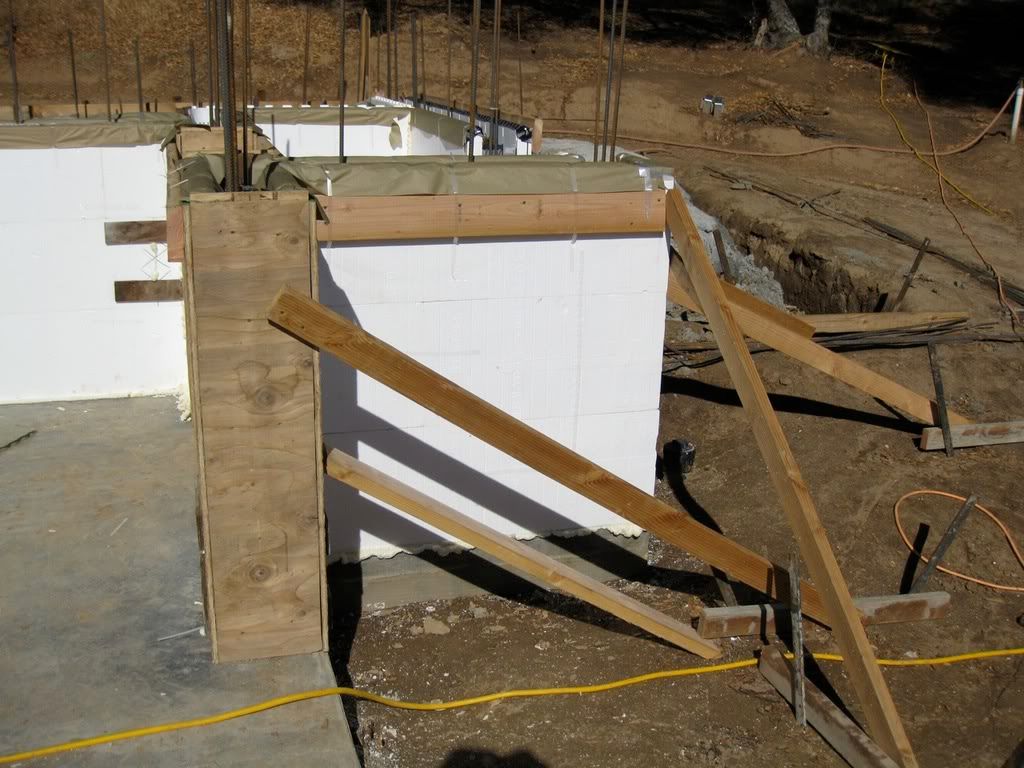
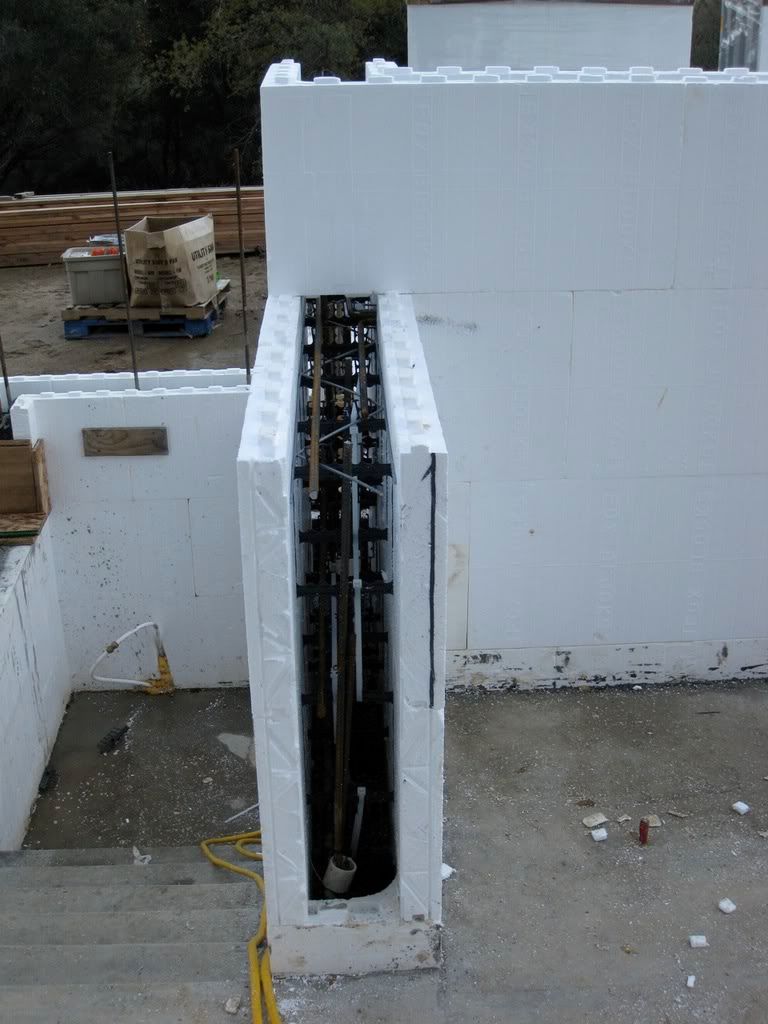
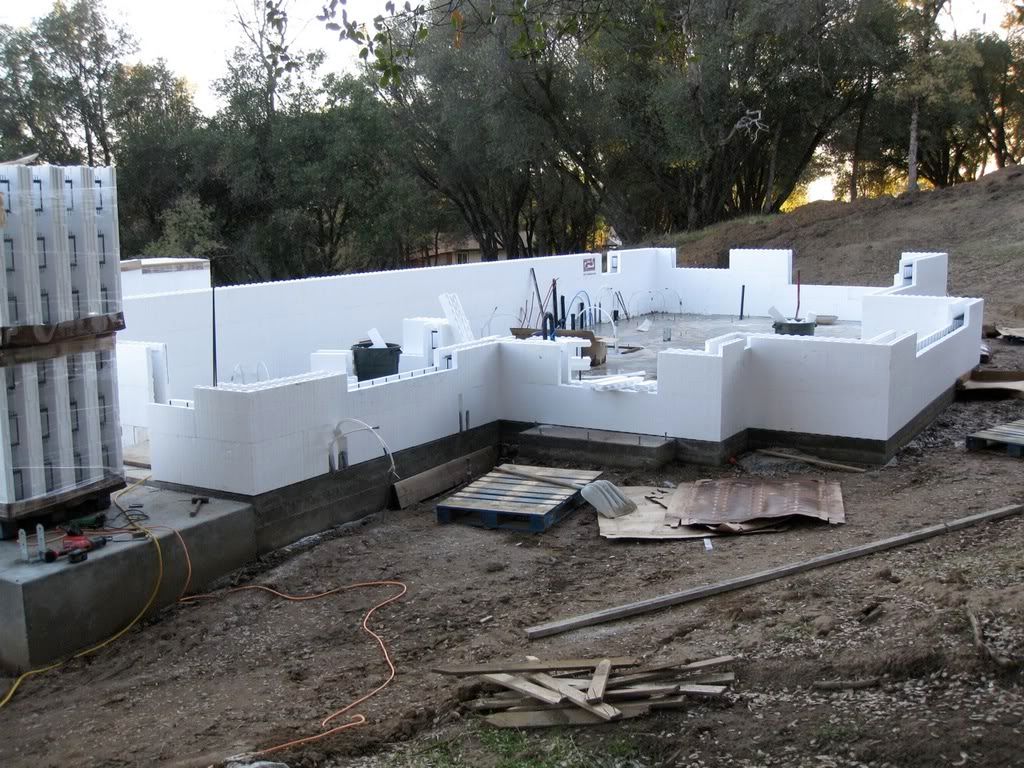
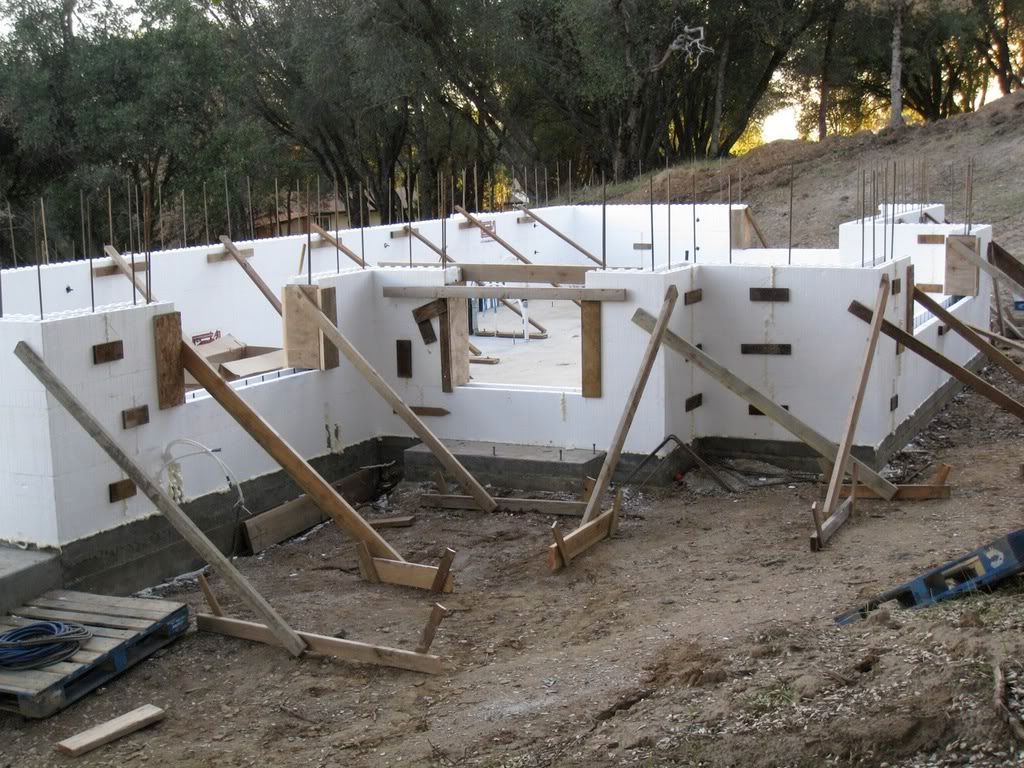
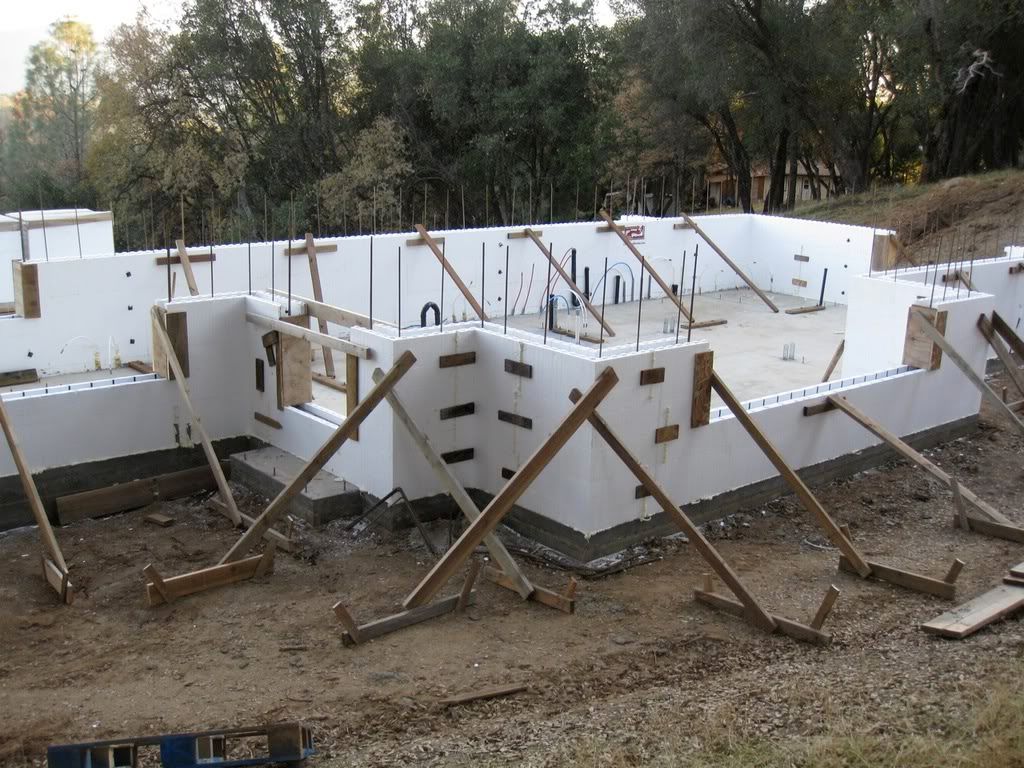
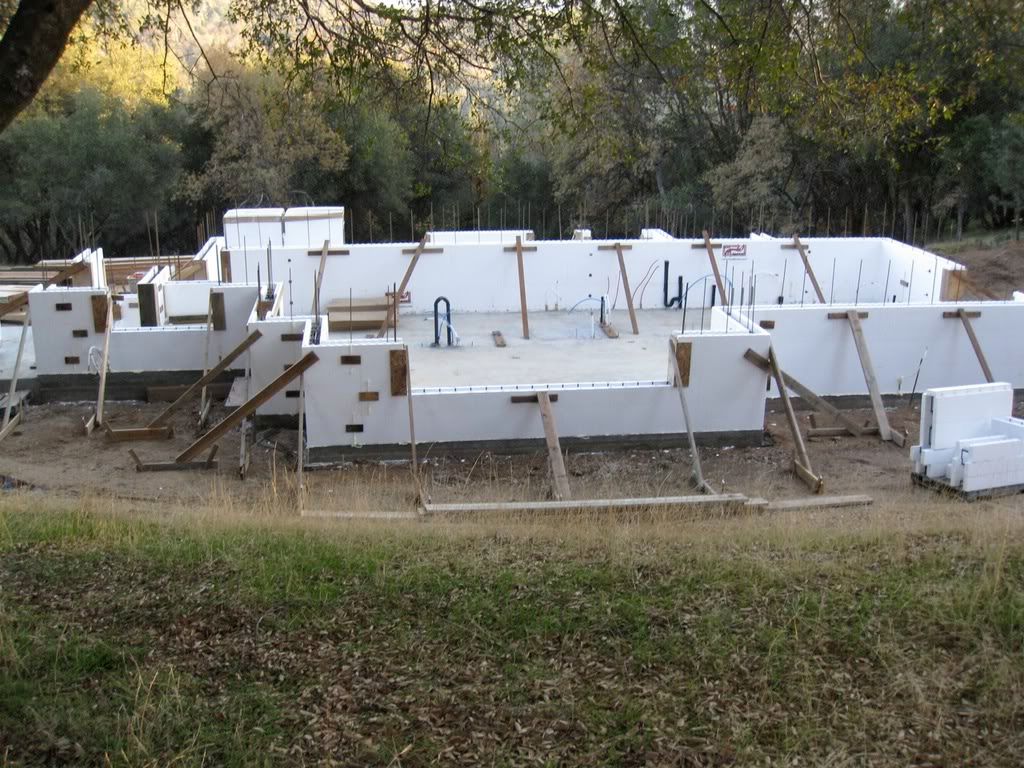
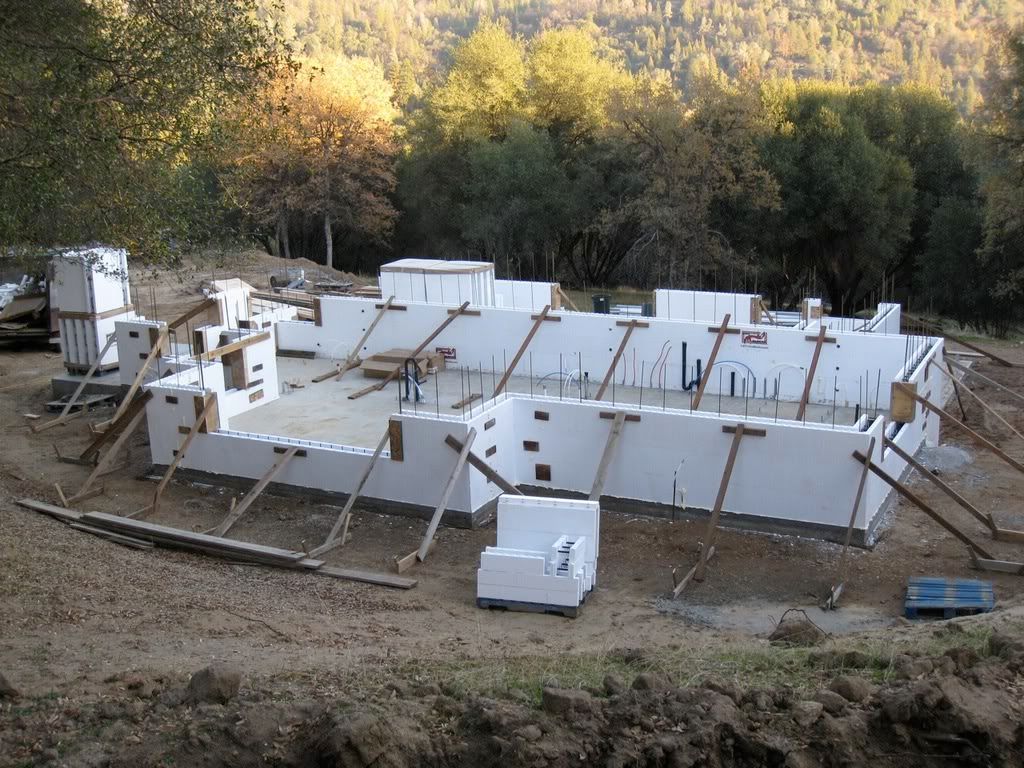
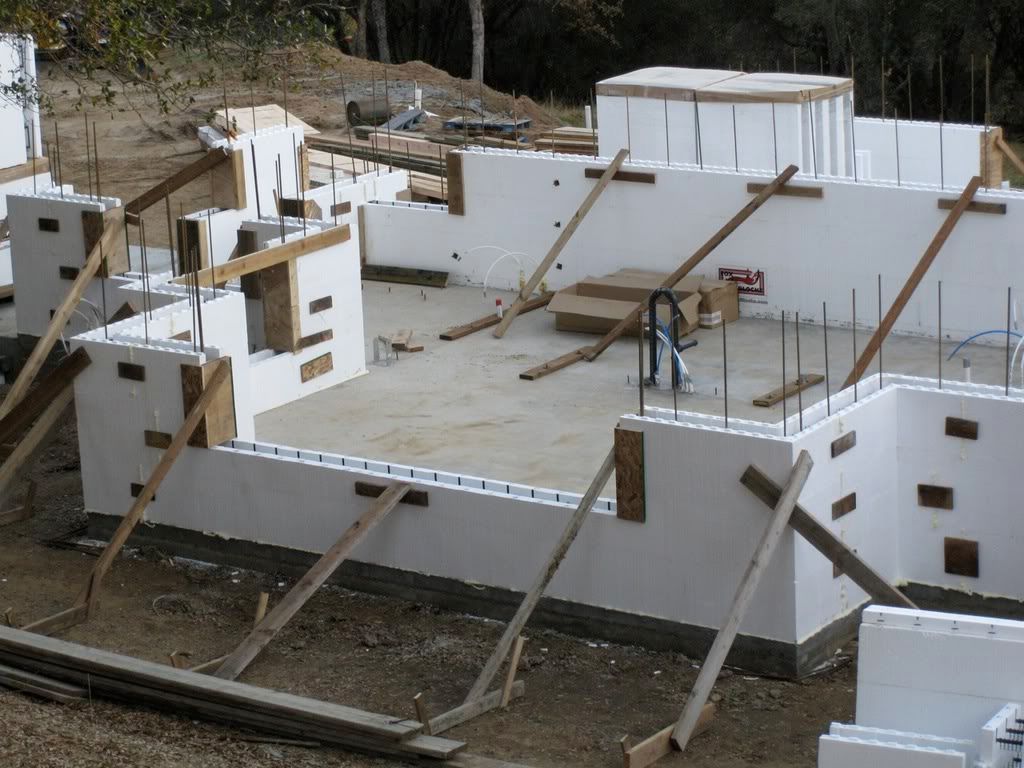
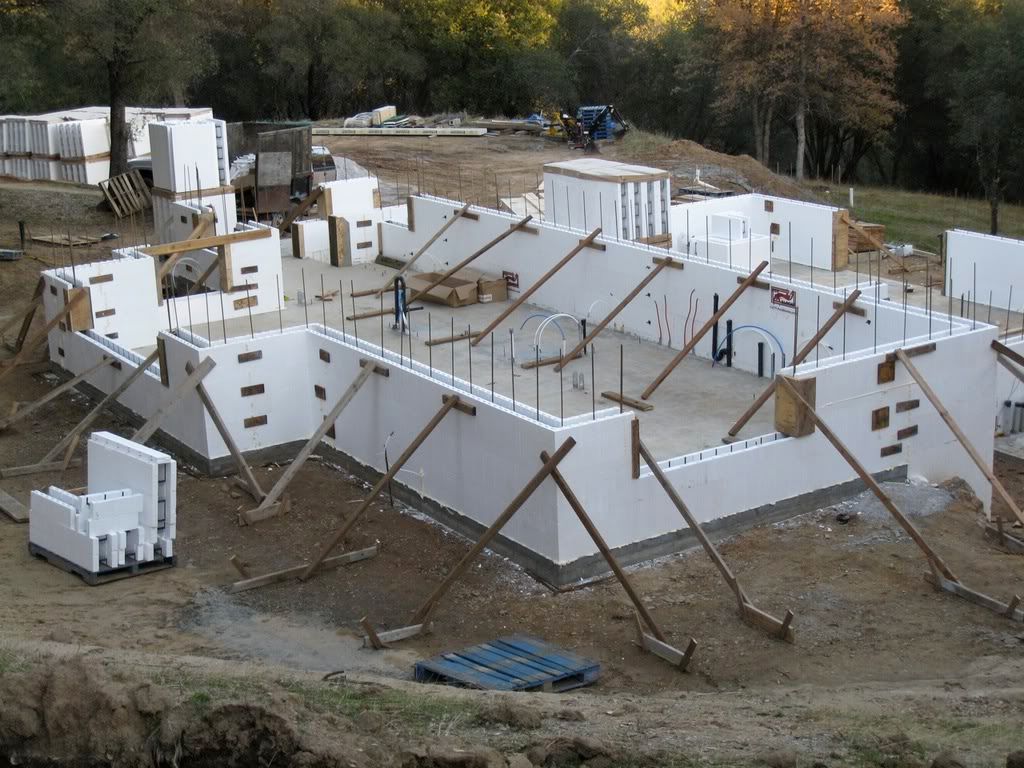
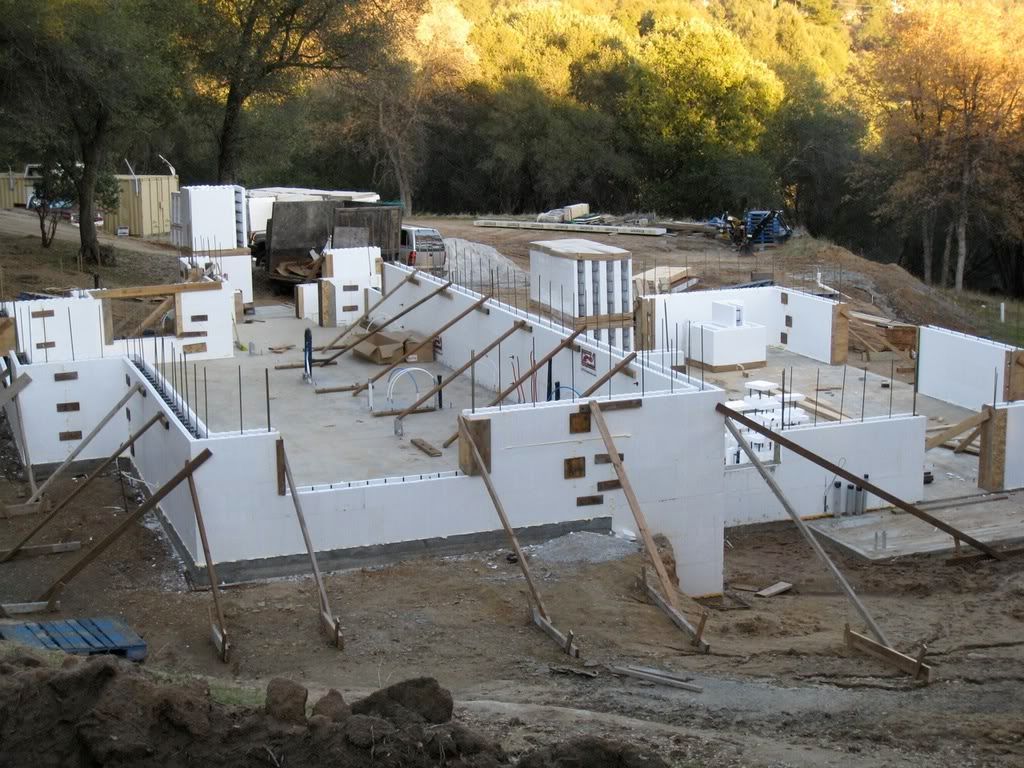
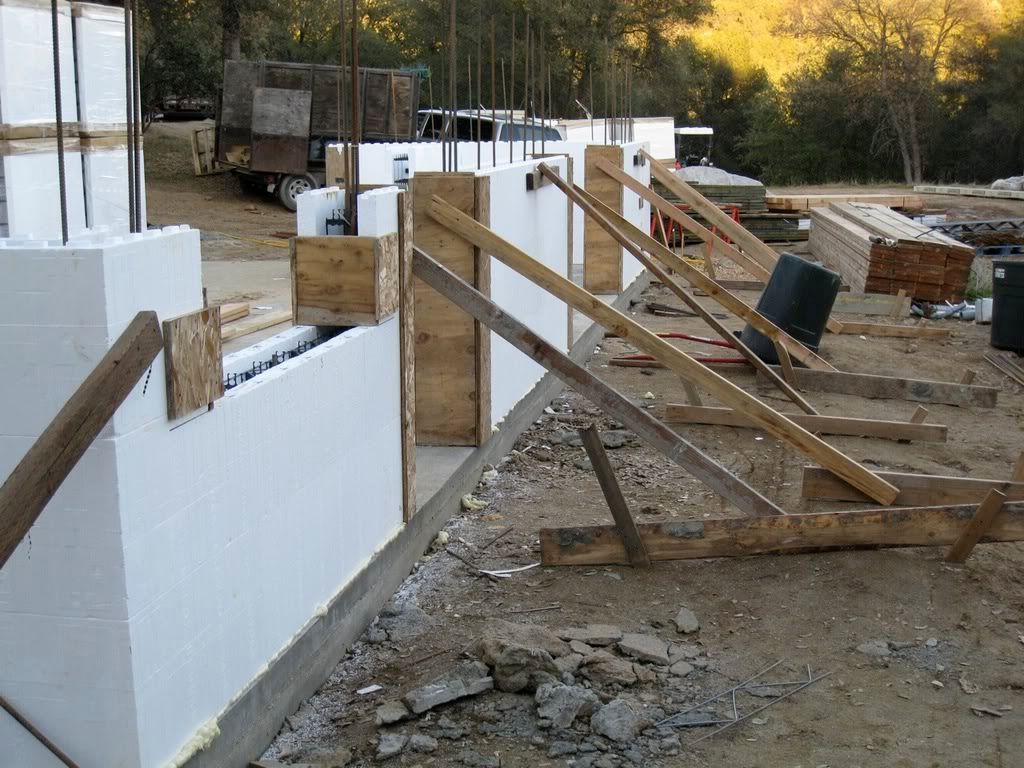
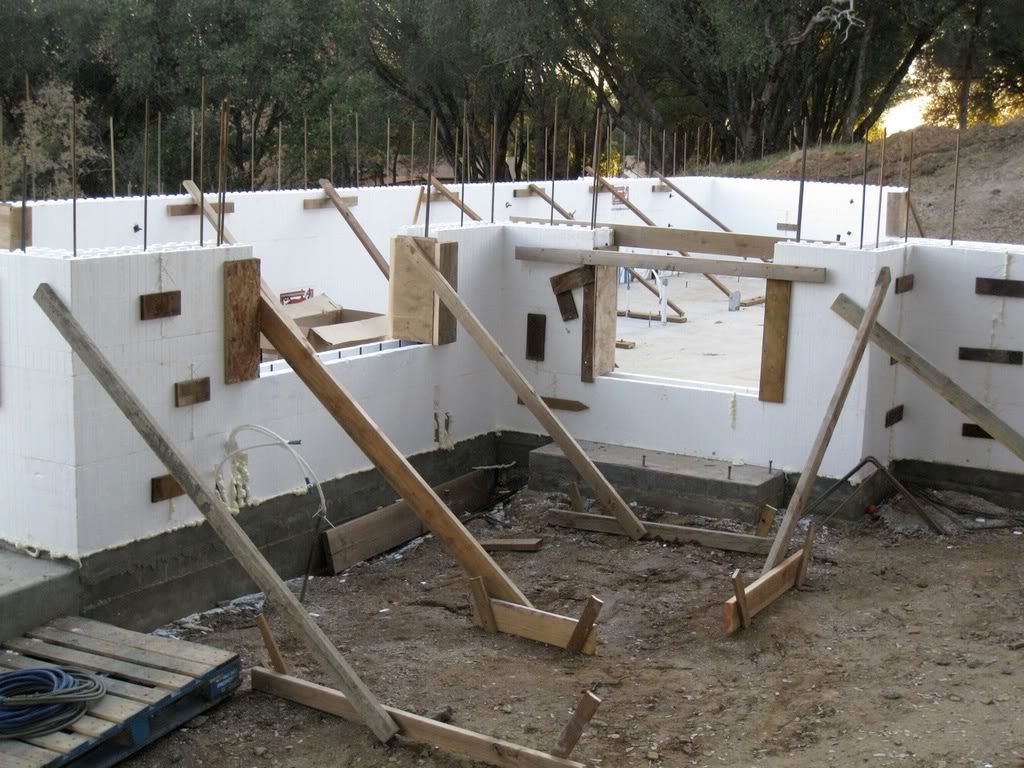
So, with all the preliminaries out of the way, we can continue stacking block, throughout the entire structure. We've decided to do a partial pour, so as not to add costs to our build by renting braces till we absolutely need to. At ten bucks per brace per week, with 56 braces needed, it flies out the window. We decided to pour in increments of three high blocks, then get the braces and pour to full height. 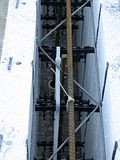 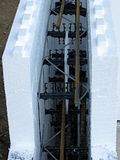  As you go up, the first layer gets the reinforcing webbing, as well as one course of #4 or 1/2" rebar, with all the blocks nytied together. Then the middle layer gets another reinforcing webbing and the top layer. It helps keep the blocks straightened out and tied together. Here are the layers going up.  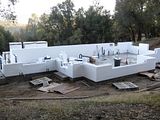 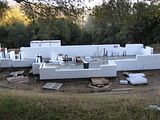  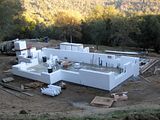 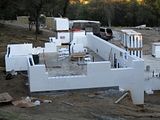  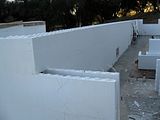  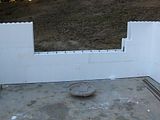 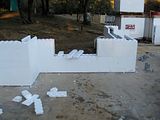     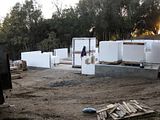 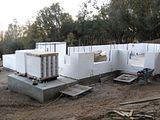 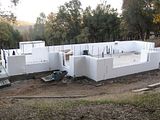 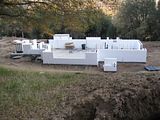 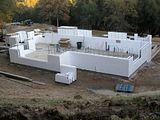 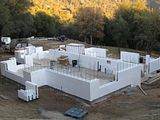 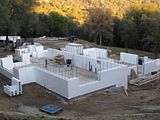  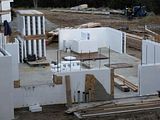 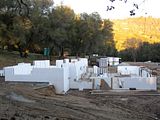 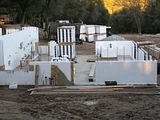 I think the plethora of pictures help give scope to the project, I hope I'm not going overboard. ;D With the intermediate wall beginning to approach its full height, the spaciousness of the interior begins to reveal itself. 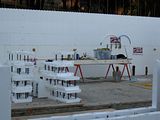 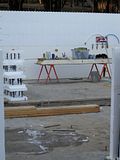 Then we moved on to placing all the bracing back in place. With the wet ground it was a pain. Began to wonder if the tall bracing instead of this interim method would have been better? 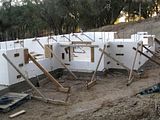 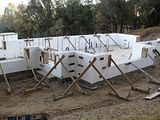 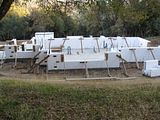  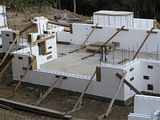  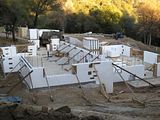 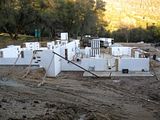   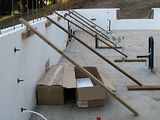 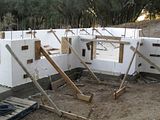 |
|
|
|
Post by tuffytractor on Feb 11, 2009 23:02:34 GMT -5
|
|


 ) a leak of the Radiant heat or cooling lines.