|
|
Post by tuffytractor on Feb 11, 2009 23:18:46 GMT -5
|
|
|
|
Post by tuffytractor on Feb 11, 2009 23:32:42 GMT -5
|
|
GuglioLS
Administrator  Jinma354 LE
Posts: 1,276
|
Post by GuglioLS on Feb 12, 2009 1:58:02 GMT -5
Tim,
Truly amazing the quality and amount of work you have put into your "out building" You have an non expiring, open ended invitation to my place at anytime to build one for me. :-)
Man am I impressed. If there was ever a how to, this is it. I look forward to more of your amazing feats. Is the well house shower coming in handy?
Larry
|
|
|
|
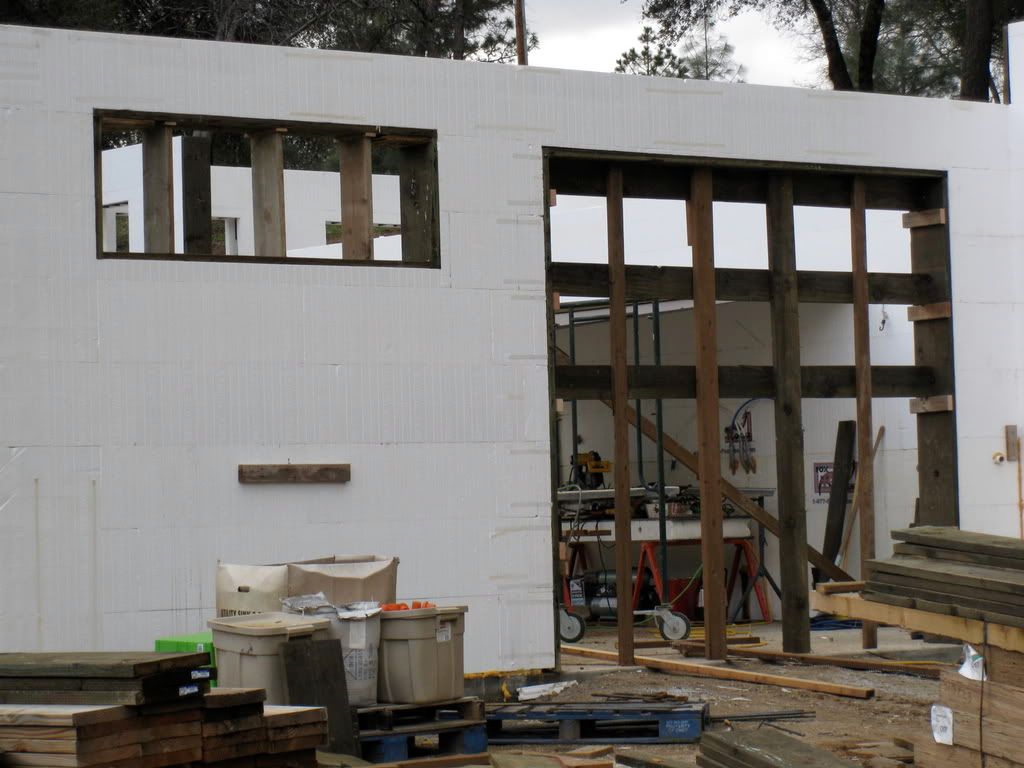
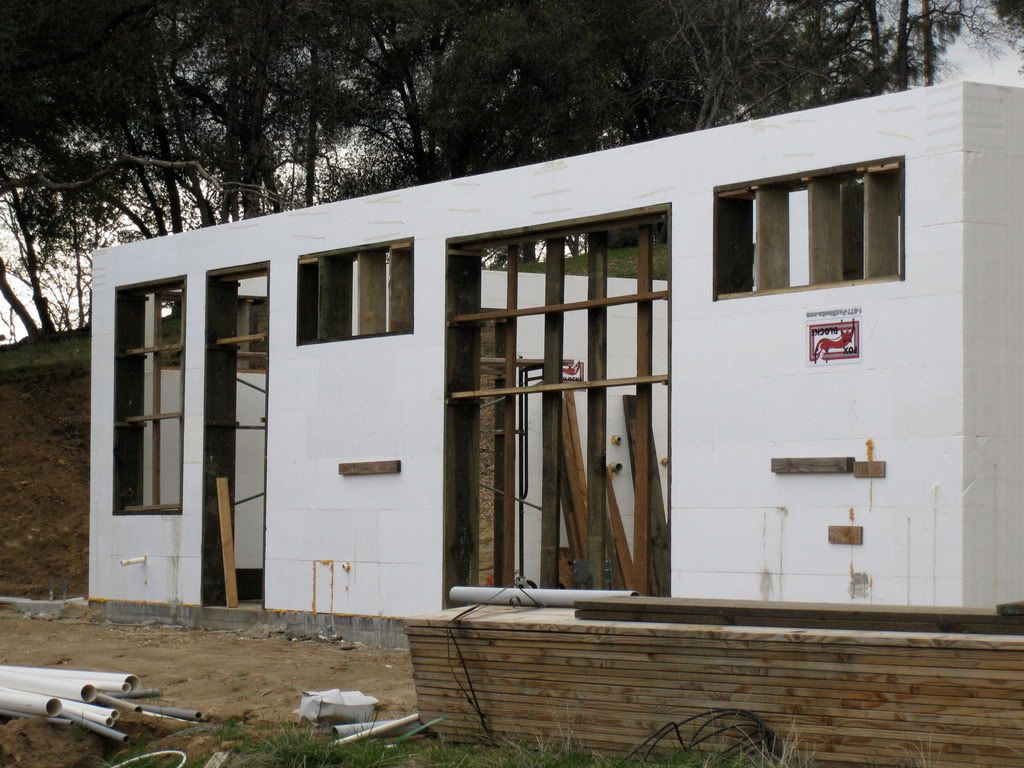
Post by tuffytractor on Feb 12, 2009 19:21:41 GMT -5
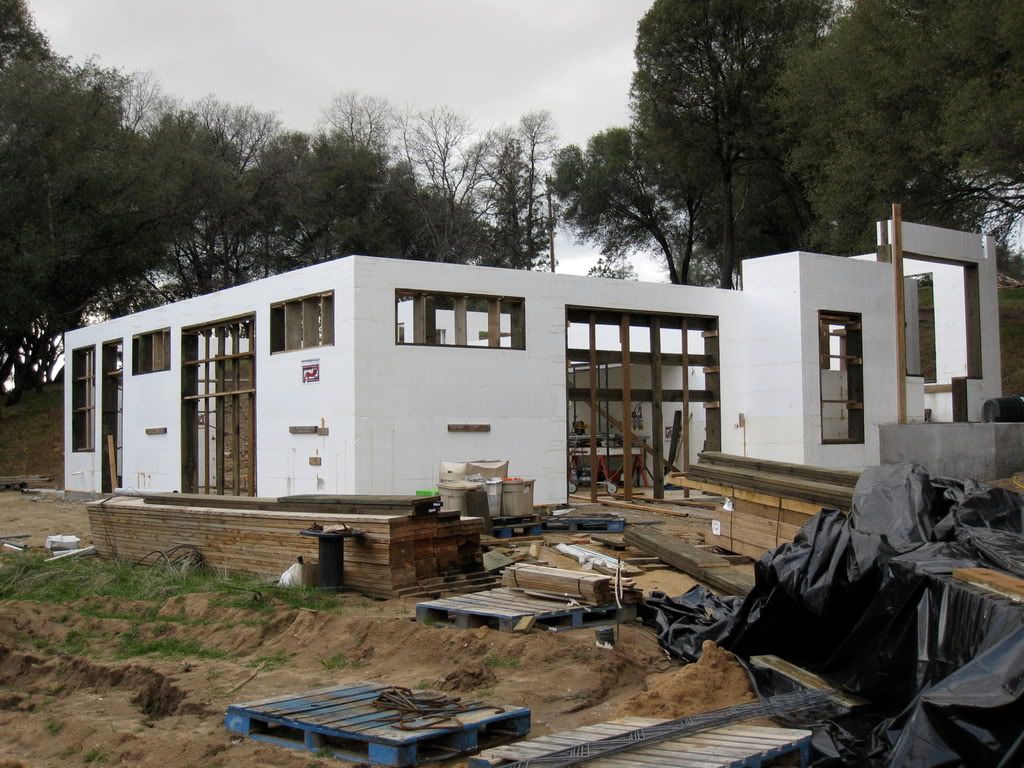
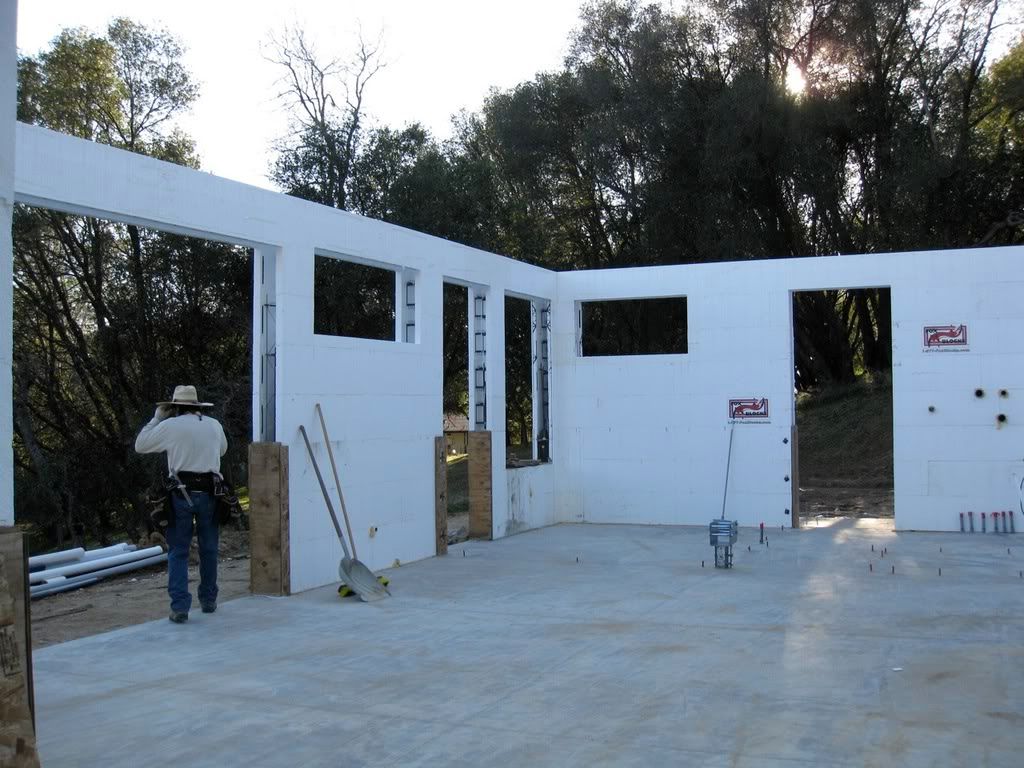
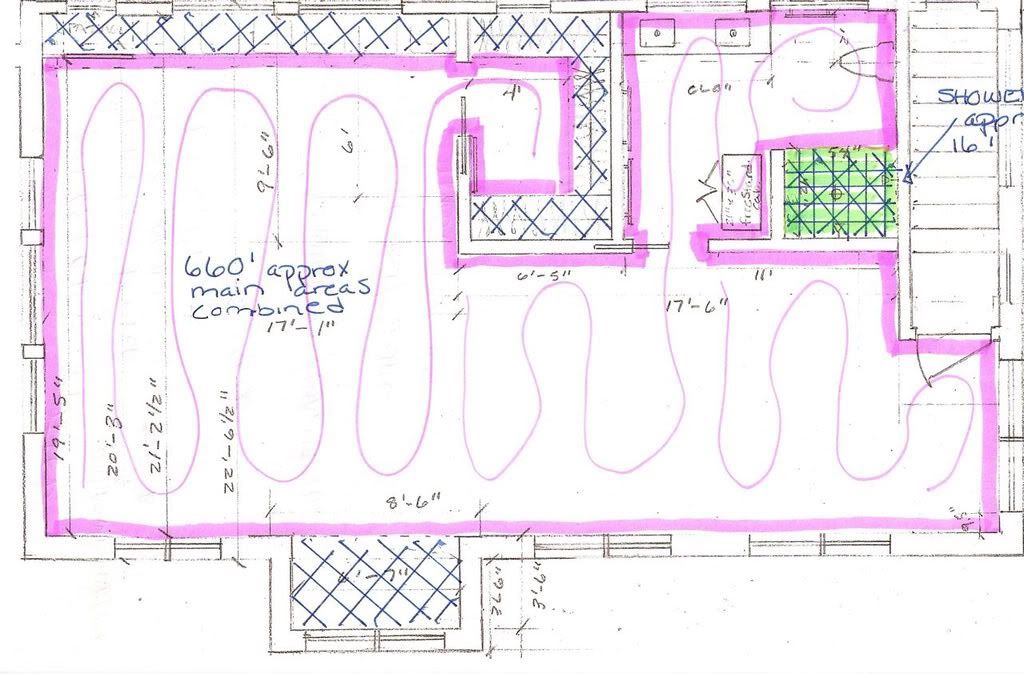
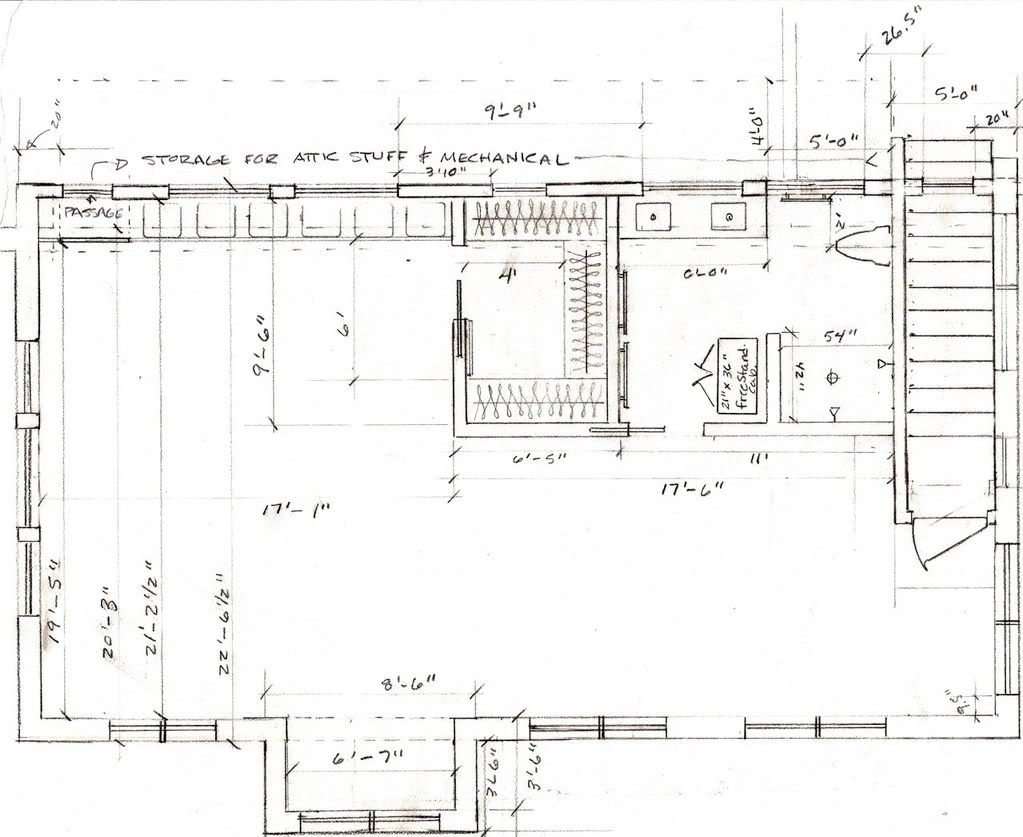
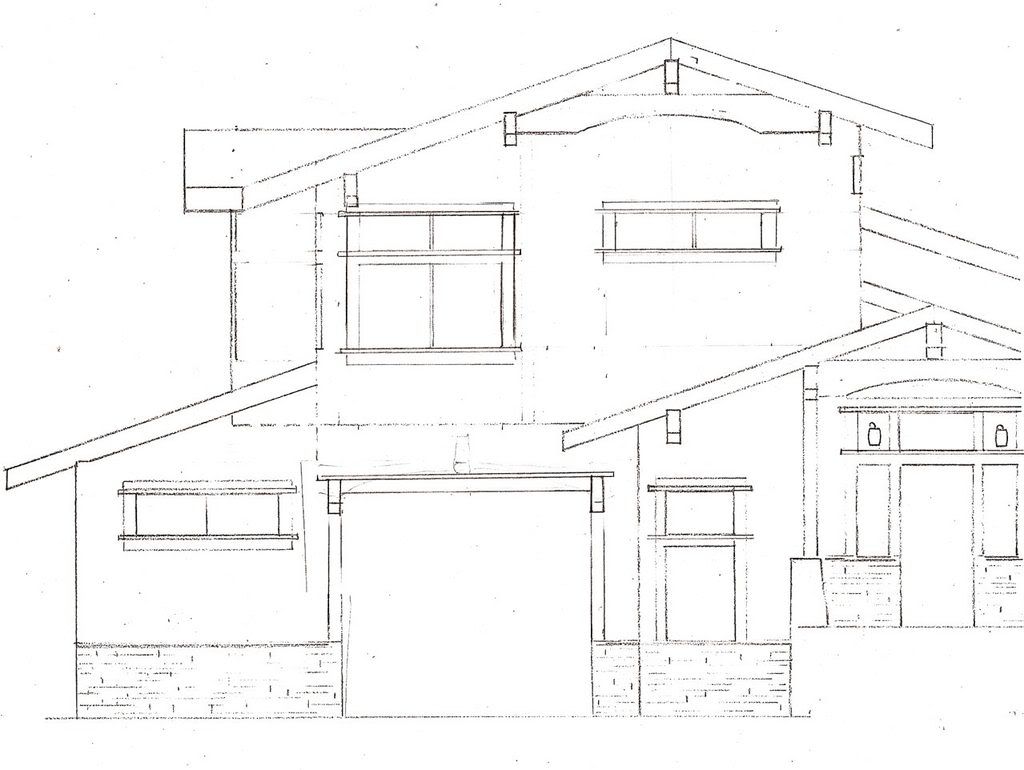
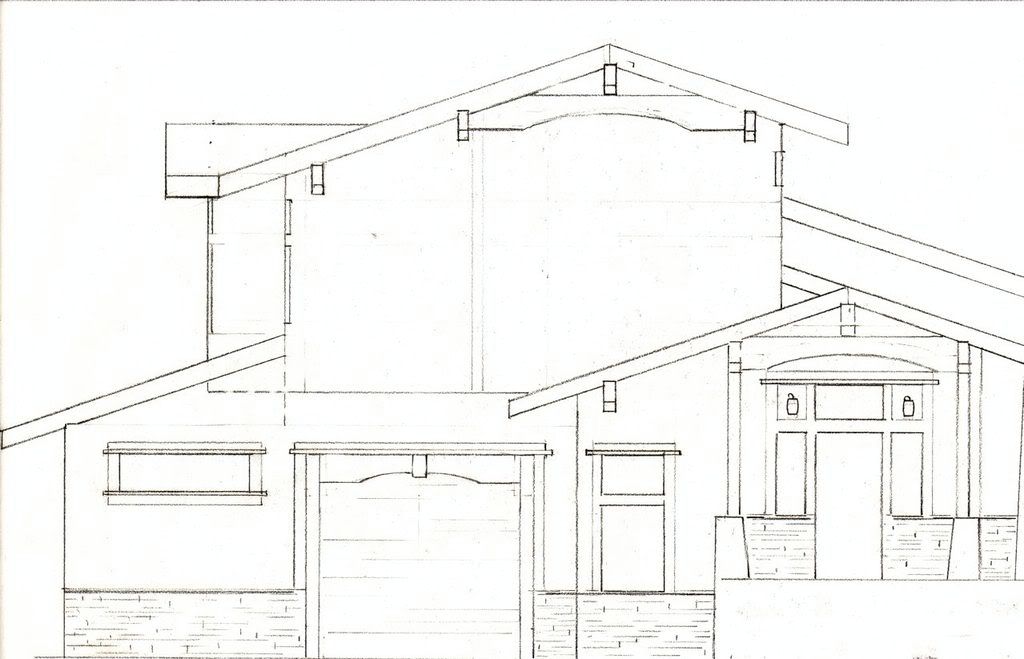
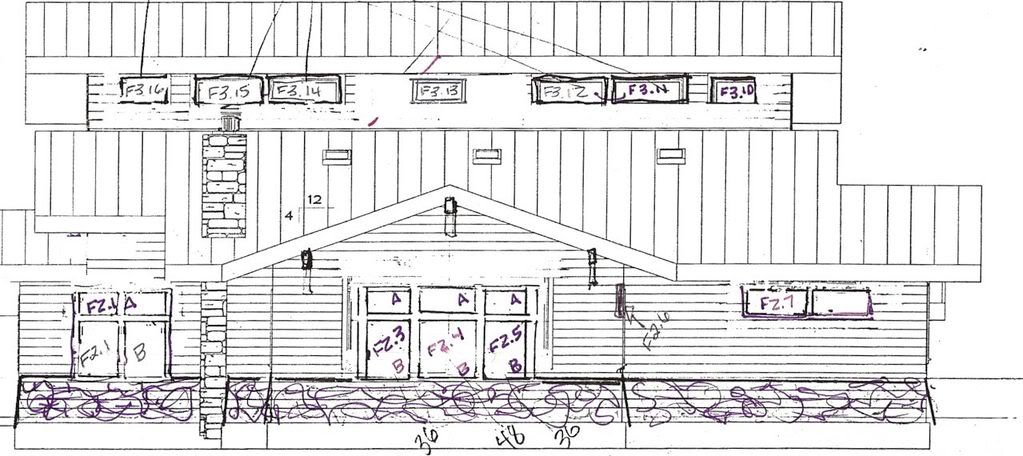
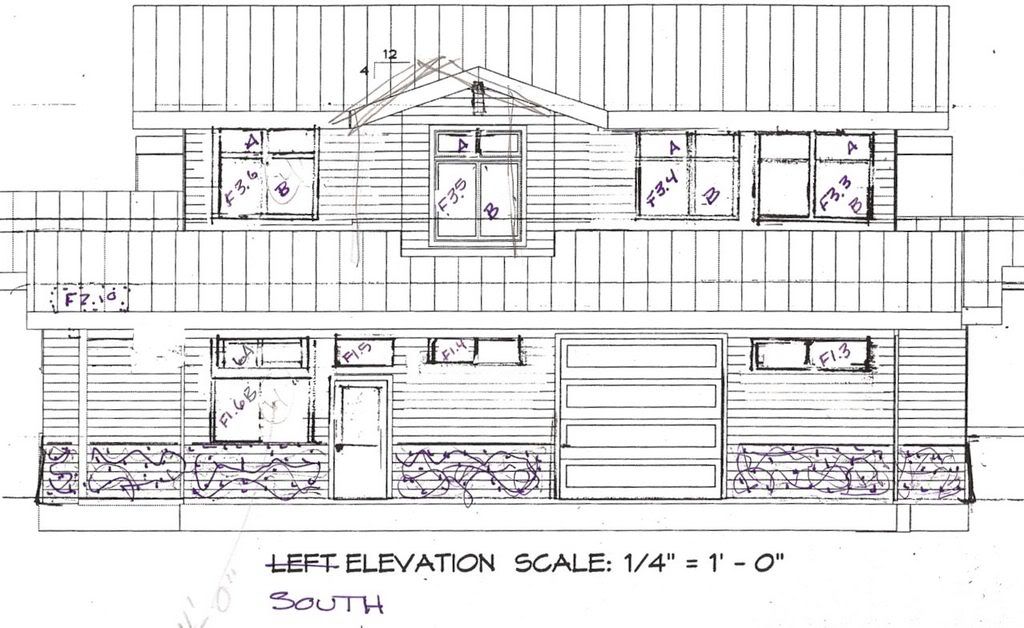
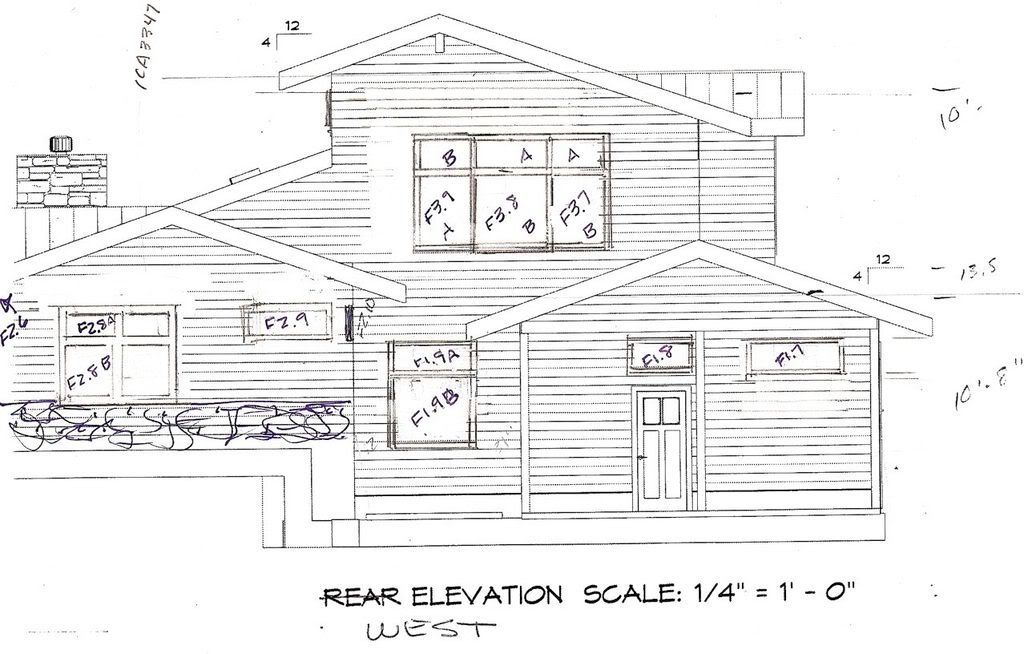
Larry, Truth be told, the original intention of the outbuilding has morphed. It was originally to have been an in law apartment, with a play room on top and my shop underneath. But as time passed we began to discuss the logistics of having this building as well as another to pay for and build. As well as, to maintain and keep up with. We came to the conclusion that modifying this building was a better idea. So we put two offices into my shop area, one will be Monique's art studio, the other my office. We converted the upstairs to the master suite. With these changes and a few upgrades to the interior, such as Terrazzo floors, better appliances and fixtures to the project. We think we will be happy with this as our "house" instead of simply an "outbuilding". Although I've had to make additional concessions, (she didn't really even have to twist my arm) like placing paving stones around the exterior and making an exterior deck. Which will be an outdoor space for Monique to work on art, I think in the end, it will be a better choice. The pink area is where the Warm Floor will be running the radiant, here is a better layout of the master bedroom  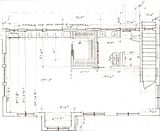 East Elevation with and without the considered Window placement, won't really know till we have the roof lines and the stairwell framed out, but I think we'll go with this. 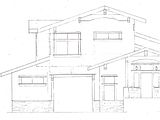 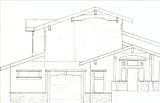 The rest of the working elevations 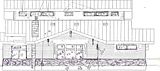 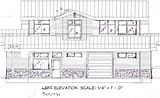 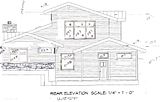 This was the original concept idea, when we started (I thought I had put this in here, but I guess not. I must be slippin...  ) 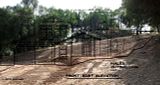 |
|
|
|
Post by stumppuller on Feb 12, 2009 20:30:52 GMT -5
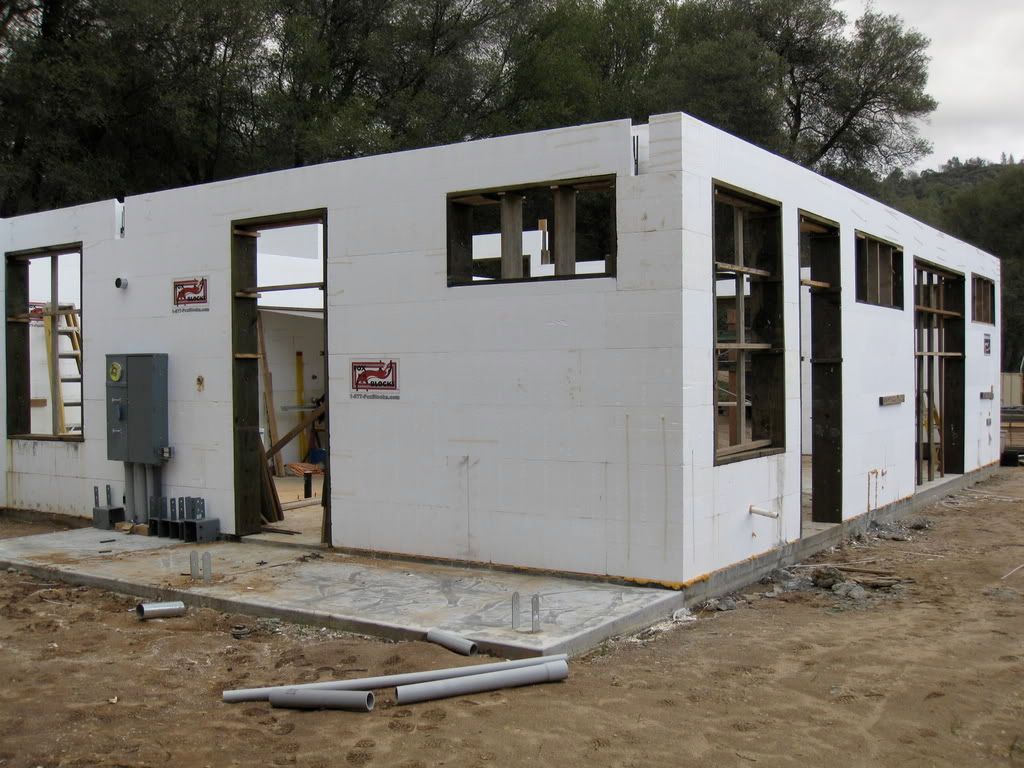
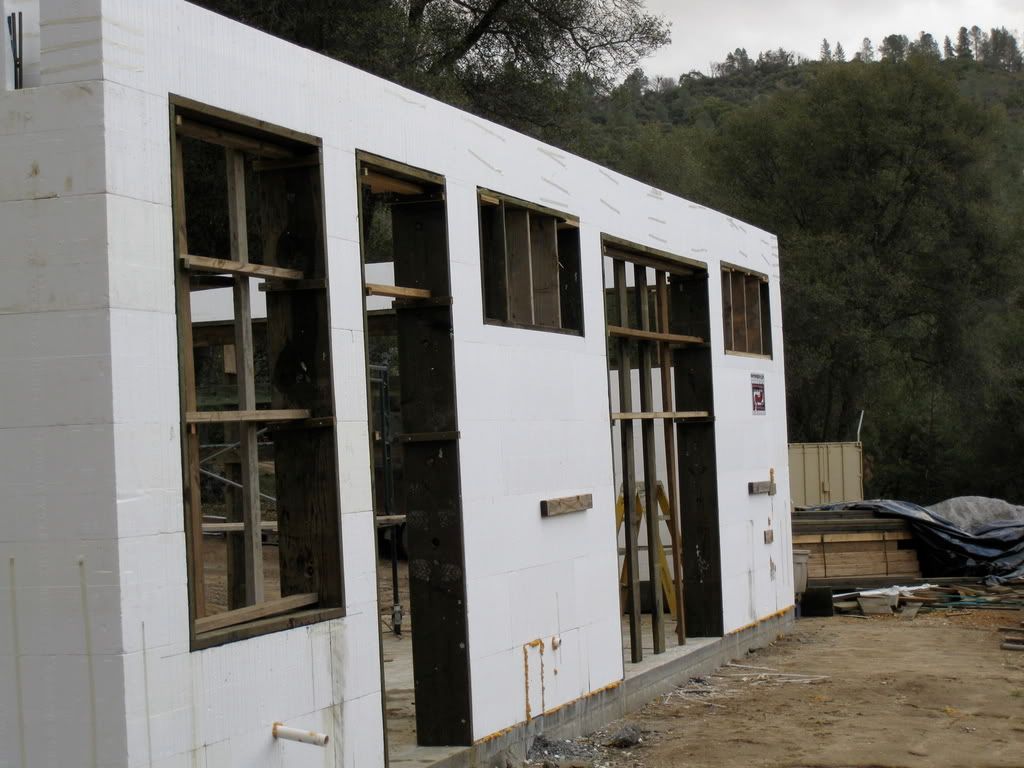
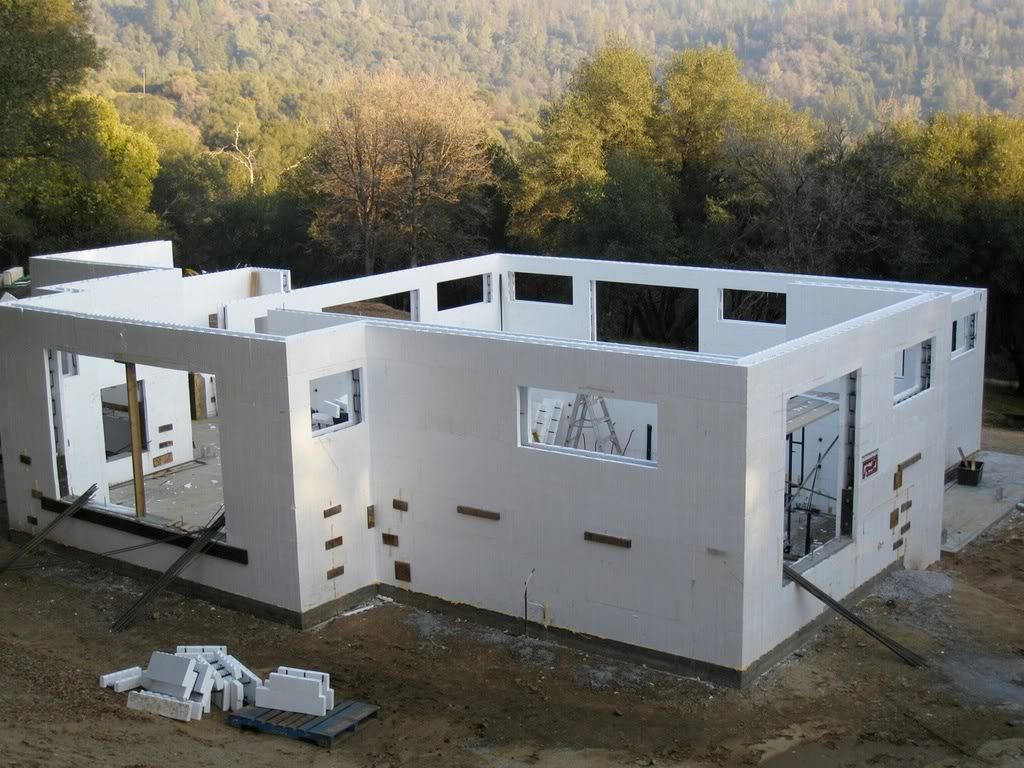
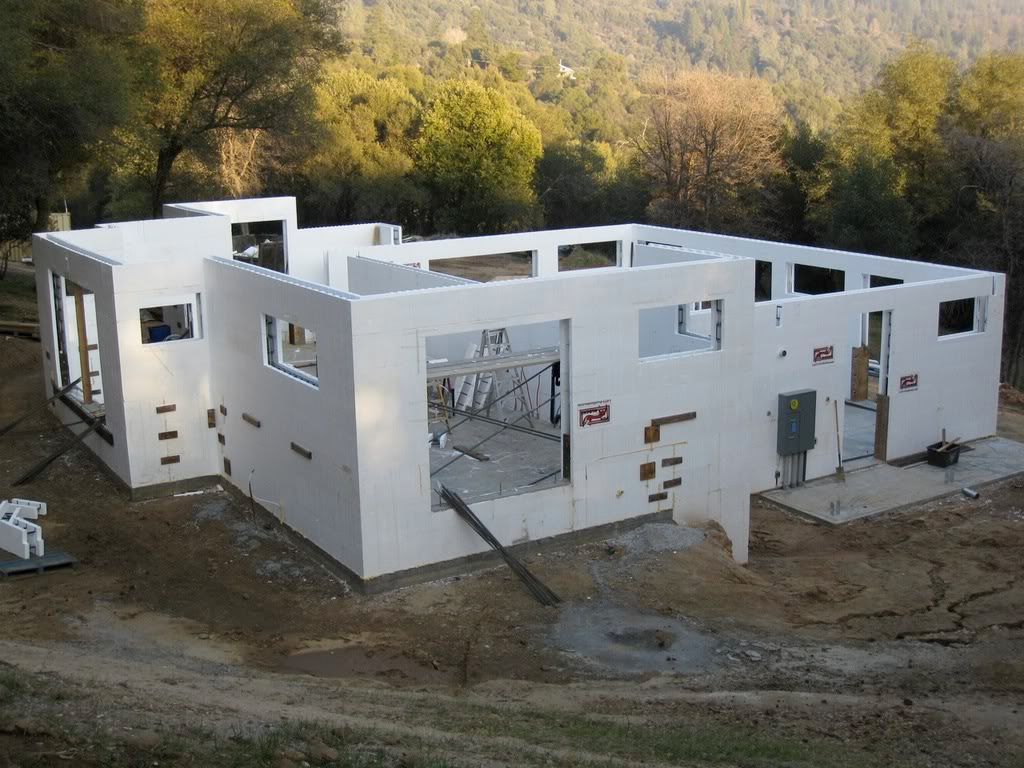
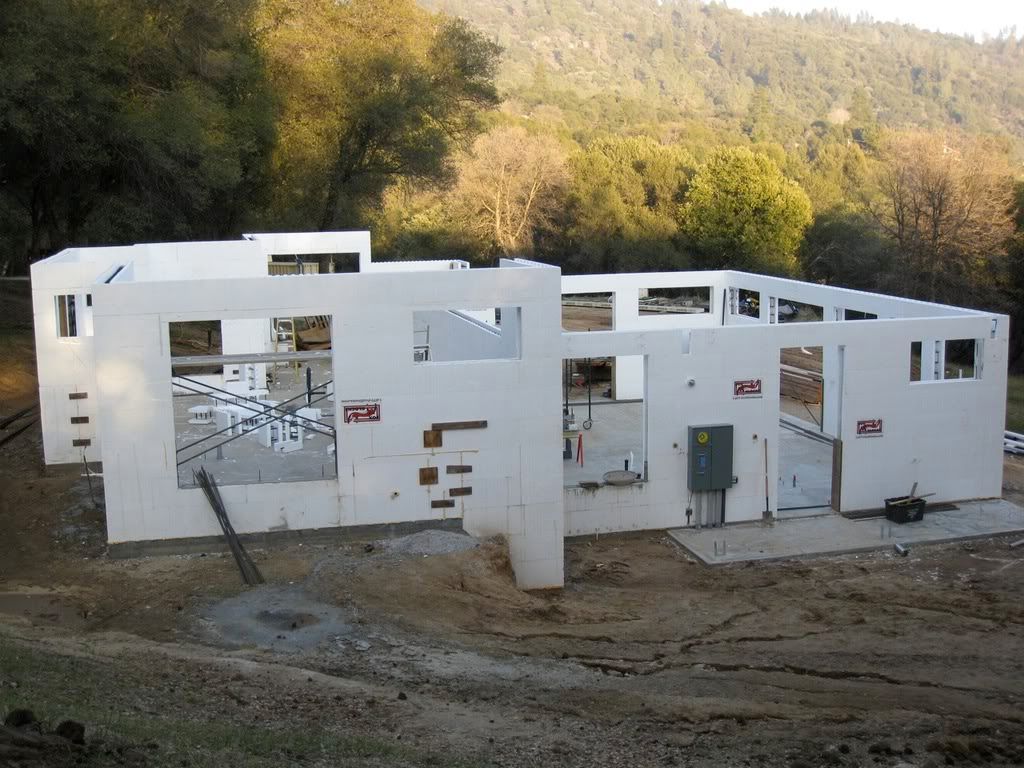
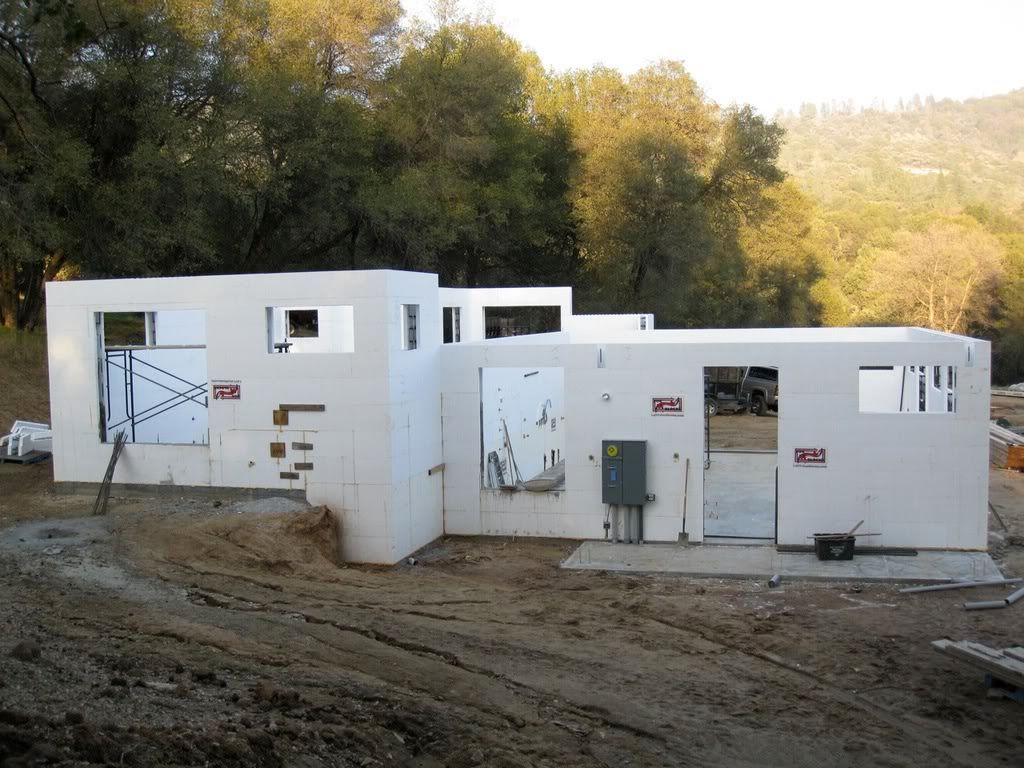
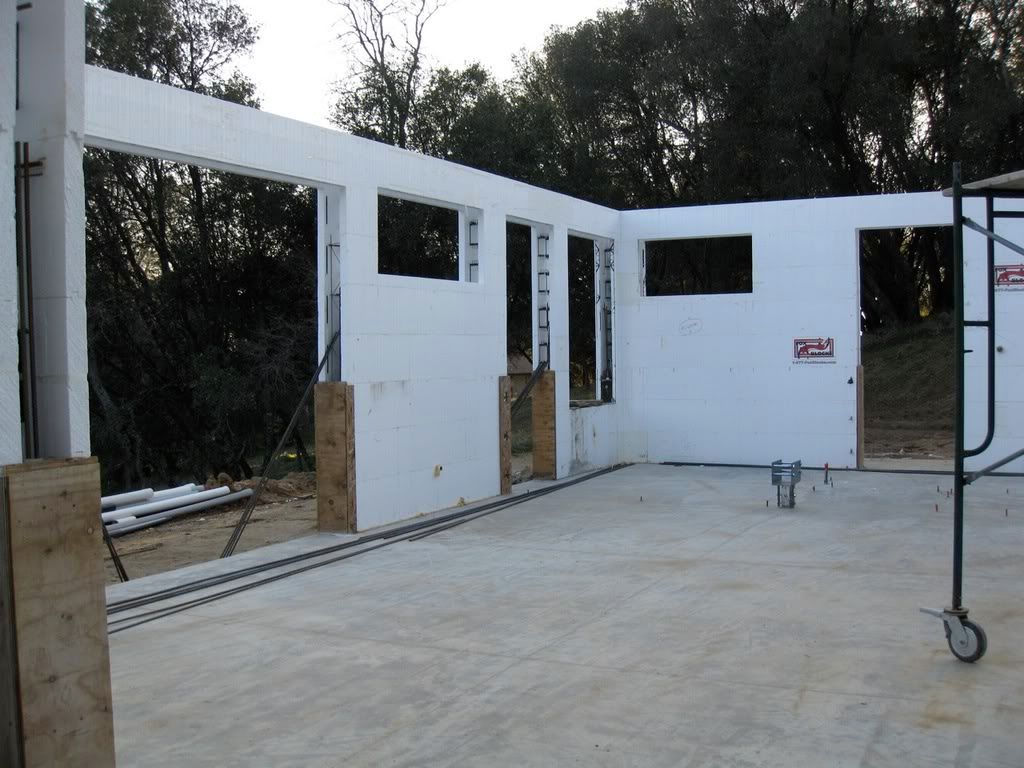
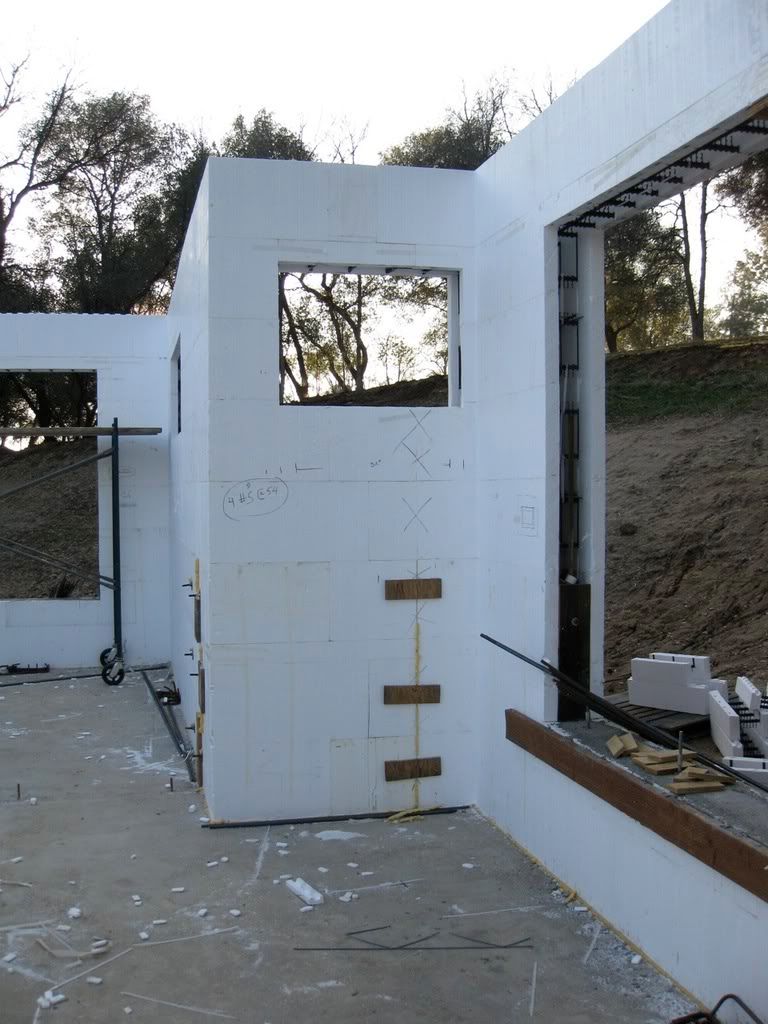
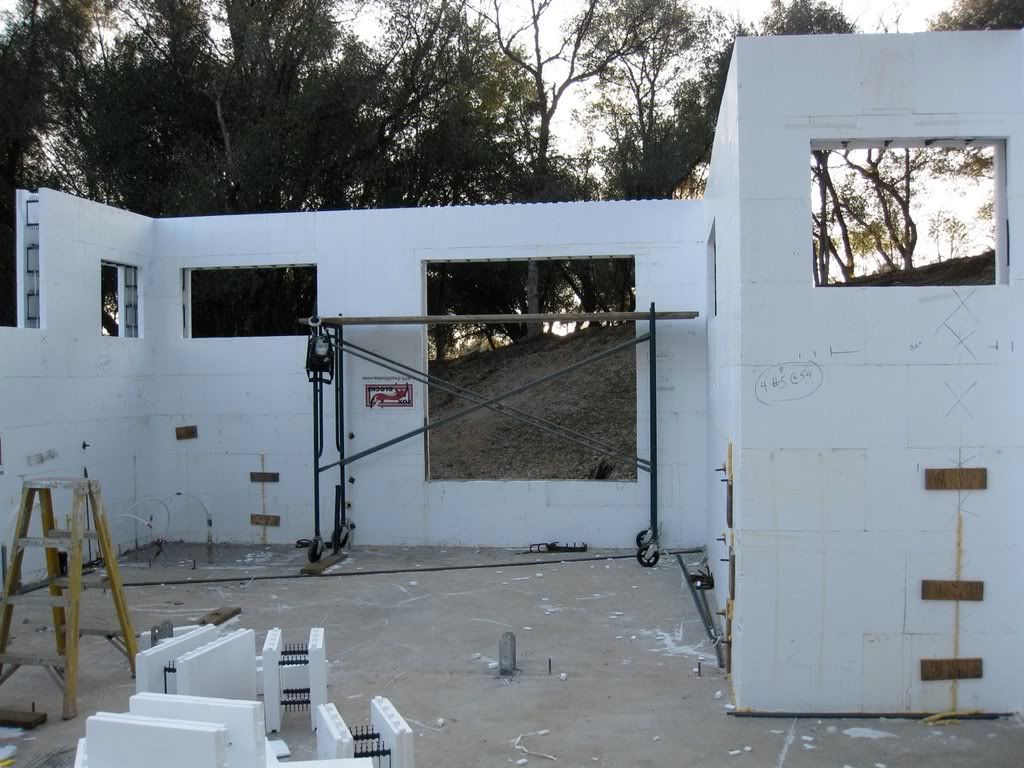
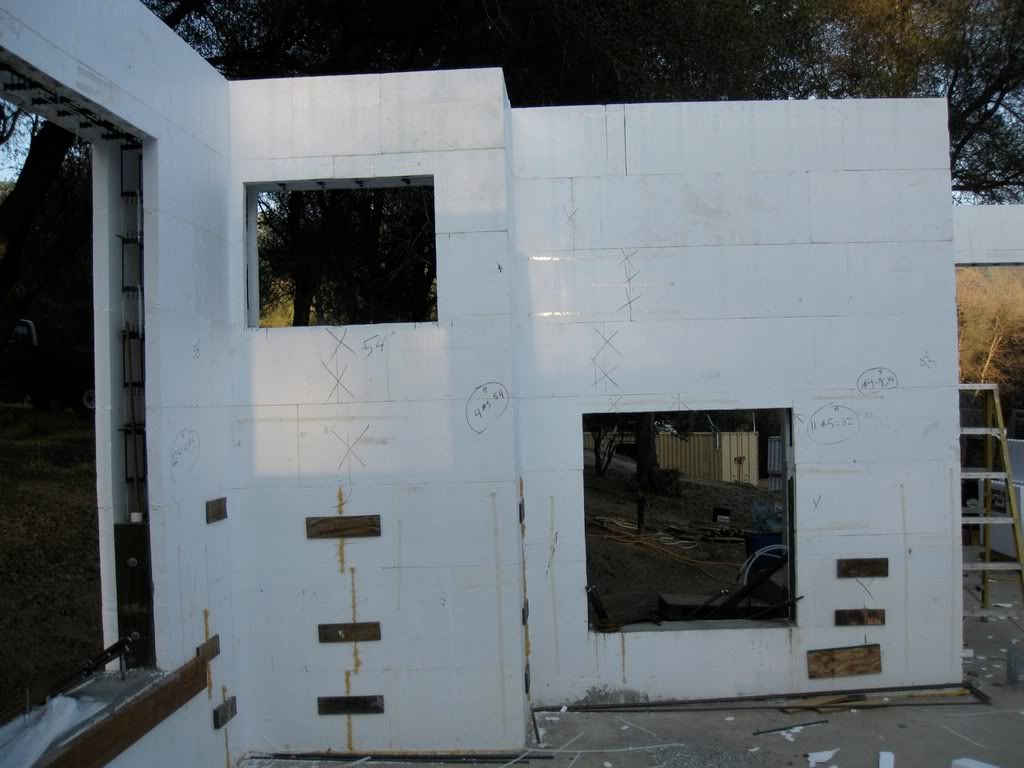
I thought that the foam forms were used for basements which were backfilled after the concrete cured, but your application looks to be above ground. How will you finish the exterior & interior surfaces?
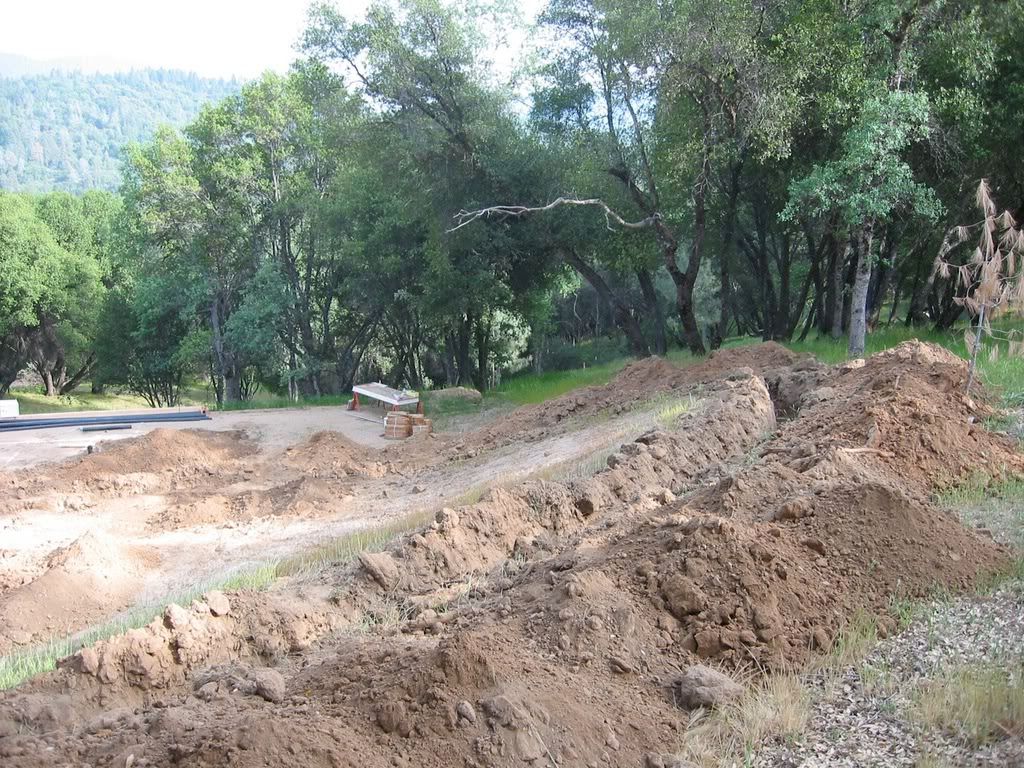
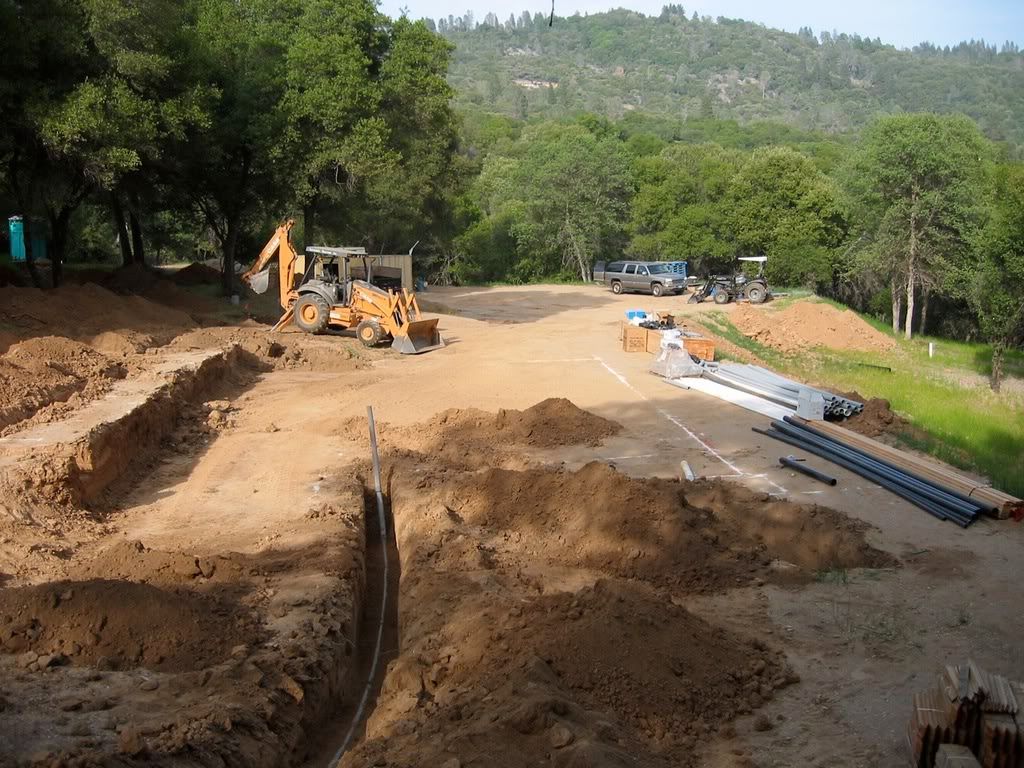
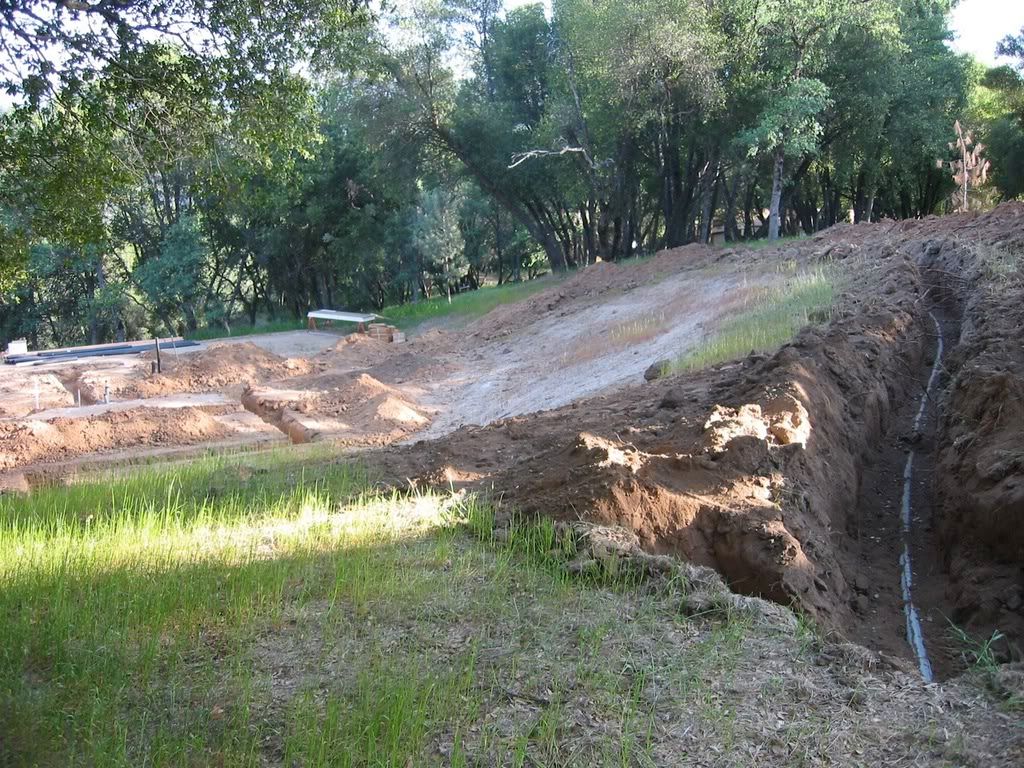
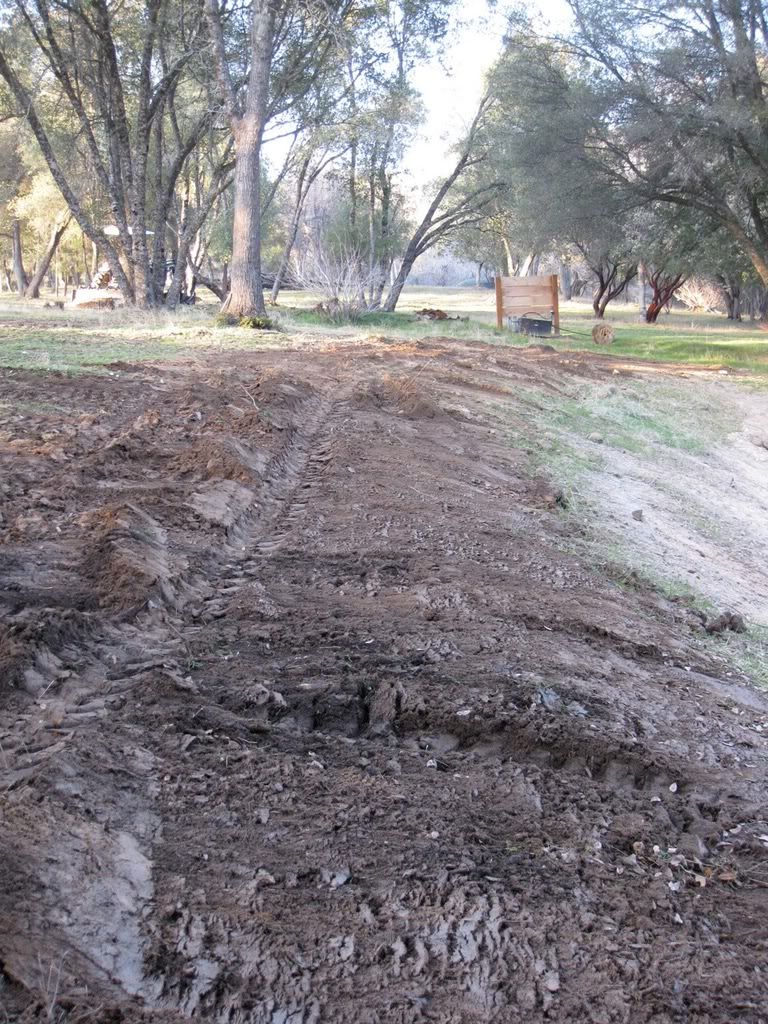
Some of the quotes I'm getting for excavation work, trenching & septic system are out of site. One quote is at $47,000 & another comes in at $119,000!!! These prices drive me crazy(er). I'm going to try my hand at doing some of the simpler trenching myself.
|
|
|
|
Post by stumppuller on Feb 12, 2009 20:36:04 GMT -5
Nice design. Are you the architect?
Bruce
|
|
red
CTW Advanced Member

Posts: 306
|
Post by red on Feb 12, 2009 21:48:58 GMT -5
Stumppuller when I built my house I found a reputable contractor and hired him by the day. In the trade they call it time and materials. The reason I brought the Jimna was simple; get the work done my way while taking my time and for less $ When you pay by the day you are always at the bottom of the list. I also always paid the contractor that day in cash, your building lot is a one shot deal it's not like your going to be a repeat customer. -Ed
|
|
red
CTW Advanced Member
Posts: 306
|
Post by red on Feb 12, 2009 21:57:24 GMT -5
tuffytractor-
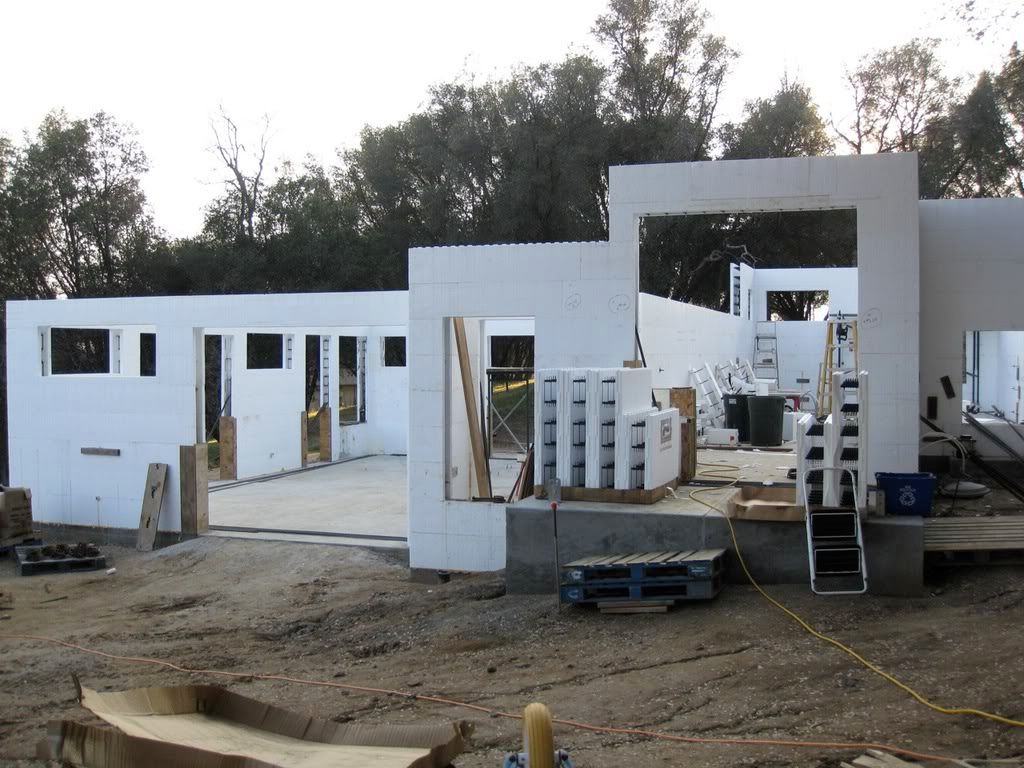
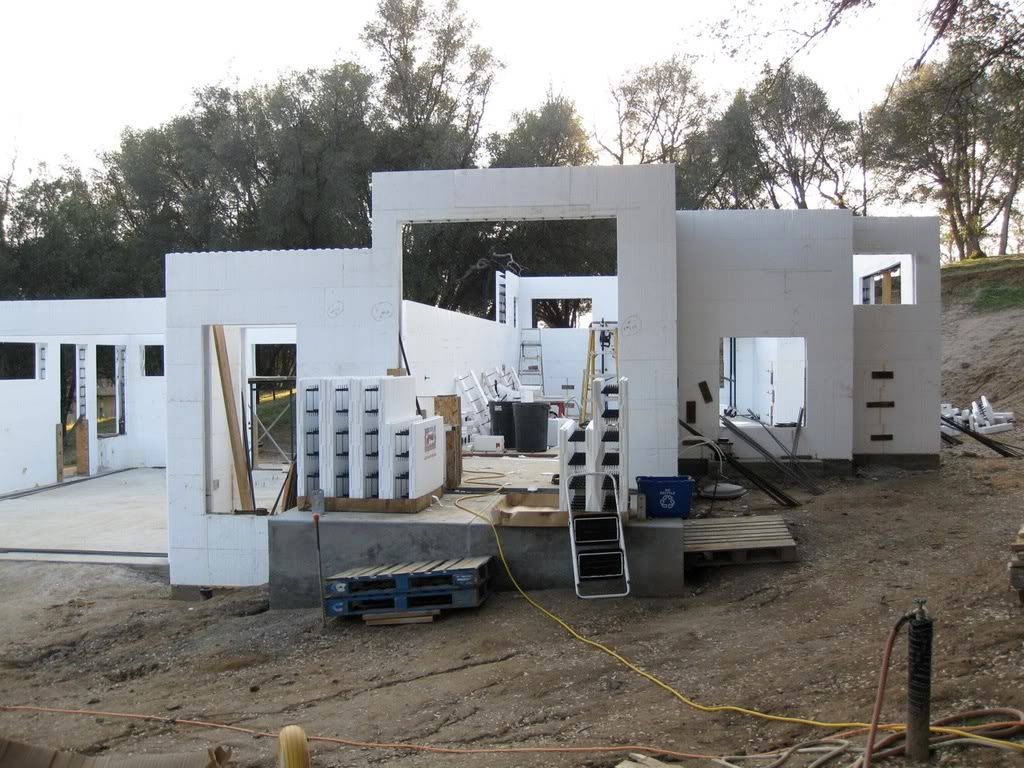
Your place is going to be huge! I had checked out the foam blocks for my garage (26x32) back in 2000 but decided against it cause they were twice the price of cmu. They are definitely the way to go, supposed to be very quiet, energy efficient and termite proof Glad you had some down time to post the pictures -Ed
|
|
|
|
Post by tuffytractor on Feb 12, 2009 23:41:14 GMT -5
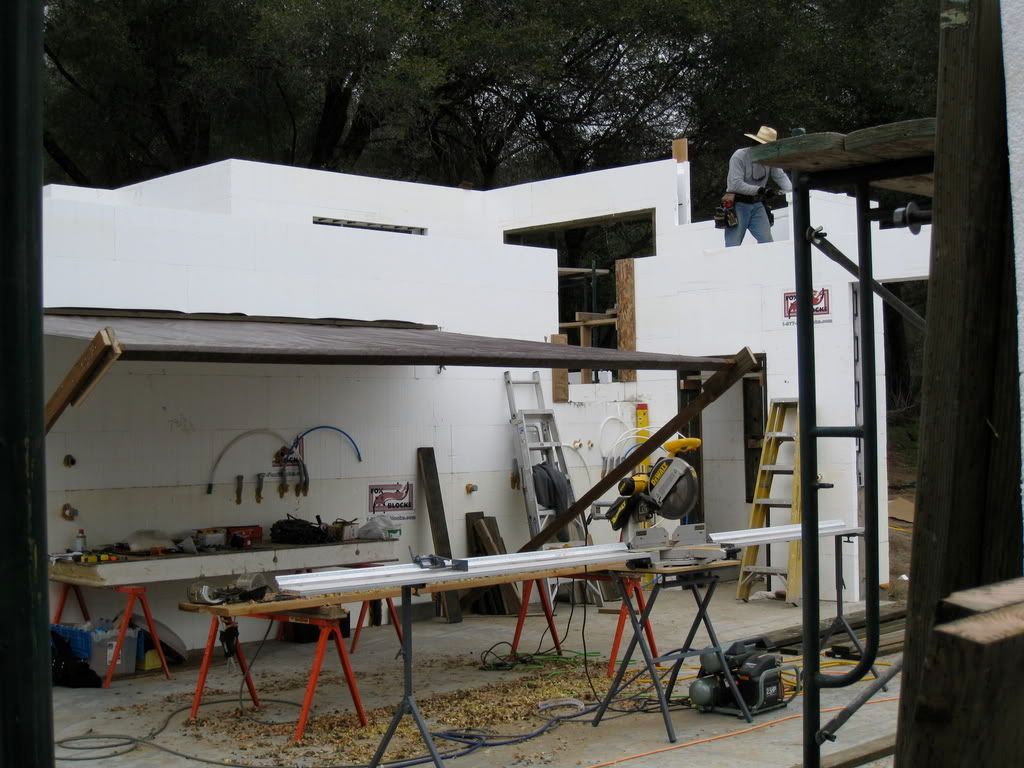
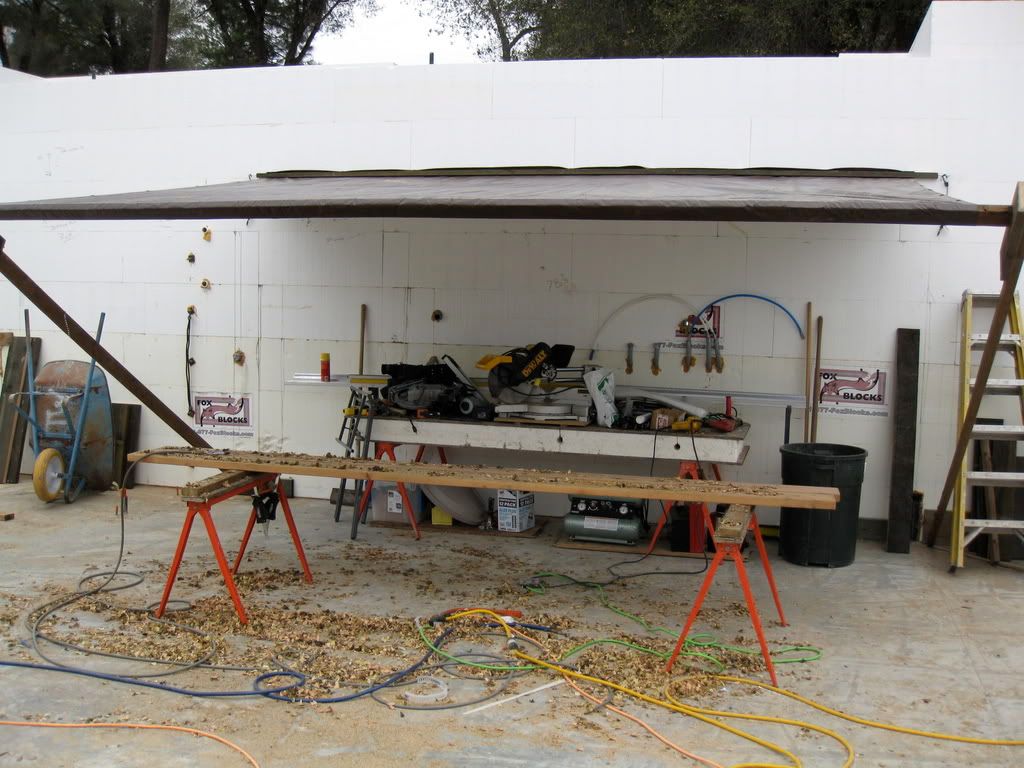
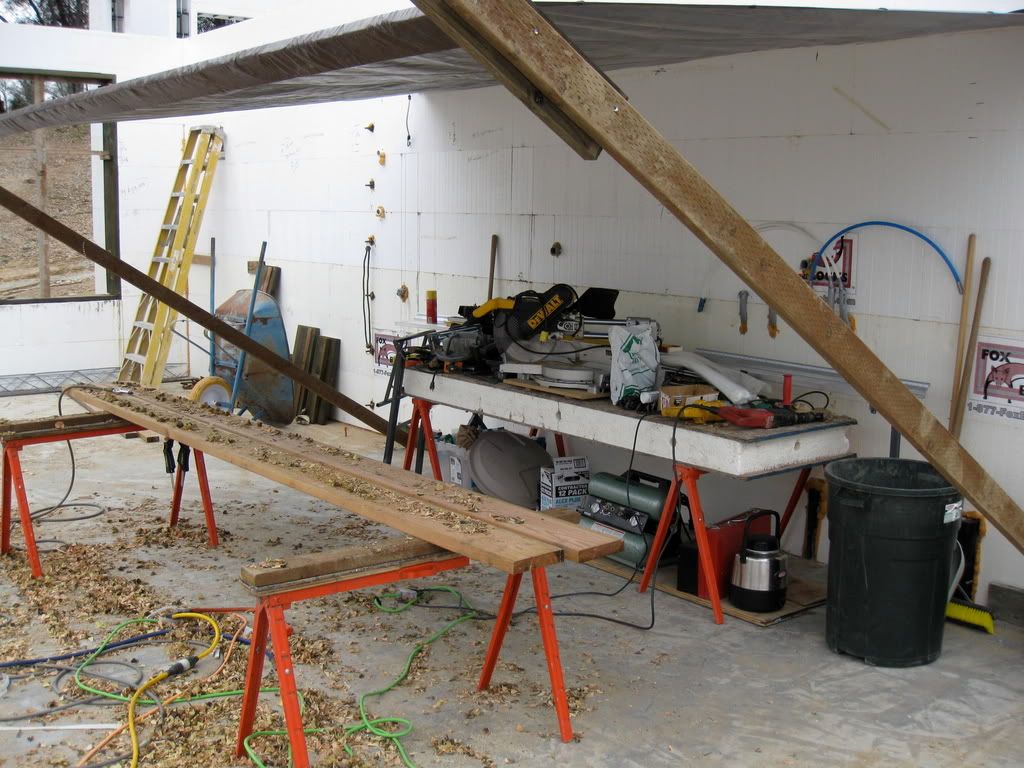
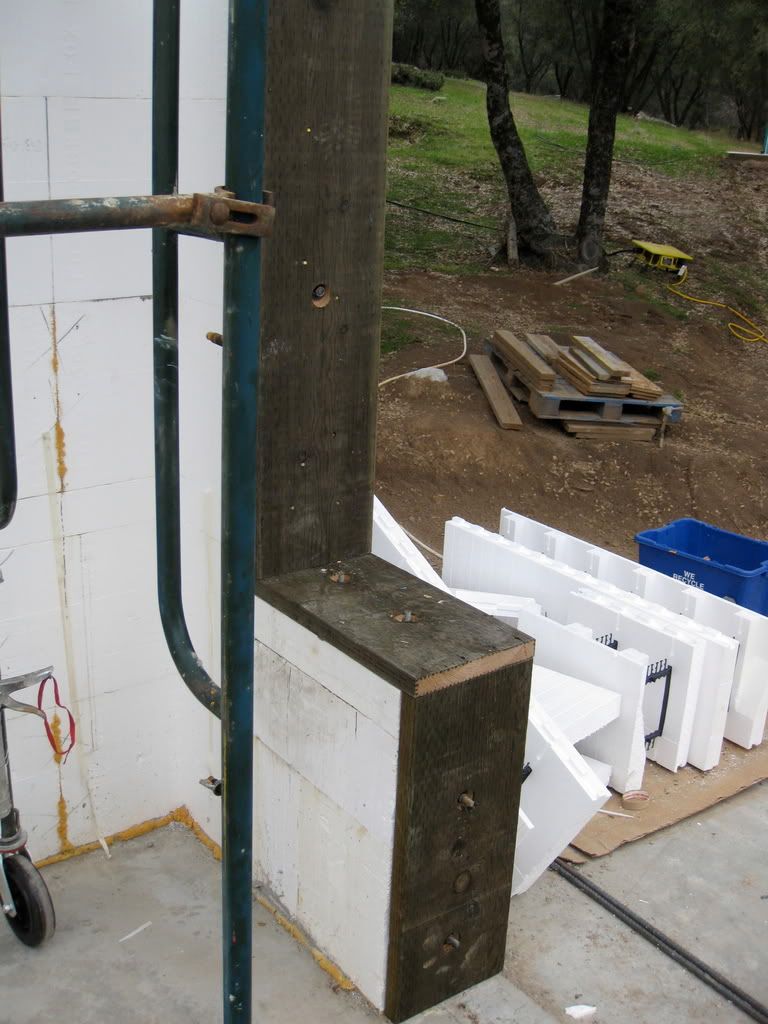
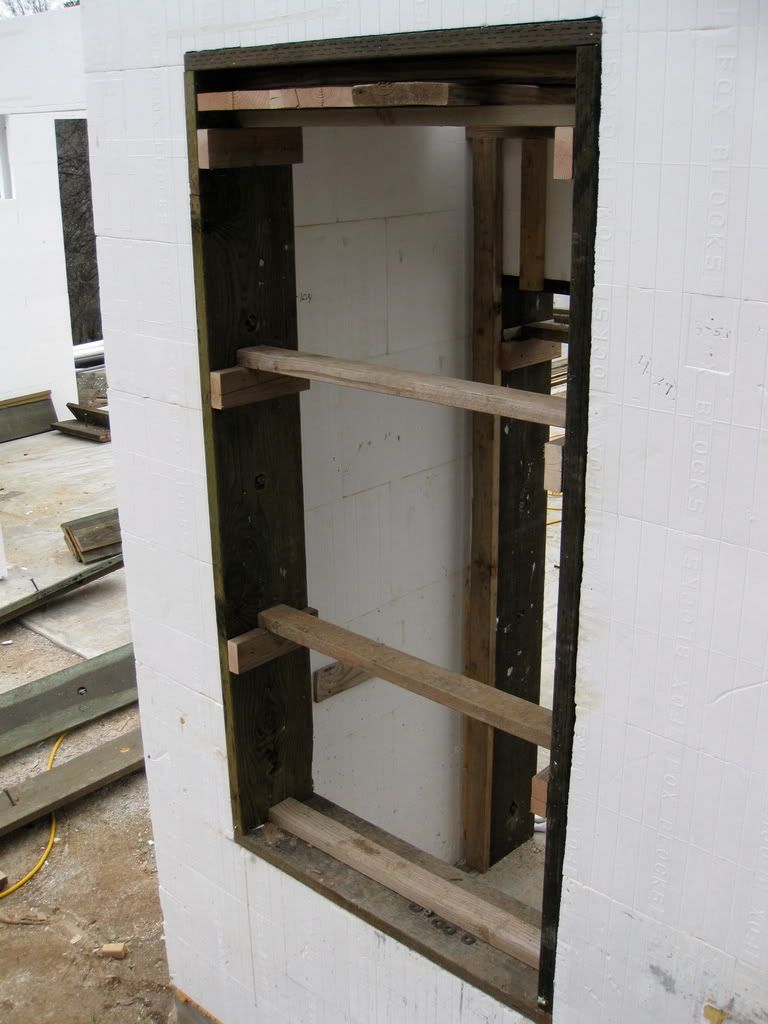
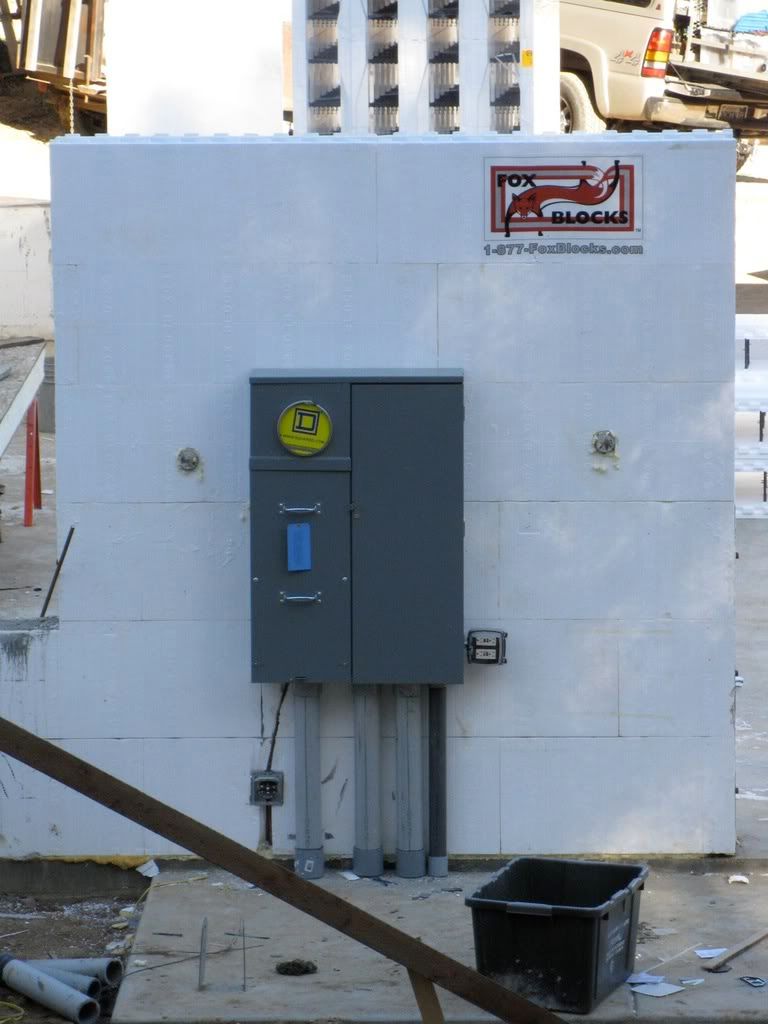
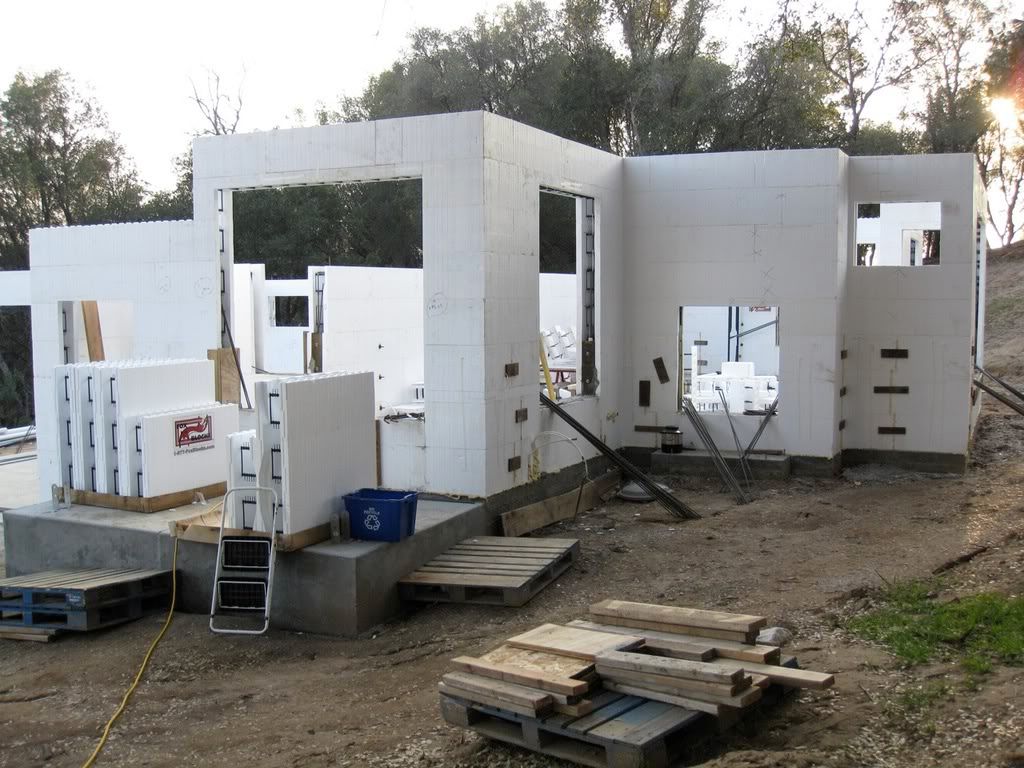
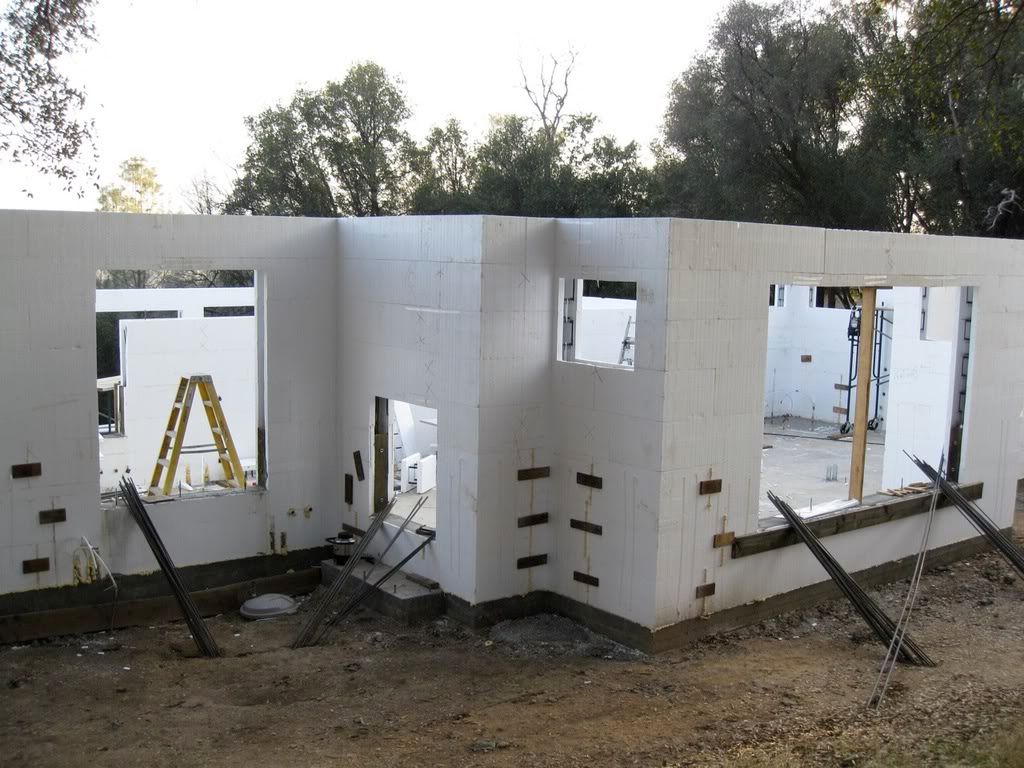
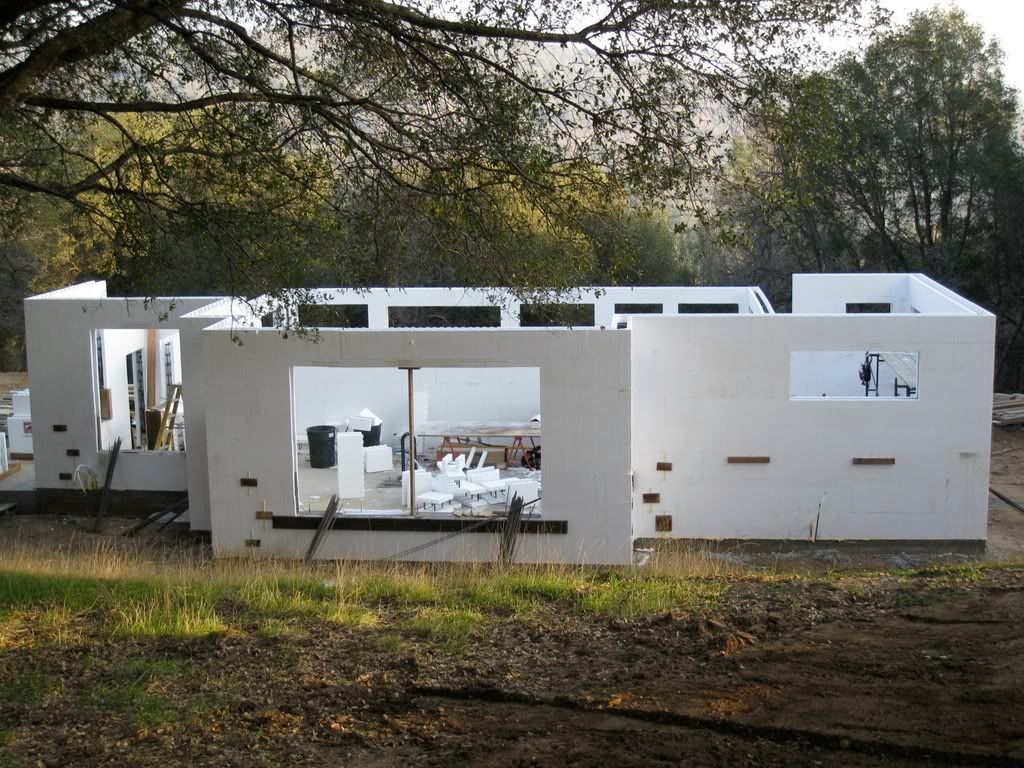
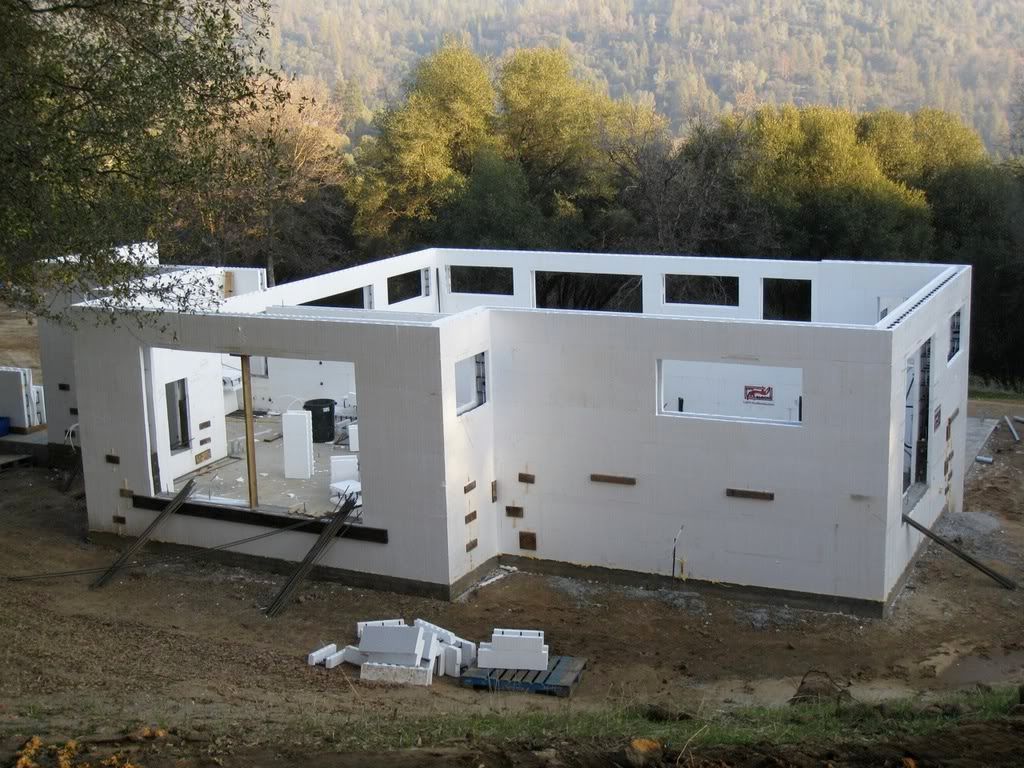
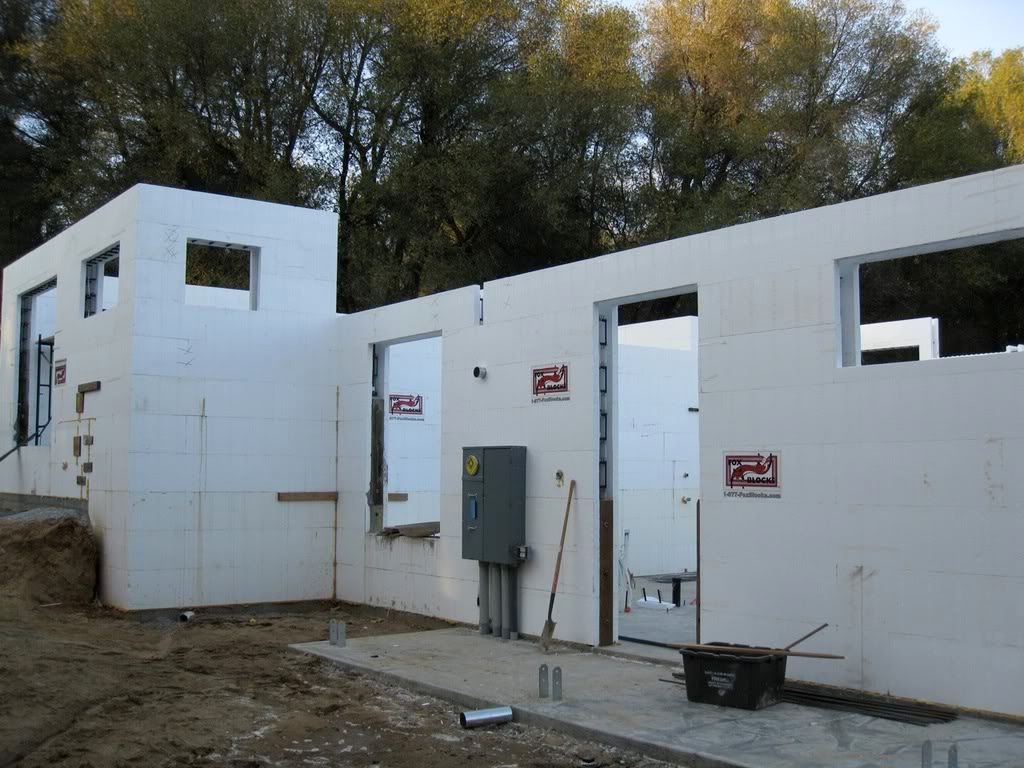
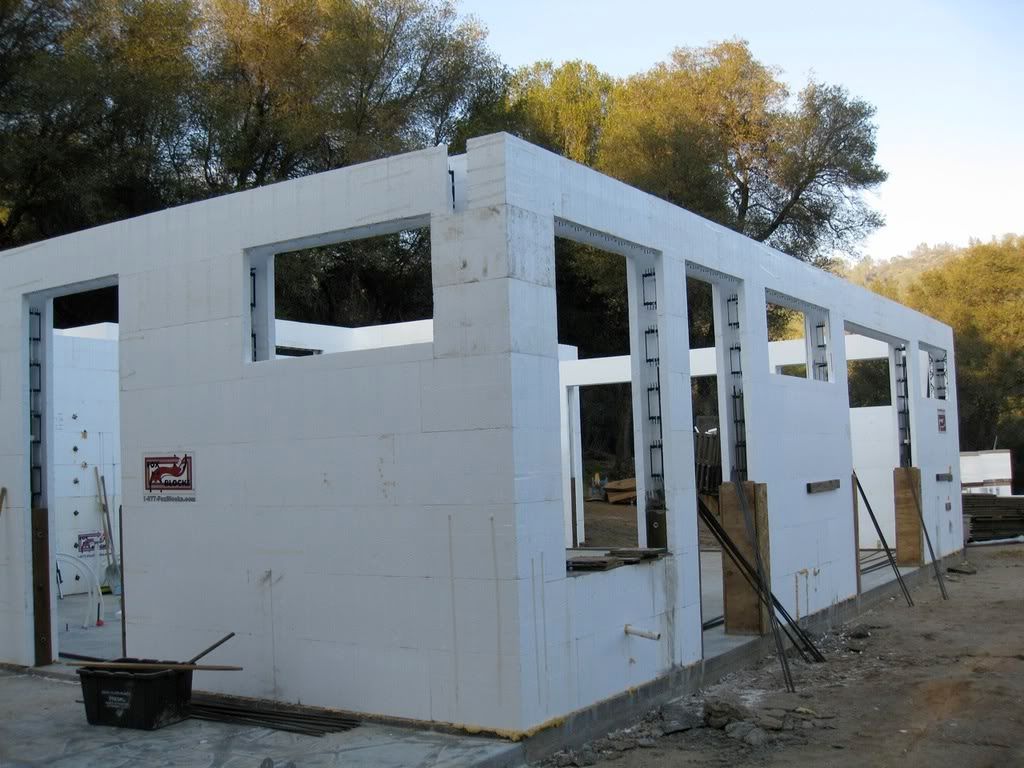
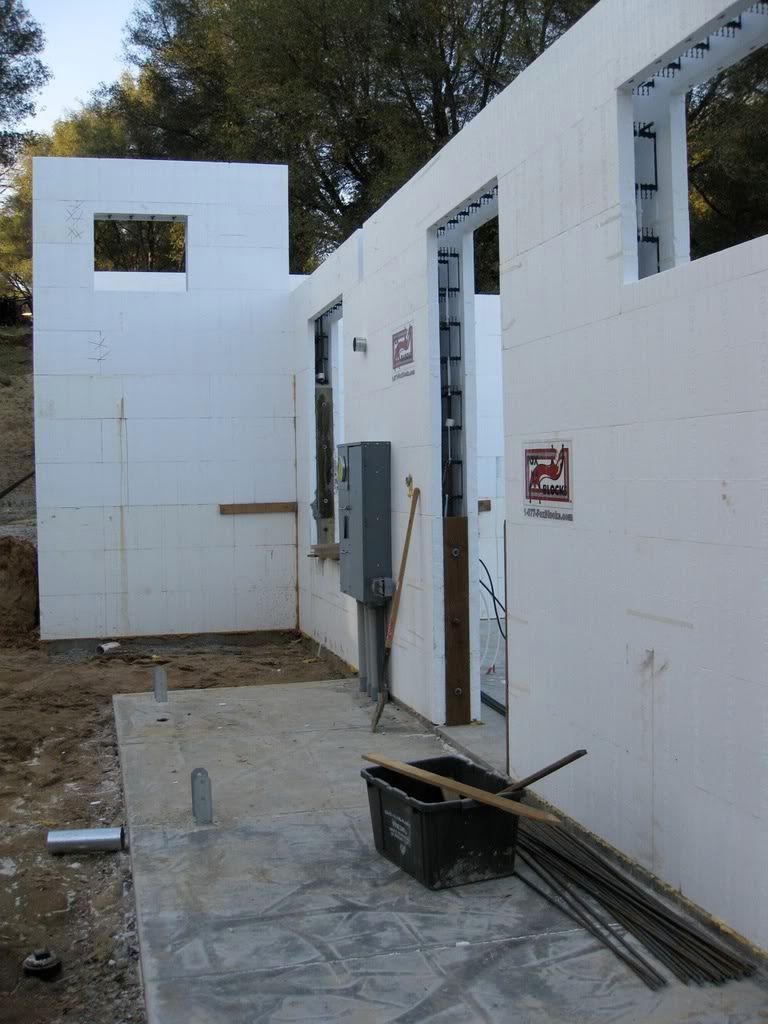
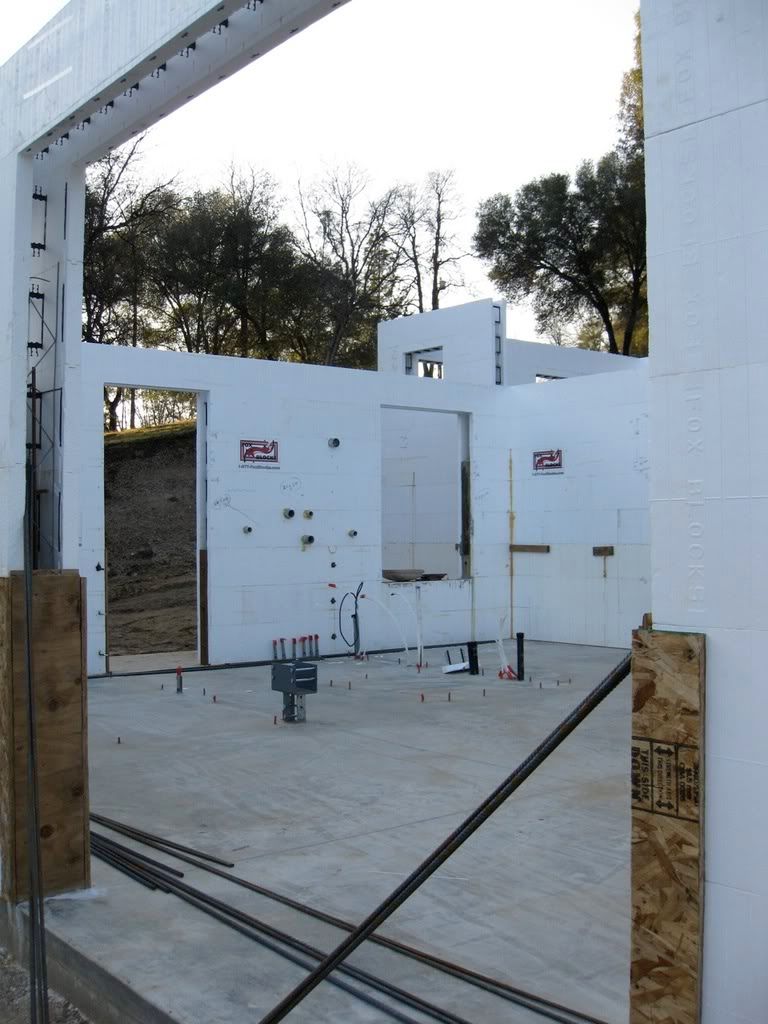
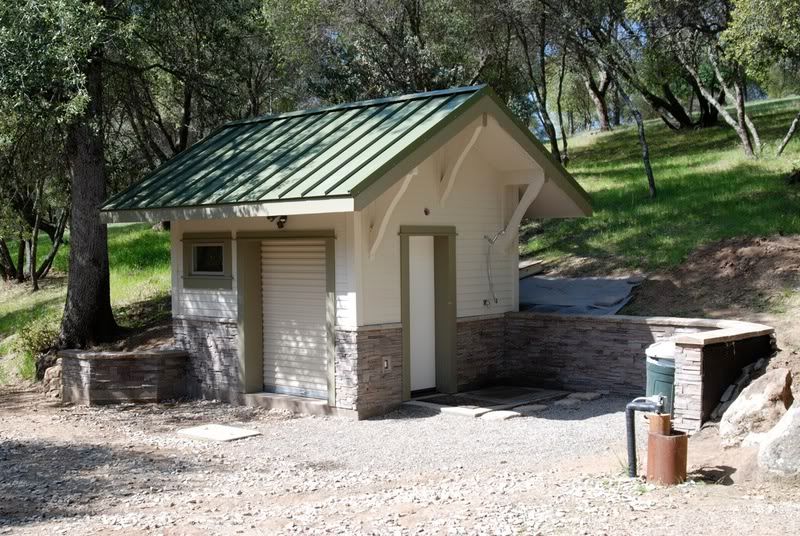
Bruce, No, I'm not the architect, don't think I have a good enough imagination or "vision" for that. My wife is the one with that predilection. So, I'm a..... project manager, yea, that's right, I'm the project manager. The interior or exterior can be finished in anything you like. You'll see in some of the earlier posts that there is webbing every 8" in the block, that runs from top to bottom. The Nye Ties and steel use this webbing to sit or tie to during the rough construction. Once the concrete is in, then the webbing functions as the stud material to screw into for attaching sheet rock, cabinets, exterior sheeting, cement fiber board siding, whatever... Here is a shot of the well house I built previously, as the test to this larger project. This is the link to that page; chinesetractor.proboards66.com/index.cgi?board=conpro&action=display&thread=308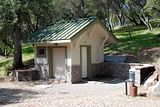 This is the website for the ICF block I chose to use. They offer a lot of support to the owner builder, they are priced about the best in the industry and their blocks are completely reversible, no left or right. www.foxblocks.com/and yes Larry, that shower is getting a lot of use. But sometimes, its quite cold to shower when its 29º outside. |
|
3RRL
Administrator
Huge Kama
Posts: 2,027 
|
Post by 3RRL on Feb 13, 2009 12:12:20 GMT -5
Holy crap Tim,
It must have taken you hours just to resize, load up and post all those photos and narration.
Let alone the actual work you've gotten accomplished. Man, what an outstanding amount of work and progress. One thing I have to say about you, you certainly pay attention to detail and don't skimp on anything. I really admire that. Your place is going to turn out SWEET!
Again, thanks for taking the time to update us on your magnificent project.
I'm still in awe of your well house!!!
Rob-
|
|
quikduk
CTW Life Member
Dog House
Posts: 552
|
Post by quikduk on Feb 13, 2009 16:22:01 GMT -5
Tim, You sure are doing a fantastic job on the house. I can't wait to see what your plans are for the interior finishes. I think IF (not when anymore...  ) I can retire someday, I might use this system as the energy efficiency alone would make it worth the effort. Keep up the great work and post when you have time. Ken |
|
|
|
Post by tuffytractor on Feb 25, 2009 22:18:03 GMT -5
Did I mention how many deer are around my property? They are everywhere... eating everything, except the poison oak.   |
|
|
|
Post by tuffytractor on Feb 25, 2009 22:30:26 GMT -5
|
|
|
|
Post by tuffytractor on Feb 25, 2009 23:00:36 GMT -5
|
|
|
|
Post by tuffytractor on Mar 5, 2009 21:43:27 GMT -5
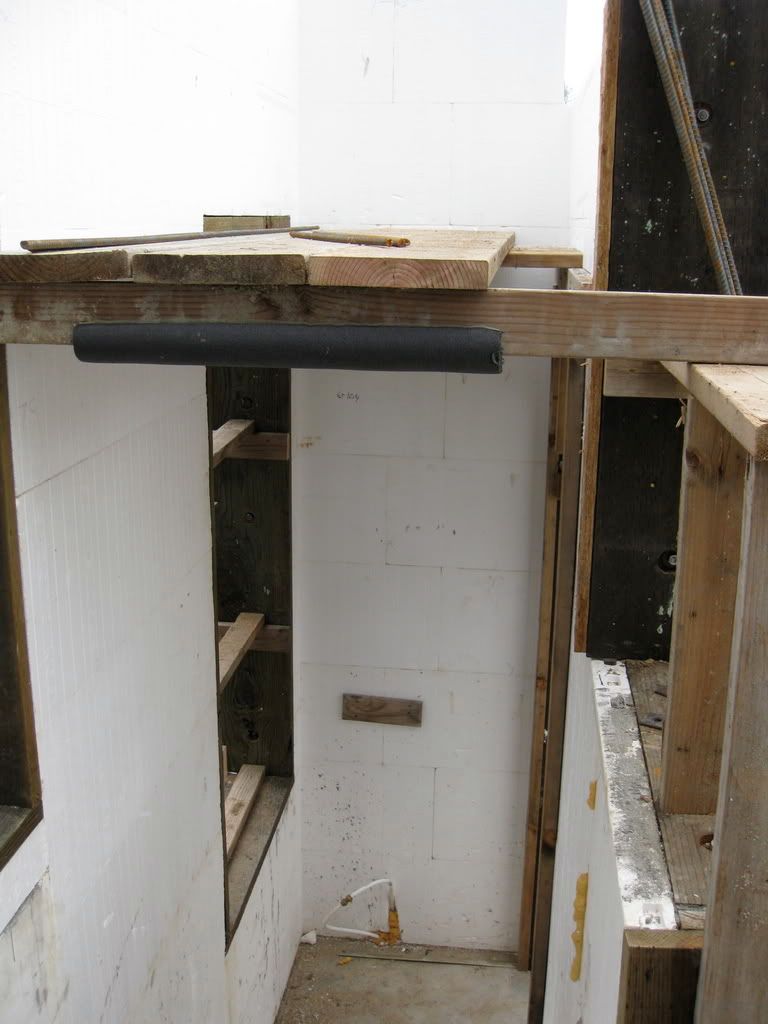
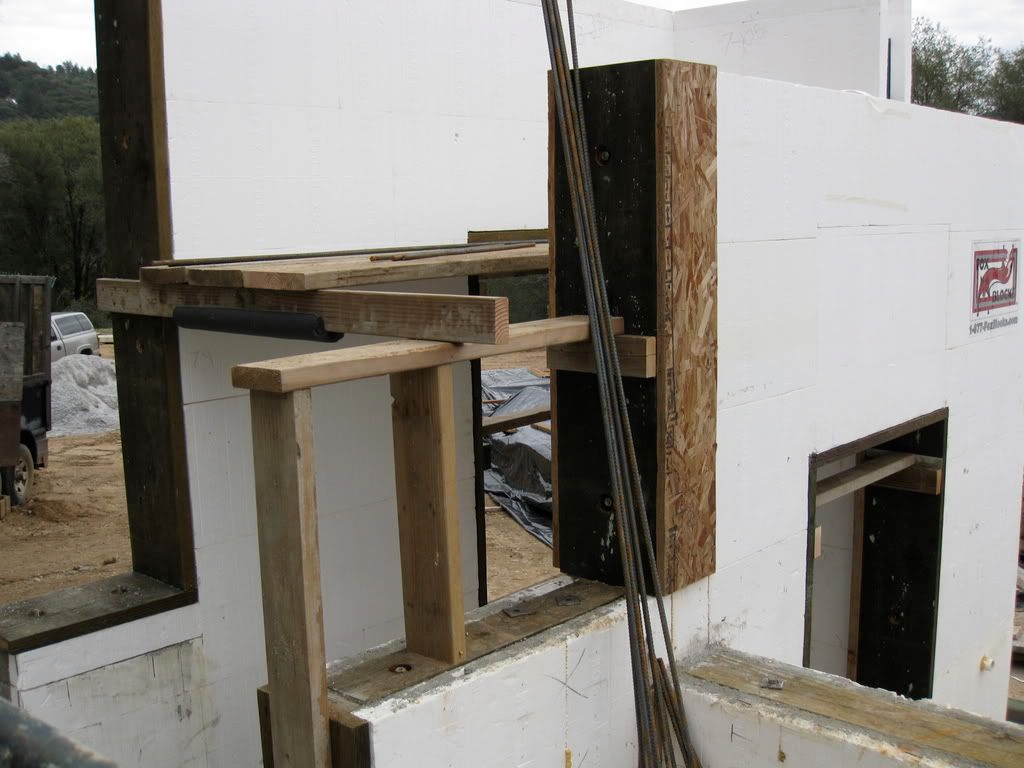
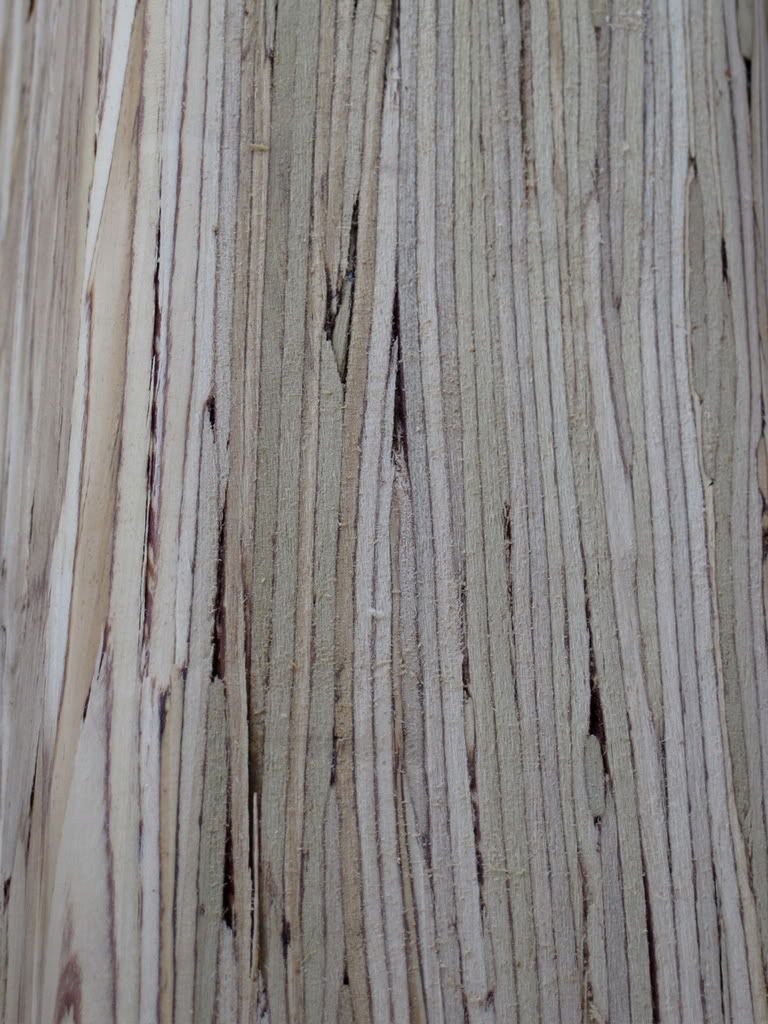
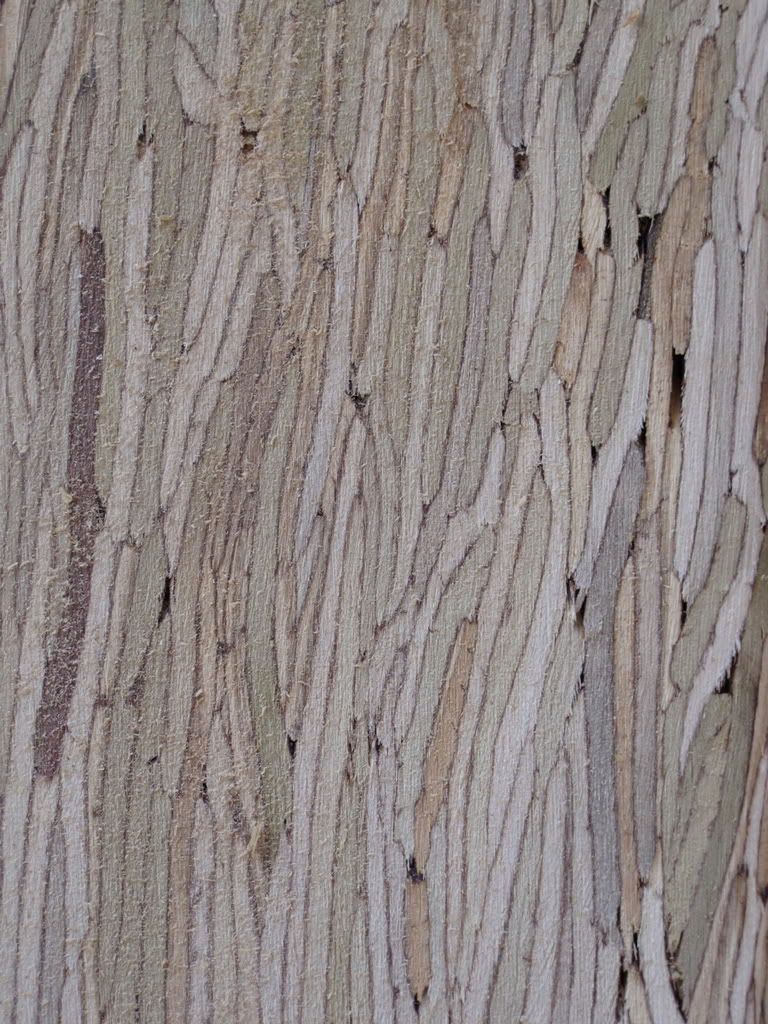
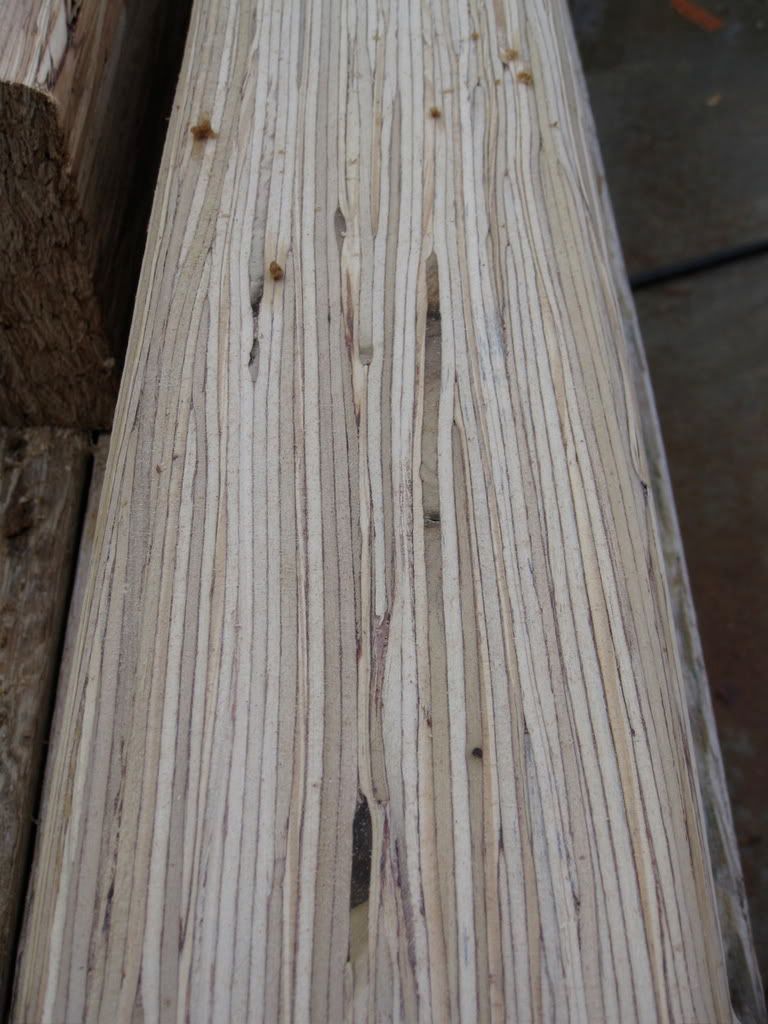
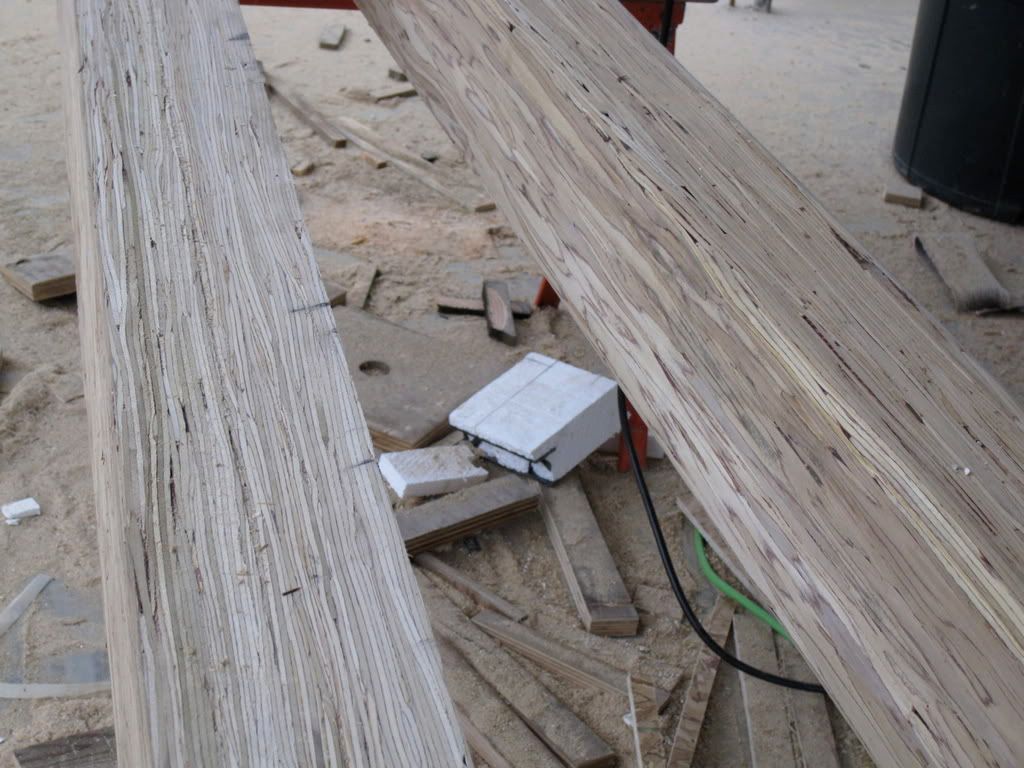
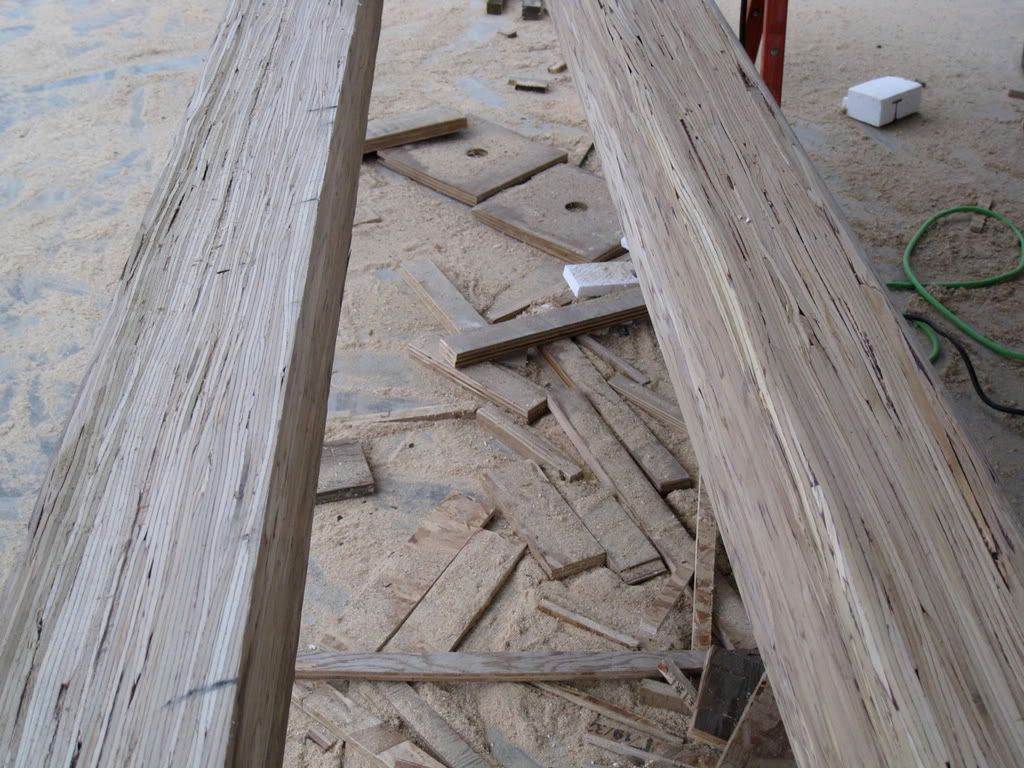
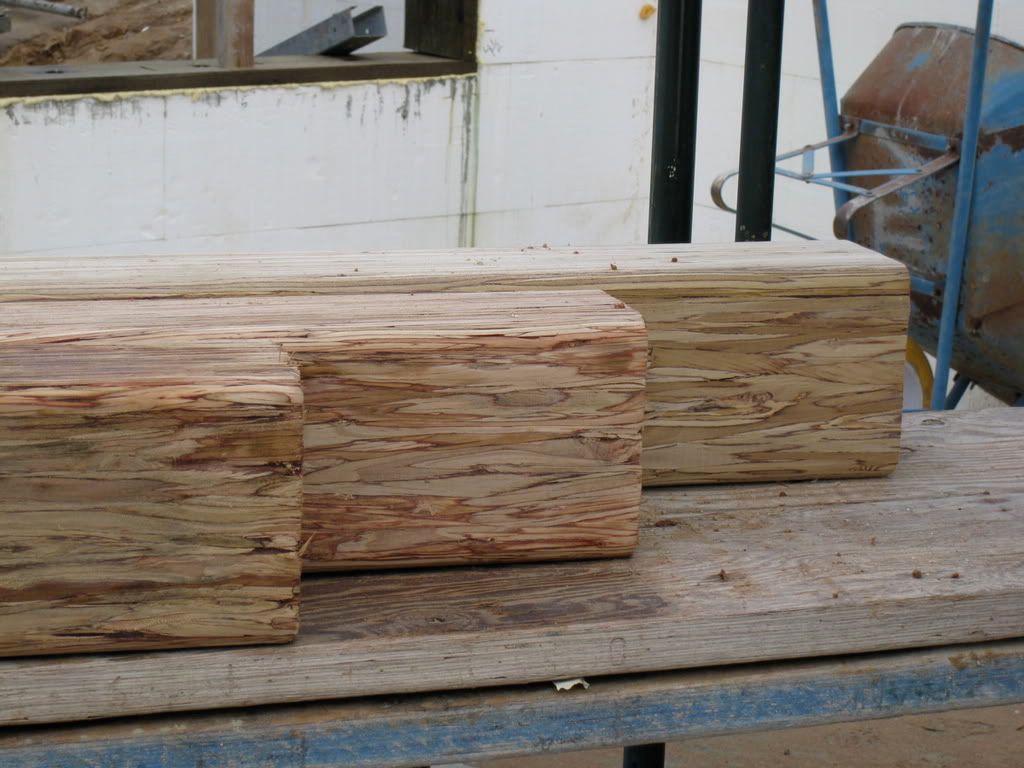
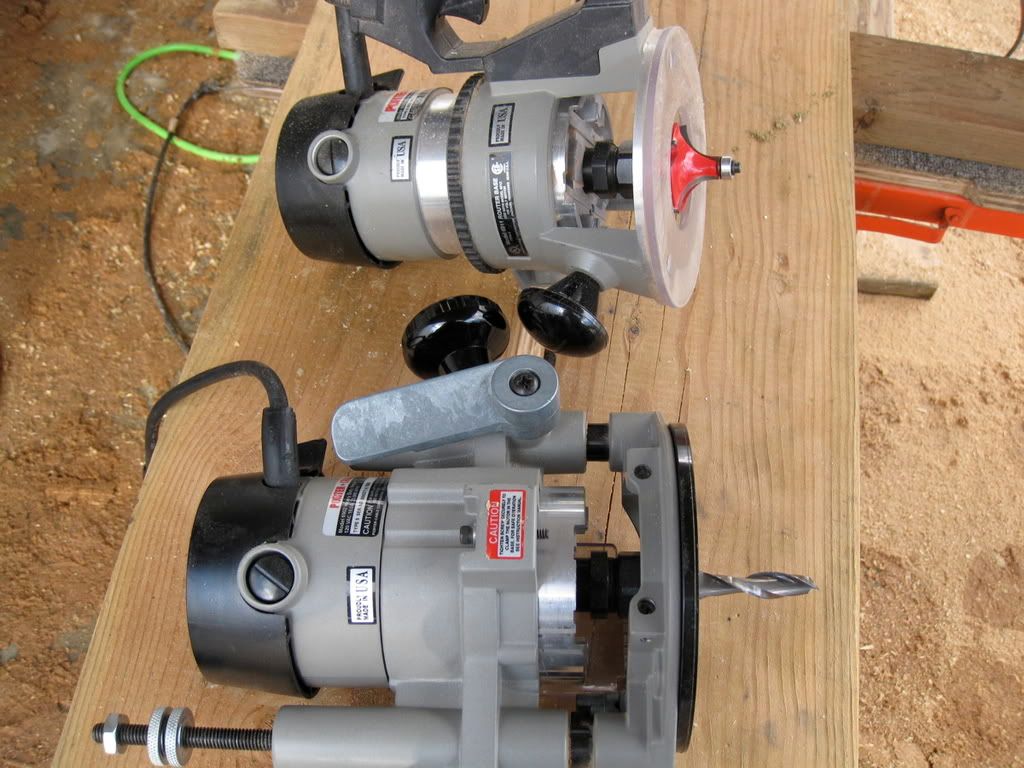
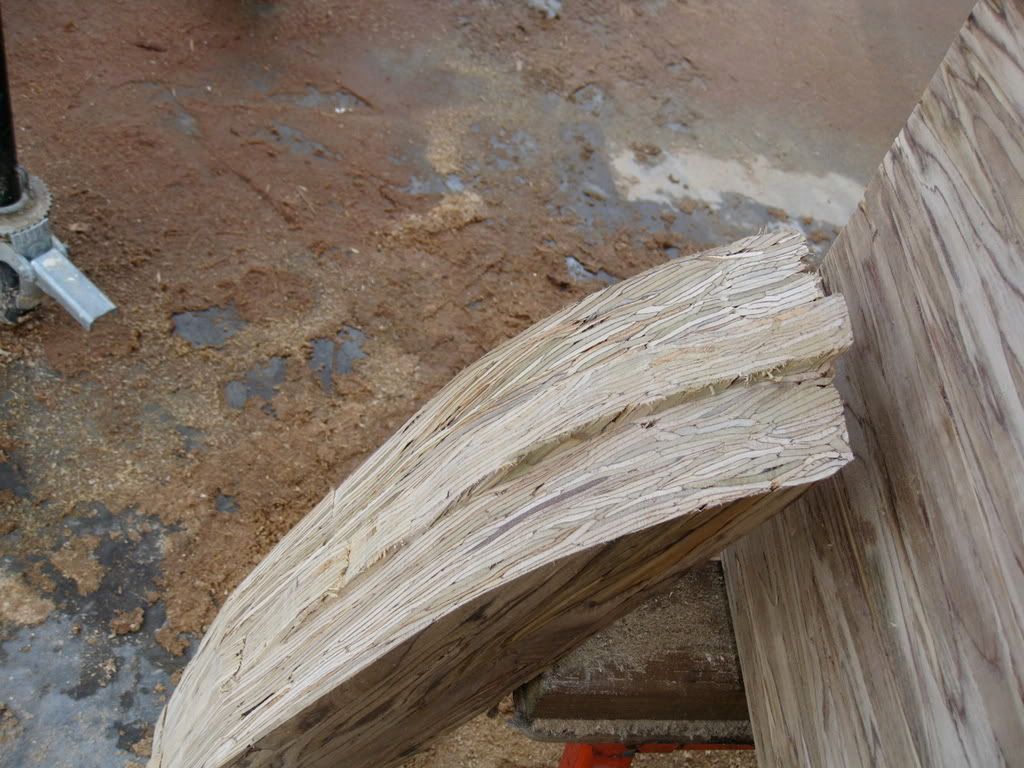
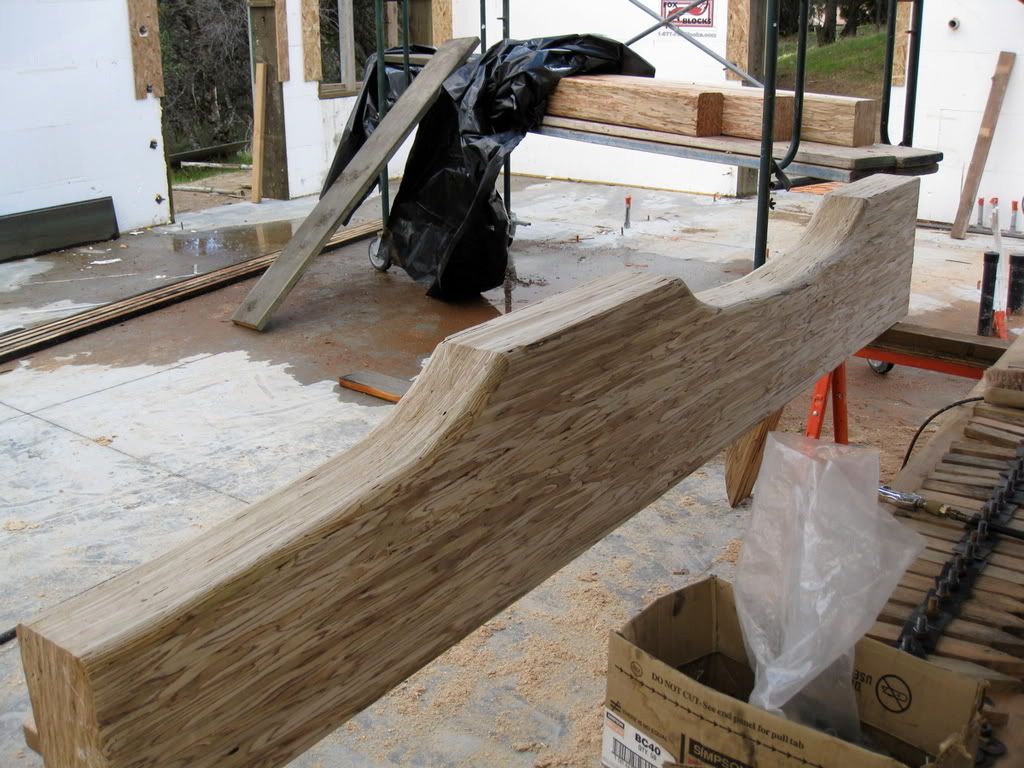
Here is the next installment,.... all you wanted to know about Parallam beams. Although I'm not a big fan of Bob Villa, here is a link to him having a tour of how the beams are manufactured. I found it quite interesting. video.bobvila.com/m/21319320/macmillan-bloedel-parallam-wood-beam-factory-tour.htmHere are some cross section views of the beams/posts, I found them to be quite pretty, now I've decided we'll use them in building the fireplace mantel and I'll probably make a table out of them as well. Sure like the look. 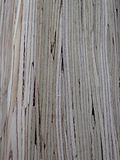  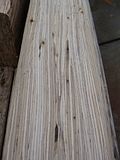 In keeping with the craftsmen style, we've decided to use beams and posts on all the exposed porches and use them as architectural details to unify the look. Bear in mind these beams are 5" Wide and 16" tall, they weigh quite a bit, so the posts are 5" X 7", beefy. We had to cut one beam in half to make long enough posts for the front porch. You may not be aware of it, but a Skill (8.25") saw blade will warp all over the place when heating up while trying to cut something like this. So we cut a little fat, then had to clean up using Router and Belt sander.  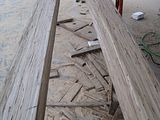 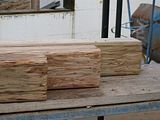 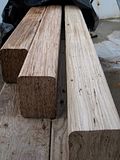 Onto the beams, the arcs were a bit tough. Originally wanted to be able to cut it with a Band saw, but most mobile Band Saws don't have the throat clearance to cut a 5" beam. I found one, that offered hydraulic or electric and would cut up to 7", but the $2200 bucks was more than I wanted to lay out. www.csunitec.com/saws/new_river_band_saw.htmlSo, had to "make do" with a different method. I opted for making a pattern of the arcs that I wanted to cut, then running the router over the guide in successively deeper cuts to get as deep as I could, which was only about 2" deep. Then I flipped it over and did the same thing to the other side. Which left me about 1" to cut with a Sawszall. After that, clean it up with a belt sander. Didn't start out well. The first bit touched the wood, it snapped in half. Spiral cutter with carbide tips. The spare I brought along, just in case, had to do the whole job and it handled it fine. I'm guessing there was a flaw in the first one, I'm gonna try and take it back, those suckers are not cheap.   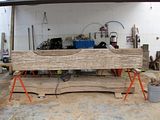 Here are some shots of the finished beams. They may look a little odd, but the way they fit is the uncut broad full side goes into the concrete walls about 8", then a flat spot of 8" out of the wall, then the full arc, flat spot of 8", post, then flat of 8" then the half arc out to under the eves. If that makes any sense.   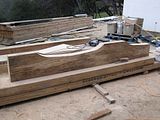 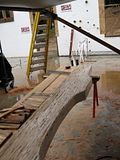 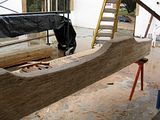 After the posts and beams are in place then I'll finish the round over of the edges of the beams, that way where the beams touch the posts they will be flat and the round over will be seamless. That's it for now..... |
|


 )
)


 ) I can retire someday, I might use this system as the energy efficiency alone would make it worth the effort.