|
|
Post by tuffytractor on May 15, 2008 0:10:00 GMT -5
Hey guys, I started a project a while back, but now I'm beginning to make some real progress, thought I would share it with you. This is the initial site preparation, moving about 1200 yards of dirt. 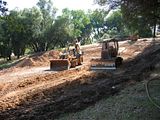 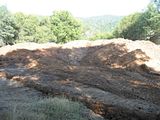 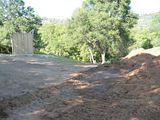 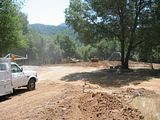 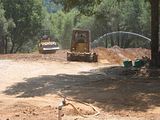 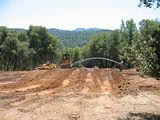 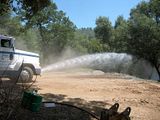 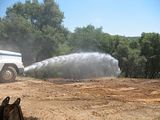 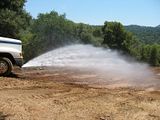 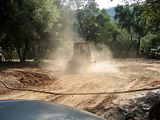 After it is all said and done the site looks like this... 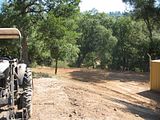 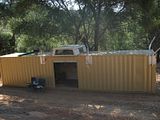 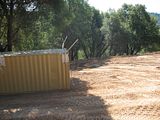 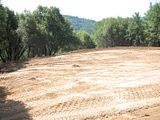 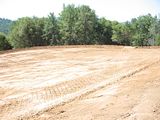 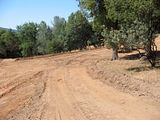 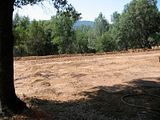 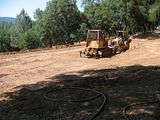 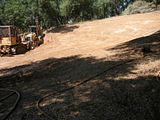 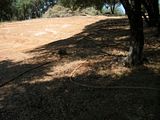 Here is one of the early iterations of the building that we foresee on the site. Later it changes quite a bit. But in the early phases, this is what we envisioned.  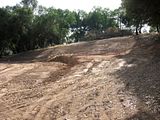 Site Chalked and Trenching for Power, hook ups for Septic and Propane. 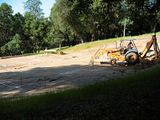 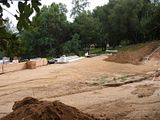 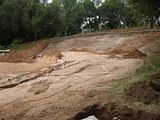 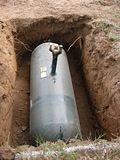 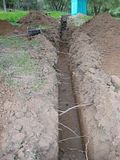 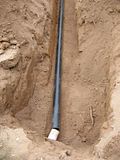 Cutting the footings and dropping in the Rough Plumbing and Electrical for the under the footings connections. 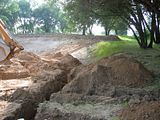 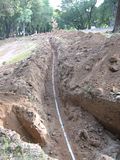 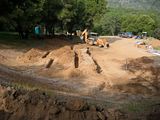 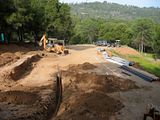 Five days of doing handwork on the business end of a shovel, just about did me in. We also put in 1.5" Filtered water lines, 2" Unfiltered Ag water lines, as well as a couple of pressurized fire hydrants. Telephone lines and future connections of 3" conduit. Whew, was I beat when this five day stint was done. 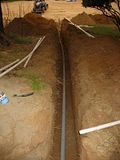 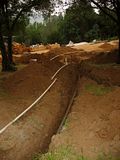 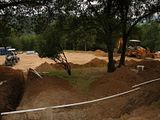 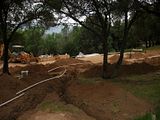 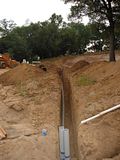 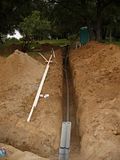 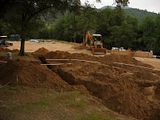 Then Tuffy and I got to work to do the back fill on about 500 ft of 36" deep 18" wide trench. It wasn't a finished looking backfill but we watered as we went and got separation from the power and phone & Gas lines. I was impressed with how much the bull dozing method with the box blade could move. Good Stuff. 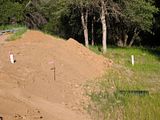 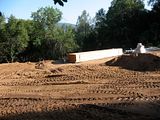 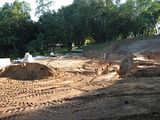 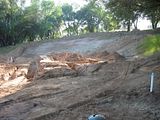 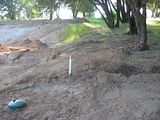 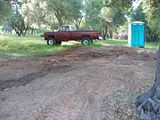 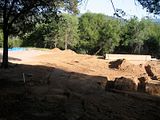 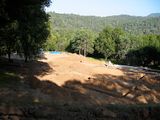 |
|
biggkidd
CTW Expert
 A World Away!!!
Posts: 226
|
Post by biggkidd on May 15, 2008 7:18:19 GMT -5
Tim,
Place is looking good. I bet you feel like your arms are falling off by now. I like the old Chevy truck. Did I read that right that you had to install fire hydrants?
Good Job
Larry
|
|
GuglioLS
Administrator  Jinma354 LE
Posts: 1,276
|
Post by GuglioLS on May 15, 2008 7:51:11 GMT -5
Tim,
Thats quite an accomplishment getting all that work done in such a short period of time. It's really starting to take shape. I like the mosaic photo layout too. What always amazes me is the amount to work that needs to be done in preparation for a building and most all of it gets buried underground. I like all the underground services your putting in especially the below grade propane tank and fire hydrants, that goes a long way in preserving the natural beauty of your gorgeous looking property. Also just as impressive is the amount of work you put into documenting your efforts. So what's next? forms for the foundation?
Larry
|
|
|
|
Post by tuffytractor on May 15, 2008 12:19:16 GMT -5
Kidd,
They didn't "mandate" that I put in the additional Hydrants, but I figure if I'm fighting a fire, the hardest thing to manage would be 200' of 1.5" hose filled with water. So I placed a couple of Hydrants close to the structures I imagine I'll have the most investment in saving. That way I may stand a chance of defending the buildings when all hell is staring me in the face.
Larry,
I didn't mean to give the wrong impression, the site grading and the Septic systems went in a while back. I've just gotten going on the underground and footings recently. Yes, the preparation work makes the site look like a war zone, then when you get it all covered back up. The question always arises, "So what have you been doing?" Kinda difficult to explain when all your work is underground. Sorta the same thing with Footings and Pad, nothing really looks accomplished till the walls start going up. Hopefully by Fall I'll be to that stage. I'm working with one other guy to build the place, so work only happens when I can break away and get up there to make things happen.
|
|
3RRL
Administrator  Huge Kama
Posts: 2,027 
|
Post by 3RRL on May 19, 2008 1:06:52 GMT -5
Tim,
All that ground prep work is what made it seem "real" for us. I mean that all that ground work precedes framing etc., where your house starts to go up and you really see something...at least it did for us. When all that gets covered up, it won't look as bad either. We are at the last stages of our home build now, and looking for completion in the next month (late June2008).
Interesting to see you put your propane tank underground as well. That will sure give a cleaner look to the place when all is said and done. Had I know I could do that, I would have opted for burying it as well. I know you have a lot more experience with building than I do, but you must be getting some good advice from someone in addition to that, or you are just a friggen genius. Everything you've done is outstanding and over the top as far as I'm concerned. I wish I had prepped as well as you have. You've got huge amounts of power and water for your place.
Great looking start to the building process.
|
|
|
|
Post by tuffytractor on May 28, 2008 0:18:37 GMT -5
|
|
3RRL
Administrator  Huge Kama
Posts: 2,027 
|
Post by 3RRL on May 28, 2008 11:16:52 GMT -5
The other thing that I would have to say about this process is how useful my Top & Tilt addition in combination with my box blade has been. It really has made a huge contribution to how well the project has moved.
Indeed, I found that to be so true.
Not only for my log home project but for the weekly maintenance of my roads and trails and what not.
How about just hooking up implements too?
Rob-
|
|
quikduk
CTW Life Member
   Dog House
Posts: 552
|
Post by quikduk on May 28, 2008 13:57:27 GMT -5
Tim:
It is really coming along now. I can't wait to see the length of this thread when all is said and done.
I think Rob will have to publish his in book format. ;D
|
|
|
|
Post by tuffytractor on May 28, 2008 16:06:24 GMT -5
Ken,
Is that a polite way of telling me I'm droning on...? Hope not. But let me know if I should cut back on the pictures.
|
|
3RRL
Administrator  Huge Kama
Posts: 2,027 
|
Post by 3RRL on May 28, 2008 20:03:51 GMT -5
Ken, Is that a polite way of telling me I'm droning on...? Hope not. But let me know if I should cut back on the pictures. hahaha, screw Ken, keep the pictures and story coming. Ken has a way with words, you know. ;D (besides, I'm sure he didn't mean it that way at all) |
|
quikduk
CTW Life Member
   Dog House
Posts: 552
|
Post by quikduk on May 29, 2008 9:30:28 GMT -5
Not at all Tim. I was just poking fun at Rob...and myself and please ignore my wry sense of humour. It is always better to post enough pics to actually get a sense of the magnitude of some of our projects.
Most people dont understand how much work is involved in construction (or fabrication) projects and the detailed explanation and photos will help those that have difficulty fathoming this level of design, detail, concentration, planning and finish.
When I visited Rob and Loretta at their Three Rivers property, all of his photos helped me visualize what it "might" be like. The truth is that it is MUCH nicer and the photos do not do it justice since when you are standing there, you are awestruck by the rugd beauty of the area. I am sure that your rural property, with all of those grand oaks, will look equaly as amazing when you complete it.
BTW, are you still planning on building the house with the ICF blocks that you guinea pigged on your well house?
Keep up the great work. ;D
|
|
|
|
Post by tuffytractor on Jun 14, 2008 20:17:37 GMT -5
Here are some pictures of the latest update on my project. The yellow line painted on the interior of the form boards is the level to which the footing will be poured. Then half of the uprights extruding from the footing (on 16" centers) will be bent over to anchor the steel web of the slab, after the Pex tubing has been set for the radiant heat. The other uprights (two for each upright) will stay for the vertical steel running up the walls inside the ICF. You might notice the orange saftey stops on some of the steel, those represent door openings, so no vertical steel, only steel for the slab. We also passed inspection for our Sewer (partial, just the lower garage level), Ufer Ground. There are a couple of center footings that are 36X36 that have three cages of steel that will go into them. They will carry the load for the floor above, that is why they are so Mongo I had initially used a hand bender, but the job soon taught me, that was a mistake. So I rented an electric Bender/Cutter, what a dream to use. I had to make some 200 plus cross pieces for the bottom of the trench steel at 15", that alone would have wiped me out. With the Cutter, less than 40 minutes. $100 for three days, as I picked it up on Friday and have to return it on Monday. New, they run around 2K 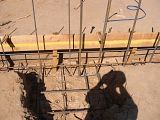 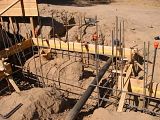 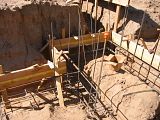 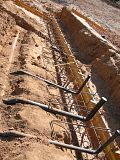 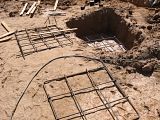 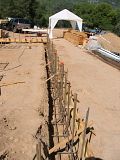 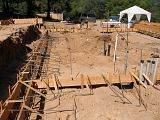 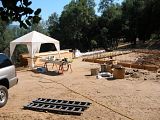 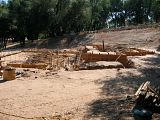 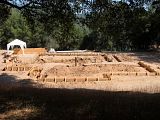 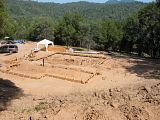 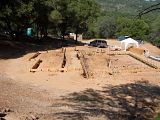 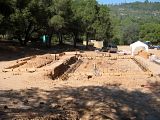 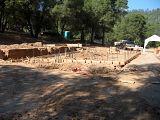 I should mention something about the sun shade in the picture. That is my cutting station. 98º in the shade, 103º in the sun. I had to soak my head and hat about every 2 hours to keep from getting a headache from the heat! |
|
GuglioLS
Administrator  Jinma354 LE
Posts: 1,276
|
Post by GuglioLS on Jun 14, 2008 23:26:03 GMT -5
Wholly smokes Tim, it looks great, what an incredible amount of work for one man, you must be tough to work in the heat like that too. Have you calculated how many bazillion cubic yards of cement to fill the footings and slab? Radiant heat sure will be nice how many zones or circuits?, I bet it's hard to think of heating this time of year, will it have central air as well?
Nice work, and congratulations passing inspection.
Larry
|
|
red
CTW Advanced Member
 
Posts: 306
|
Post by red on Jun 15, 2008 5:14:58 GMT -5
Tim
A lot of guys also use nails @the finish grade height this way you can find the right height if some mud gets slopped up against the forms. Nice job! Yesterday I was outside working on the retaining wall at 5:22am by 11:00 I called it quits (full sun and almost 90) I just melt in the heat. Watch out for heat exhaustion especially if you're working by yourself.
Will you put rigid insulation down? I want to convert from natural gas to geothermal (excellent thread about it on TractorbyNet) and radiant heat is perfect for geothermal. Another thing that is new is running cable thru the slab that gets tighten after the pour- I don't know anything about that but it sounded like a cool idea.
Let's see them' concrete trucks roll! Ed
|
|
|
|
Post by tuffytractor on Jun 16, 2008 0:11:23 GMT -5
|
|