GuglioLS
Administrator  Jinma354 LE
Posts: 1,276
|
Post by GuglioLS on Apr 8, 2008 1:15:04 GMT -5
About two years ago I decided to check and adjust my clutch. I've always had some trouble getting the PTO to engage without grinding the PTO gears. I also noticed I had to push the pedal a long way in before the Main clutch would disengage. My tractor was a Crate do-it yourself job. A while back I consulted with Ronald and Tommy, both of them said they have never seen a tractor yet that has the clutch adjusted properly. So I figured something was out of kilter and decided to have a look. Good thing to, because it was out of whack. This can cause premature and uneven clutch wear, making it necessary to split the tractor to replace the clutch, spring, and pressure plates. Something I did not want to do for a long time. This is not complicated, it may take a little time but is not all that hard to do - Here is my Jinma 354 clutch adjustment procedure: If you have a "quick attach" FEL: Install the two FEL support braces to the cross tube. Lower the bucket to touch the ground, loosen the draw bolts that tighten the FEL to the uprights, remove the pins that retain the FEL to the uprights. Slowly lower the bucket until the FEL tilts forward and out of the upright mounting cradle brackets. You only need to get the FEL pressure off the uprights and lifted high enough to clear the upright support brackets. 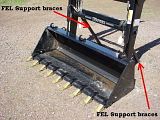 Remove the RIGHT FEL upright mounting / support bracket from the Bell housing to expose the clutch inspection and adjustment opening. 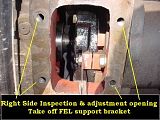 Larry |
|
GuglioLS
Administrator  Jinma354 LE
Posts: 1,276
|
Post by GuglioLS on Apr 8, 2008 1:20:59 GMT -5
Next, pull and clamp back the De-Compression lever (if you have one) with a vice grip pliers. Do the same for the Fuel kill lever, the idea is to prevent the engine from starting as you will need to rotate the engine to get to all the adjustments inside the bell housing. Tighten the hell out of the alternator belt, place a socket on the alternator pulley nut so as to slowly rotate the engine to get to all the adjustments. Don't forget to loosen the belt when done. Next is to mark the pressure plates, there are three tabs on the outside perimeter, mark the tabs that are connected to the fork fingers C1, C2 and C3 (main clutch). Mark the remaining tabs P1,P2, & P3 for the PTO clutch adjusting nuts. 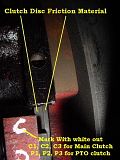 Larry |
|
GuglioLS
Administrator  Jinma354 LE
Posts: 1,276
|
Post by GuglioLS on Apr 8, 2008 1:37:25 GMT -5
Now set the throw-out bearing to clutch release fork finger free play. This free play is the gap between the bearing and the fork fingers. Take care to set the gap on all three fingers EXACTLY the same, this is key to getting a proper adjustment. Set the gap to 2.5 mm, a 2 foot long piece of 3/32" thick X 3/4" wide flat bar of steel works nicely as a feeler Gauge. 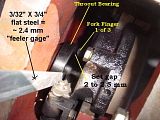 There are two nuts on the fork finger, one is a locking nut, the other sets the gap. Take your time to set the gap, Loosen the locking nut, adjust the gap, tighten the locking nut, then check the gap again. If if changes when you tighten the locking nut start over to get the gap PERFECT. When satisfied the gap is perfect, proceed to the next finger by slowly rotating the engine Clockwise (my engine is a TY395 it runs clockwise) to gain access to the next finger adjusters. Repeat until the gap on all 3 fingers are exactly the same. 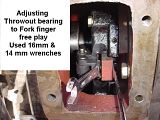 Larry |
|
GuglioLS
Administrator  Jinma354 LE
Posts: 1,276
|
Post by GuglioLS on Apr 8, 2008 2:09:42 GMT -5
After you are done with the main clutch free play adjustments, proceed to the PTO free play adjustments. To many this may seem a little strange as to where you measure and adjust the gap for the PTO part of the clutch. If you want to fully understand how this works, get a helper to slowly and repeatedly step on the clutch as you observe what is going on inside. TO adjust the PTO free-play clutch gap, get a 1 or 1.5 mm feeler Gauge. Insert the Gauge between the end of the nut and the pressure plate as shown in the picture. Study the picture closely, you will see two nuts, the one on the left is the locking nut, loosen it, then set the gap between the nut on the right and the pressure plate by adjusting the nut on the right CW or CCW as needed. The adjustment is coarse and tricky, take your time to get all three PTO free-play gaps perfect. As before set the gap, tighten the locking nut up against the adjusting nut and re-check, repeat until it's exact. 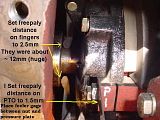 Here is a pic of the main clutch material: 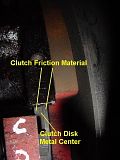 Here are some picks of my brand new spare clutch disk with some dimensions for reference: 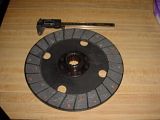 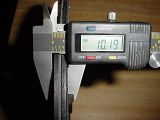 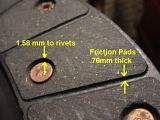 The key to long clutch life is: 1. A properly adjusted clutch - all bearing to finger gaps set exactly the same. 2. Operator habits - Never, I mean NEVER ever use the clutch to control speed for any reason, meaning don't slip the clutch to slow down for any reason. The clutch is either in or out, never in-between. Do not ride the clutch, meaning when you let out the clutch take your damn foot of the pedal, resting your foot on the clutch pedal will eventually burn out the throw-out bearing and wear out the clutch fork release fingers. When starting, let out the clutch quickly and smoothly, when stopping, just push it in, take it out of gear, then release the clutch. Don't set there with the clutch depressed, if you can't decide what to do, or are waiting on someone, take your foot off the clutch pedal. Bottom line the less your foot is on the pedal the longer it will last. I hope this write up saves at least one clutch replacement, it so, this was all worth it. Larry |
|
biggkidd
CTW Expert
 A World Away!!!
Posts: 226
|
Post by biggkidd on Apr 8, 2008 8:36:18 GMT -5
Larry,
Great post. Very informative. I think Smith's had adjusted my clutch because when I went to do it it was right on the money.
Thanks
Kidd
|
|
|
|
Post by tuffytractor on Apr 8, 2008 9:14:31 GMT -5
Larry,
Thanks for the write up Larry, I'll be using this in two weeks when I go up next, to make these adjustments. I don't want to have to split the tractor anytime soon, so this is the best preventative maintenance/medicine to prevent that process.
|
|
3RRL
Administrator  Huge Kama
Posts: 2,027 
|
Post by 3RRL on Apr 8, 2008 10:39:34 GMT -5
Nice documentation Larry,
Thanks for sharing with us. I see you have a Koyker FEL like I do. Was it as easy to take off and put back on as your write up and photos depict? I've never had mine off.
Rob-
|
|
red
CTW Advanced Member
 
Posts: 306
|
Post by red on Apr 8, 2008 17:18:13 GMT -5
Larry nice job and thanks for the reminder about keeping the damn foot off the clutch! Learn to drive a car with a stick shift and the foot was always off the pedal. But with the tractor I have to keep reminding myself thanks to all those riding lawn mowers where the clutch and the brake were the same pedal. Got my Jinma really dirty today 120 yds of soaking wet clay type fill. It was fun although it was like moving wet concrete. Got stuck 3x and it was a challenge to get her out- Thanks again -Ed
|
|
|
|
Post by tuffytractor on Apr 23, 2008 22:24:31 GMT -5
Larry, Thanks again for the write up. I yanked the FEL and adjusted the clutch and PTO. Made a big difference the way the clutch engaged, particularly when using the high range. First yanked the FEL, but chained it in place just to make sure it didn't go any where when I was backing out. 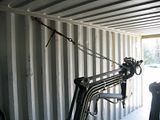 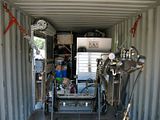 Then had to pull off the Under Mount Support and the FEL mounting Tower. 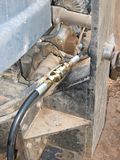 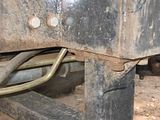 I doubt you can tell the difference, one is pre adjustment, one is post. 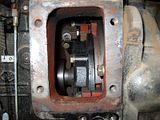 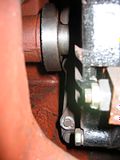 Having your step by step instructions, sure made it easy, thanks again Larry! |
|
GuglioLS
Administrator  Jinma354 LE
Posts: 1,276
|
Post by GuglioLS on Apr 24, 2008 0:31:03 GMT -5
Tim,
Thanks for the follow up.
Wow you really got after it. No messing around, Looks like you took the off muffler too? The pre adjustment on yours looked very similar to mine in that the gap was huge. Having it like that made for having to push the clutch all the way in before anything disengaged, and I always had trouble getting the PTO to engage without the gears grinding. The internals of your bell housing look clean so your clutch disk must still be in great shape. Do you think it was worth making sure everything was A-OK? If nothing else this should give you peace of mind knowing it's now properly adjusted. Glad the procedure worked out for you. Do you remember about how long it took? and was the gap equal on all three fingers before you started?
Larry
|
|
|
|
Post by tuffytractor on Apr 24, 2008 0:41:54 GMT -5
Larry,
Yes the gap on the clutch fingers varied between them, I'm guessing that is why it felt like the clutch would not engage smoothly. After your initial worry about your clutch, I decided I was at risk as well, so the adjustment got moved to the top of the list. As you say, my clutch looks like it was doing fine, but now I know its doing fine, which sets my mind at ease.
I would have to guess at least one was around 7mm, the others a touch smaller. The muffler was tucked in behind my FEL joystick, had to take it off to clear, while backing out.
I was combining many maintenance items at once including adjusting the valves and oil changes all the way around (100 hr service). But if I were to say yanking the FEL and adjusting the clutch and PTO, and putting the FEL back on, probably 3 hours.
|
|
|
|
Post by centinela on Apr 26, 2010 16:45:21 GMT -5
Hello and thanks to Larry for a very useful write up
I've joined back in March when doing some searching I came upon this article, very useful!
I live in Argentina and I own one of these Jinma 354. I bought it in July '08 and from the start had trouble engaging gears and grinding noises
Well, today I finally decided to get to it and I found out that the fingers are touching the bearing.
When I tried to adjust the clearance there is not enough bolt length to push the fingers.
In fact, one of them is about 3/8" shorter than the other 2.
I need a new clutch don't I ?
Please, can someone advise me what parts (if any) should I change besides the 2 discs?
Thanks in advance, regards.
Gus
|
|
GuglioLS
Administrator  Jinma354 LE
Posts: 1,276
|
Post by GuglioLS on Apr 26, 2010 23:02:01 GMT -5
Hello and thanks to Larry for a very useful write up I've joined back in March when doing some searching I came upon this article, very useful! I live in Argentina and I own one of these Jinma 354. I bought it in July '08 and from the start had trouble engaging gears and grinding noises Well, today I finally decided to get to it and I found out that the fingers are touching the bearing. When I tried to adjust the clearance there is not enough bolt length to push the fingers. In fact, one of them is about 3/8" shorter than the other 2. I need a new clutch don't I ? Please, can someone advise me what parts (if any) should I change besides the 2 discs? Thanks in advance, regards. Gus Hi Gus and welcome to the CTW forum. Not sure if you really need any new parts just yet. There is an external free play adjustment attached to the clutch pedal. It could be that you need to adjust the free play on the pedal before you make any internal clutch fork finger adjustments. The idea on the external free play adjustment is to set the main gap between the throwout bearing and the fork fingers, then use the individual fork finger adjustment bolts to get equal gap on all three fork fingers as well as setting the free play gap for the PTO portion of the clutch adjustment. Take a close look at your clutch pedal mechanism there should be an adjustable length rod connecting the pedal to the clutch lever arm. On that rod there is most likely a clevis end locked with a nut that can be screwed in and out to make the rod longer or shorter. The longer the rod is the further back (larger gap) between the throw-out bearing and clutch fork fingers. I suggest taking a look at that adjustment first, then see if you can then set the gap on the fork fingers all the same as documented in the above procedure. What is the general condition of the fork fingers that touch the throw-out bearing? do they look worn? Do all three fingers look exactly the same size and length? How about black dust in the clutch area? is there lots of black dust covering the parts and deposited around the bell housing where the clutch is? If lots of dust it could indicate a worn clutch as the clutch material is slung out as it rotates. I hope it's just a simple adjustment and not a major clutch job. Can you take and post some pictures? Larry |
|
Turbo
CTW Member

Posts: 49
|
Post by Turbo on Apr 27, 2010 8:19:09 GMT -5
Here is a pictorial of that I made for my understanding hope it helps. 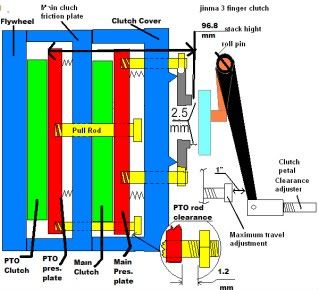 As you can see when the throwout bearing push the three fingers in it releases the main clutch disk as you continue to push it another 1.2 mm it engages the PTO pull rods and releases the pressure plate off the disk just before it reaches the travel adjustment stop. Now my assumption here! and please corrected me if I am wrong, that the stack hight of 96.8 mm or 3.8 in, is the initial setup of a new clutch pack, and this is to keep the relationship of the two pressure release plates, PTO & main within a certain distance of one another, where one does not (bottom out) top out in this respects before the other one has a chance to release in there limiting working space. The funny part of this is my tractor doesn't have this 3 finger clutch pack, I have 6 finger pack, I am sure the principle is the same except for the measuring spec's. I am not sure of. Here what it looks like. 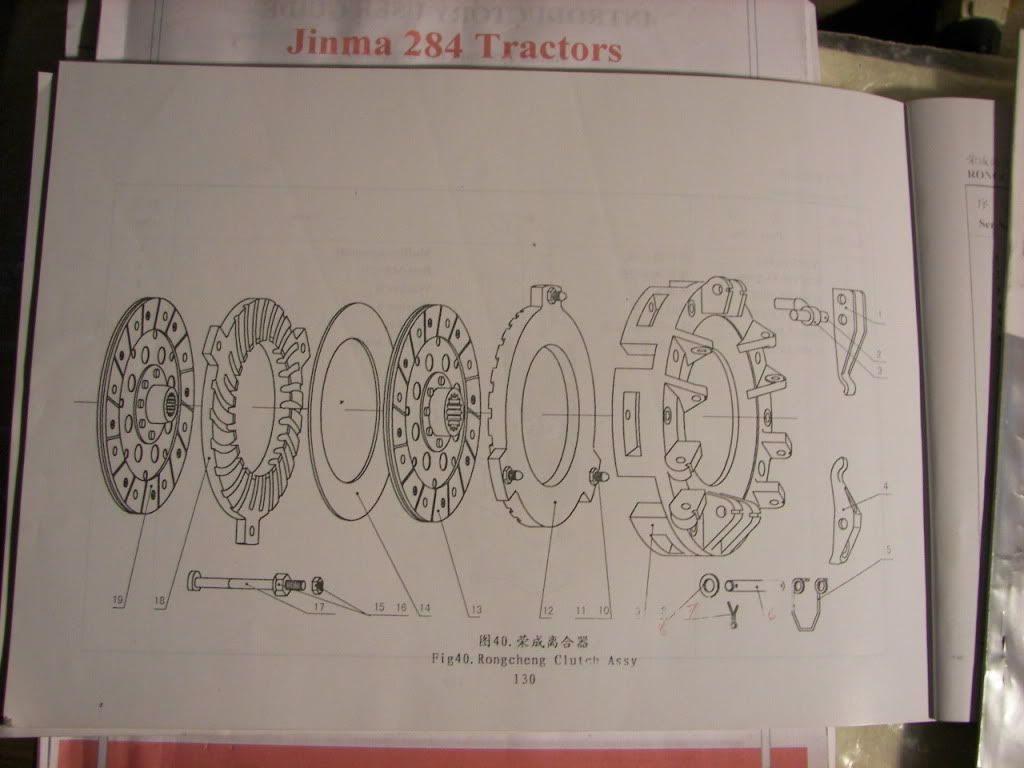 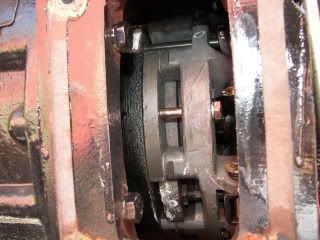 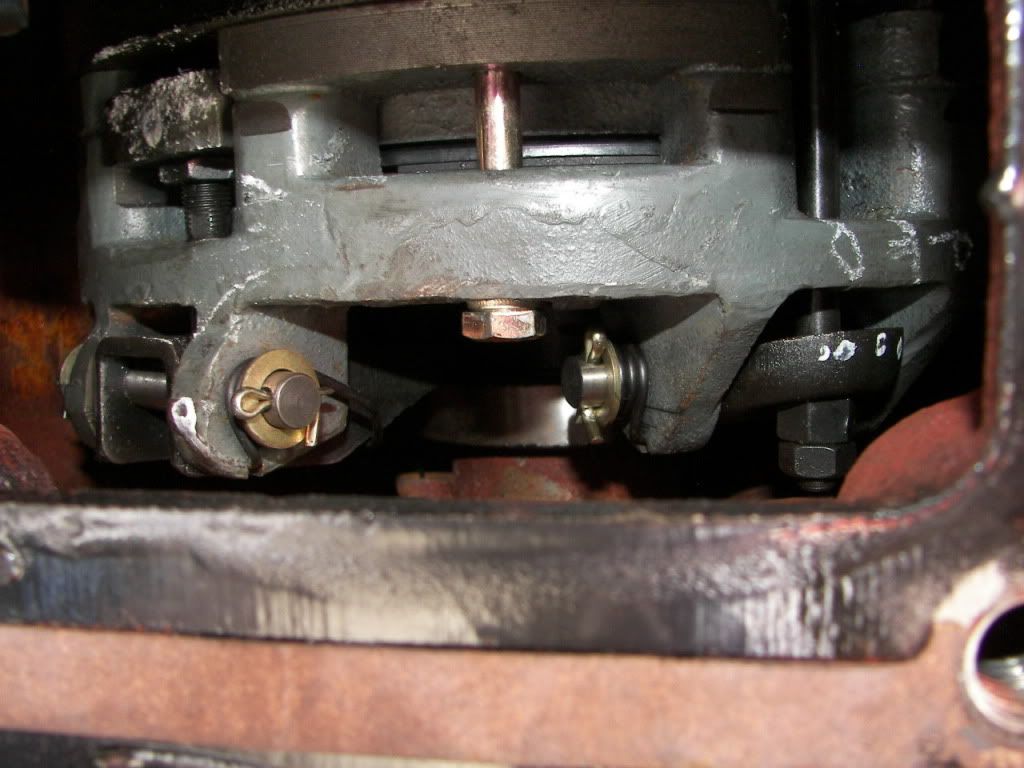 |
|
|
|
Post by centinela on Apr 27, 2010 12:09:16 GMT -5
To Larry,
Thank you so much for alerting me to that adjustment. I should have thought about it long time ago.
I'll take a look and adjust it if necessary. I'll keep you posted.
Edit:
Forgot to answer your questions.
The fingers and bearing look good, no excesive wear that I can see but yes there is black dust all over.
Cheers!
|
|