3RRL
Administrator  Huge Kama
Posts: 2,027 
|
Post by 3RRL on Feb 5, 2008 23:38:43 GMT -5
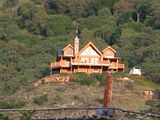
This is about the construction of our home in Three Rivers. We decided to to build a log cabin home instead of the elaborate house we had initially designed. That meant firing the first contractor and hiring another contractor. It also meant throwing away the already designed architectural drawings. We had gone as far as to pull permits on that other house. The cost for the drawings is down the drain but part of the fees are salvageable such as school fees etc. It cost us a lot to do that, but the price of the new log cabin home with the new contractor is substantially less. We have a really good feeling about this man and his company. Here is a picture of what our log cabin will look like. It will be very similar to this one. It is a view type home and has the look and feeling of a small resort lodge. This one is on the way to our property and we've been admiring it every time we drive by it. Finally, after meeting the new builder, he took us up there to see it and it is pretty nice. So nice in fact that we decided to get one similar to it.
 |
|
3RRL
Administrator
Huge Kama
Posts: 2,027
|
Post by 3RRL on Feb 5, 2008 23:54:59 GMT -5
The only commodity we'll have is propane (and cell/satellite service). Our plan is to utilize the solar power for as much as possible for most energy needs. It will take a little getting used to, but saving those monthly utility bills will be a breeze to get used to.  The log home will be energy efficient too. The new design on these things are completely different then the early log cabin homes most people think of. Everything is sealed off tight with 8" diameter logs all around. Jeldwen windows are super energy efficient gas filled etc. With a wood burning stove and circulating air vents, we need to "pre heat" the home to get it to temperature, but once it gets there, only maintain it with little more stove heat to keep it at temperature. The main floor and top floor are 2,641 sq. ft. together, and if you count the basement, that will be another 600 sq. ft. We will have more room than we really need, however, it is not as easy to add on to a log cabin design as a regular structure. So we opted to go for a little more space now. This construction also includes a 40' x 50' fully insulated metal barn/shop with a complete bathroom on a 6" slab! I should have mentioned there is a "Garage" too. It is a 24' x 24' detached garage in addition to the above. It will have a covered breezeway connecting it to the house entering near the kitchen. |
|
3RRL
Administrator
Huge Kama
Posts: 2,027
|
Post by 3RRL on Feb 6, 2008 0:06:57 GMT -5
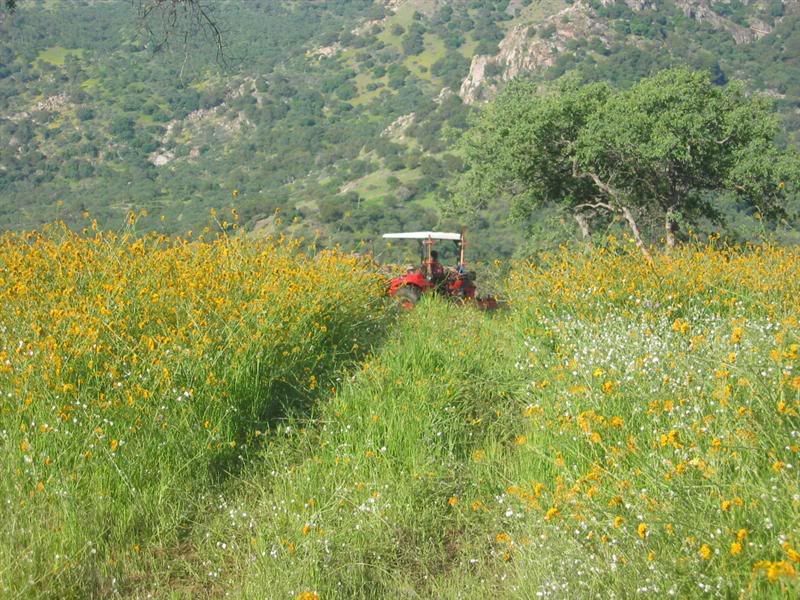
One of the reasons the price is lower is that I agreed to do all the grading work for the house, garage and barn.  That is a lot of work considering I'm only there on weekends and I have to get it finished by the end of the month. Not only that, I have all this work at home I'm swamped with, so I can't really go up during the week if I had to. Anyway, my deal was to clear off the homesite area. That means getting rid of all the vegetation on the area where the house and garage will be. I don't have to grade that area level, but I have to clear and remove trees, rocks and boulders and then the surrounding area including in front of the rock bluff down a very steep grade. This is required by the Fire department. So I started into the homesite... And quickly disappeared in the vegetation! 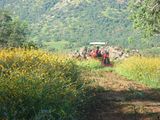  |
|
3RRL
Administrator
Huge Kama
Posts: 2,027
|
Post by 3RRL on Feb 6, 2008 0:40:00 GMT -5
One of the first things I had to do was pull this giant Oak stump which would be in the front living room. Matt, my son helped me cut it down last year so now I got the backhoe and dug a giant hole all around it. You know how big the Kama is, so figure how big that hole is. From these pictures it looks like you can almost put the whole 8,000 pound tractor in it. 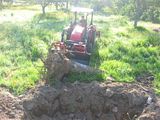 That is where I used the backhoe with the thumb and saw it was tearing the metal out of the dipper stick. The Oak was right up against the rock formation so you guessed it ... tons of rocks to dig out. Plus, this thing had some roots as big as 6' diameter branches! The hoe cut through some of them but I had to swing the ax to cut some too. I finally got enough cut and dug where I could pull it over and out of the hole with Huge Kama. This is also where I found that huge grub. 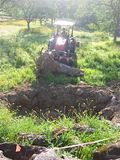 Man, that thing is BIG and HEAVY! But Huge Kama ate it up with the dual grapple set up. Here is a perfect example of how the two grapple jaws clamp down independent on an odd shaped object. A big one at that. 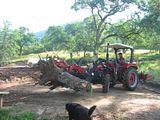 |
|
3RRL
Administrator
Huge Kama
Posts: 2,027
|
Post by 3RRL on Feb 6, 2008 0:42:01 GMT -5
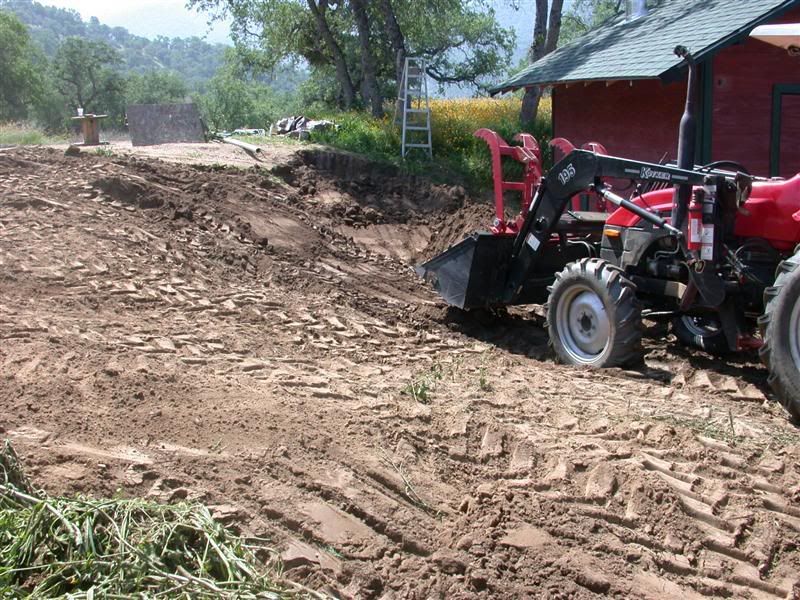
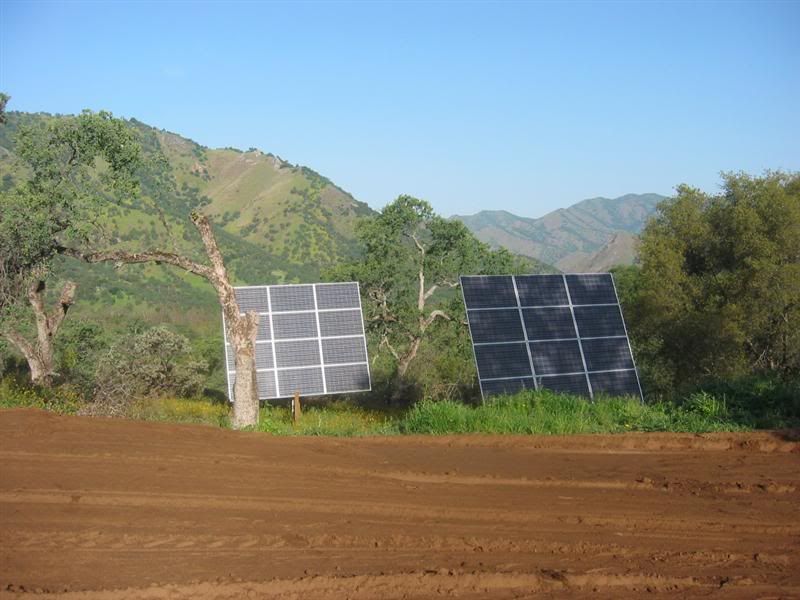
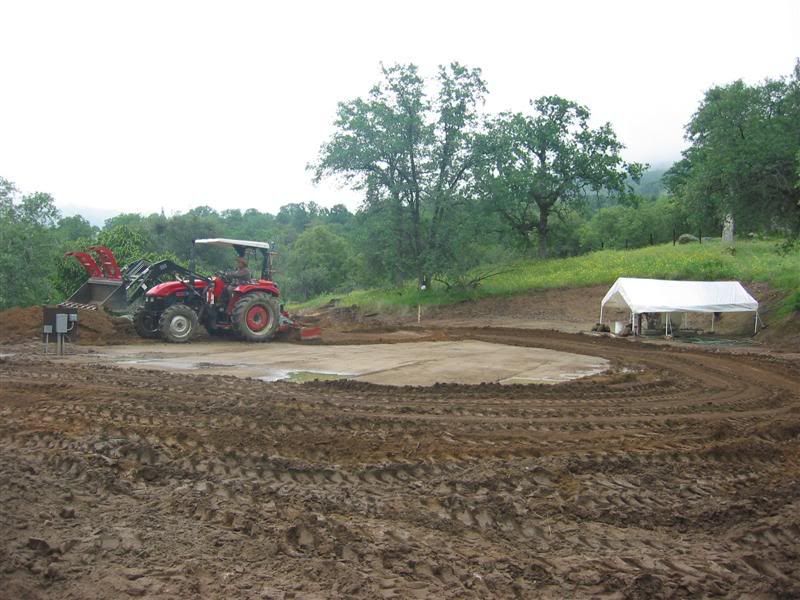
I still need to go in there and scrape/clear all that vegetation off, but I thought I better get busy with grading the barn pad next. Since I was responsible for building it up and getting it all level, I new there would tons of dirt to move. I started down by the solar shed first. I had used the backhoe to excavate near one end of it. Then used the fel bucket to move dirt out of there to the barn pad. 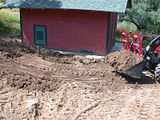 There was a pretty good size ledge there before and I wanted to cut it down to a more gradual slope as well cut another service road in there so a truck can get down to the shed and propane tank. the road will be on the left of where the tractor is in this picture below. Also, where you see the green grass in the left corner, that will be the end of the barn pad nearest the shed. That part has to be built up about 4 or 5 feet from where it is now, and slope to the left. The service road will be in between. 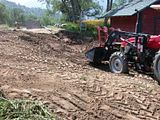 |
|
3RRL
Administrator
Huge Kama
Posts: 2,027
|
Post by 3RRL on Feb 6, 2008 0:44:18 GMT -5
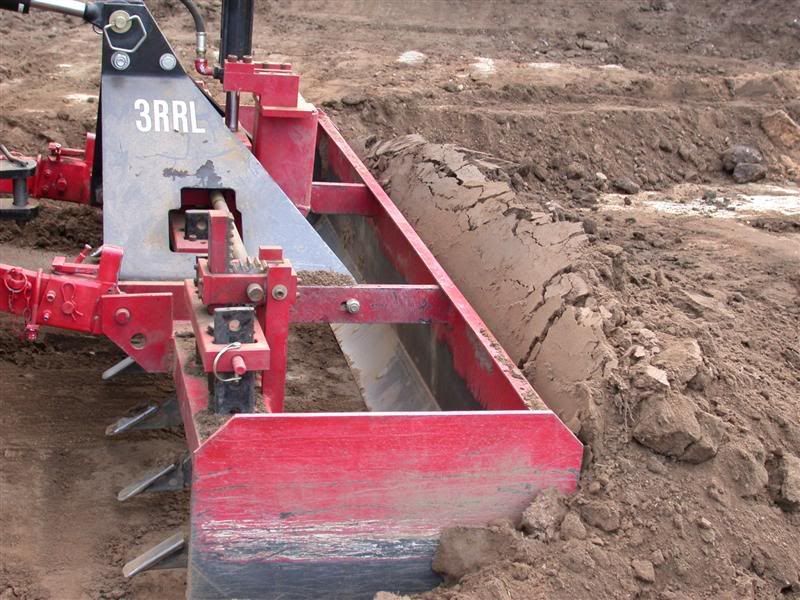
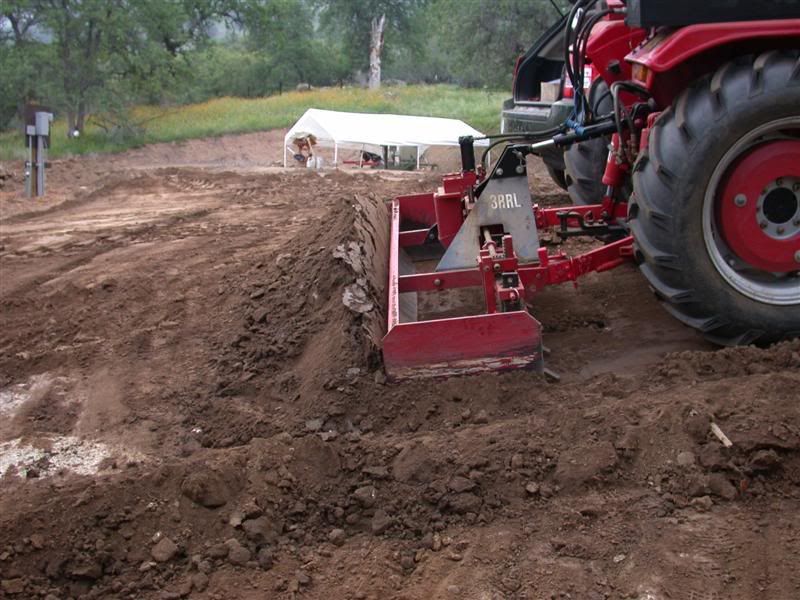
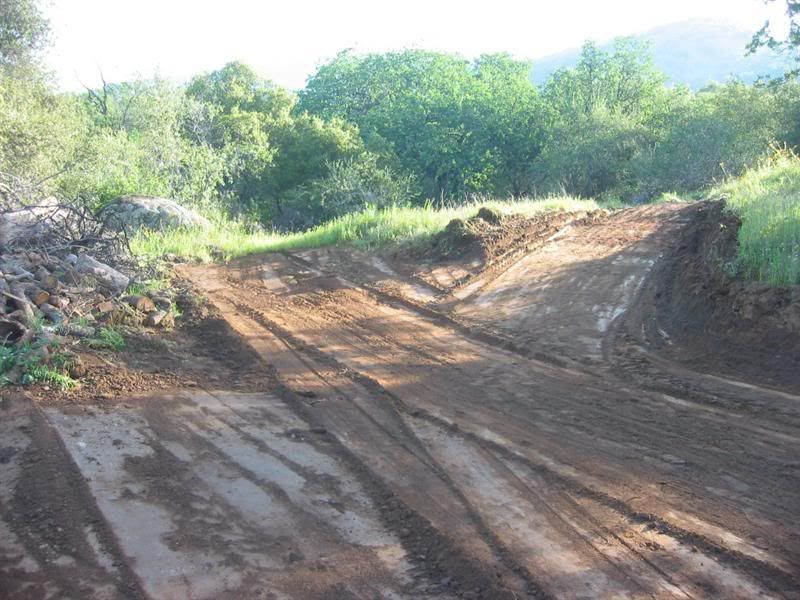
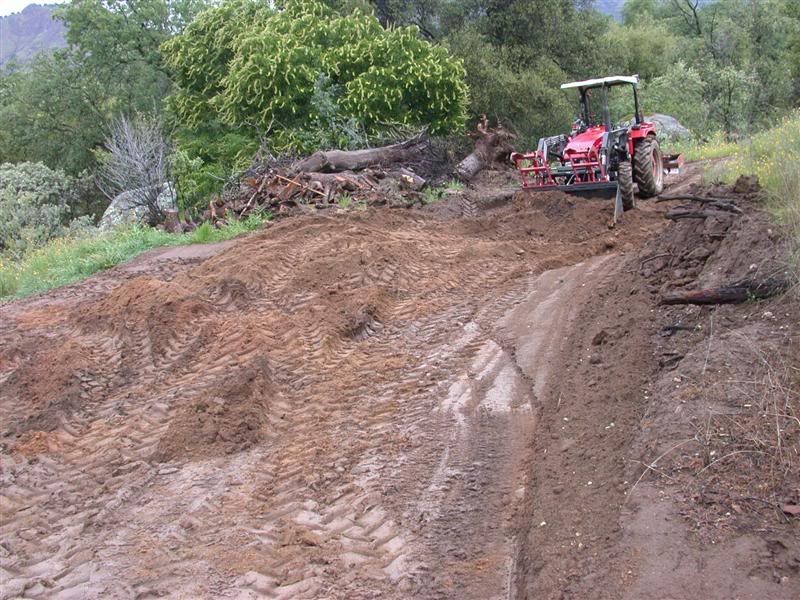
I have talked many times about how easy it is to use the boxblade bulldozing in reverse and how useful the hydraulic side links are when wanting to cut a tilted or banked road. That is also why I built up my drag links so I wouldn't bend them into pretzels. Here is a good view of the size cut and shaping you can do using this method. I had to cut several areas through hard decomposed granite and the cuts looked like they were through marble. It was really awesome to see the result.  This next one really shows how you can bank the road. The tractor then follows the contour of the cut. It is true and clean. After cutting the service road, I took all that dirt and DG (decomposed granite) to the barn pad.  |
|
3RRL
Administrator
Huge Kama
Posts: 2,027
|
Post by 3RRL on Feb 6, 2008 0:48:19 GMT -5
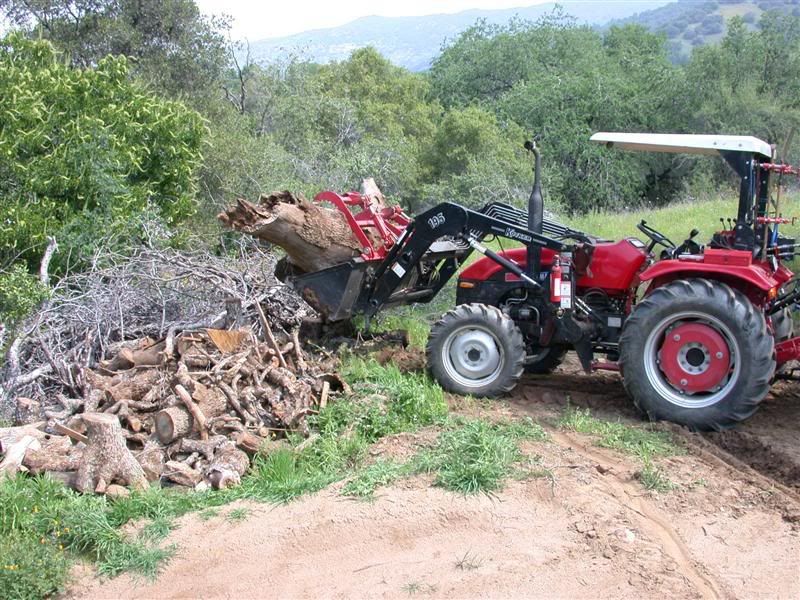
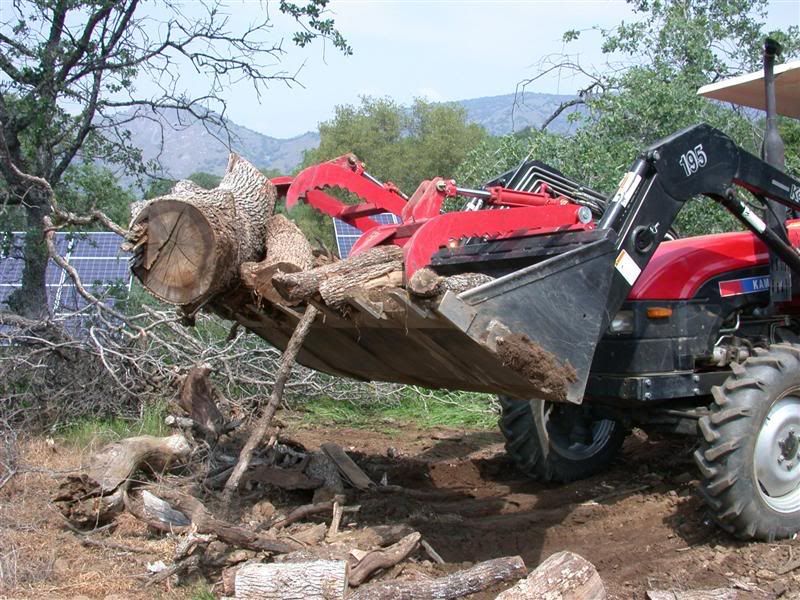
Next was to move more debris and logs out of the way. We had several logs ready to cut up and many that were all cut and stacked but had to move them. So again I use the grapple to move all those things. This is another pretty good sized one. 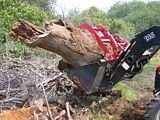 Here you can see it better in relation to Huge Kama. 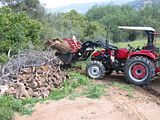 And another example of how handy independent grapples are when holding onto loose logs. Each one clamps down to wherever the payload is and nothing drops out.  |
|
3RRL
Administrator
Huge Kama
Posts: 2,027
|
Post by 3RRL on Feb 6, 2008 0:53:43 GMT -5
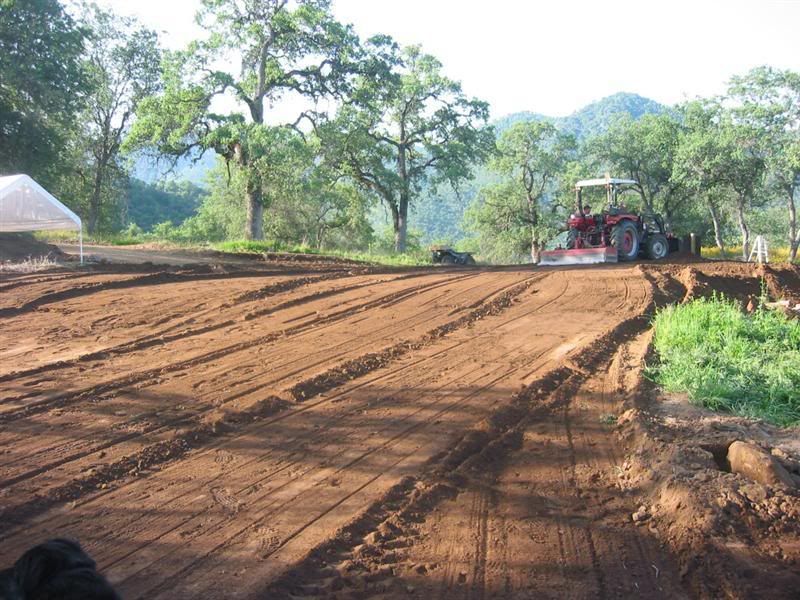
In building the barn/shop pad, I have to compact the build up.. I ran water over the areas I've built up so far. Another thing I did was drive Huge Kama over every square inch of dirt and DG with 2,000 lbs in the bucket alone. That puts the tractor with 4 loaded tires, ROBOBLADE and bucketful at nearly 10,000 pounds. Some areas my tires sank down nearly 2 feet! My contractor is going to help me out with the final compaction though, so I get it right or the slab will crack for sure. Here are a couple photos of when I started to move dirt. All the dirt I moved I had to dig from the DG first. I am not done yet but I have to fill an area average of 3' deep (sloping from 1' to 5') over an area approx 60' x 70' which means first digging then moving some 466 yards of dirt and DG. I spent about 20 hours on the tractor so far doing this alone. Digging that DG is very, very hard on the tractor. 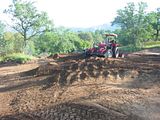 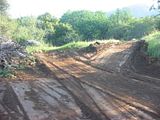 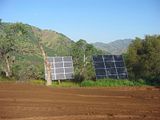  Next weekend I will start where I left off and get all the dirt where I need it and then compact and soak it. The following weekend I will lay out and grade it level. Then after that I'll have to get after the homesite and start clearing that vegetation off and all the surroundings too. I hope I get it done in time. |
|
3RRL
Administrator
Huge Kama
Posts: 2,027
|
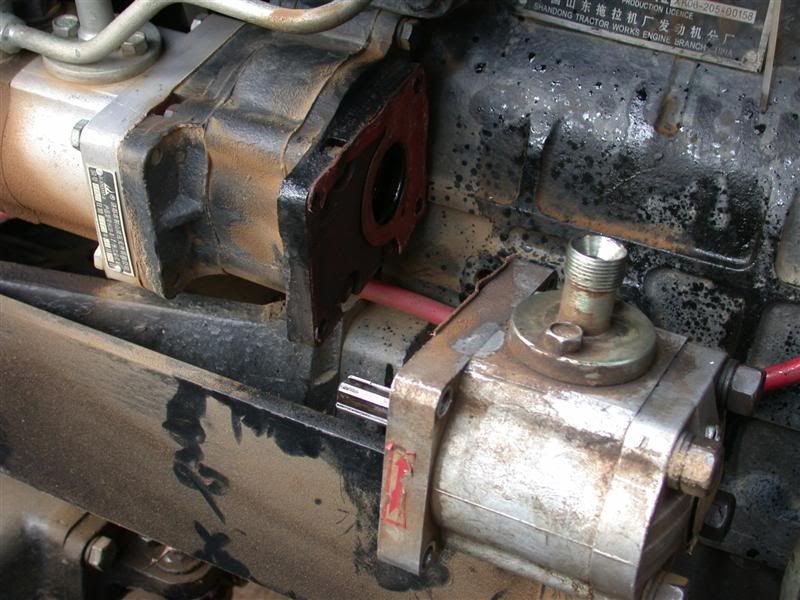
Post by 3RRL on Feb 6, 2008 0:56:46 GMT -5
I did have another breakdown. I snapped off the same tie rod end as the one I fixed before. It snapped right where the weld was. Gee, I wonder why it broke, not like I was pushing it too hard or anything like that? But it only took me a 1/2 hour to repair it again. It knew how to do it from last time and it went quickly. I ordered new tapered ball pins from Chip, but they only sold the tie rod end as a unit, so I ordered a spare for each side. they are only $17.99 each. Chip said for some reason that tapered ball pin is the weak link in the system. When I get a chance, I'll make my own pins out of H-13 or D-2 and heat treat them. I was also surprised by another crummy rattlesnake. But he's dead now too. One shot from my M1 Carbine blew him in half. He tried to get away in those rocks but I couldn't risk him biting me if he was still around. That would not be a good thing.  |
|
3RRL
Administrator
Huge Kama
Posts: 2,027
|
Post by 3RRL on Feb 6, 2008 0:59:09 GMT -5
I also blew that rubber elbow hose that was cracking on the suction line. It started leaking badly and sucking air so the hydraulics quit working. Lucky I had already bought new hoses when you told me to, so I changed them over and re-filled the hydraulic reservoir. But hey still wouldn't work? So I took the hydraulic pump off and also replaced the strainer screen. I cleaned off the small metal particles that were stuck to the magnet. 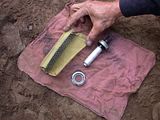 Here is the strainer with magnet inside it. 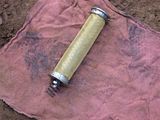 And ready to re-install back into it's cannister. It is a very clever way to collect the microscopic shavings. 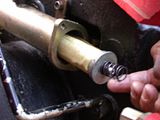 |
|
3RRL
Administrator
Huge Kama
Posts: 2,027
|
Post by 3RRL on Feb 6, 2008 1:01:02 GMT -5
But before putting the pump back on, I thought I'd better test in case there was something wrong with it. Here it is off the tractor. 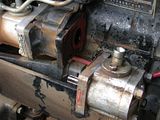 I took it back to camp and rigged up my drill motor with a rubber hose that I forced over the spline of the pump. Then clamped a shaft in the drill motor and stuck the shaft inside the other end of the rubber hose. I was able to spin the hydraulic motor that way. Then I took a piece of poly pipe and stuck it into the suction hole and a hose on the outlet. Using a bucket full of hydraulic fluid, I was able to test the pump and see that it was working OK. You can see I am working the orange drill motor attached to the motor with one hand and holding the hoses with the other. I thought that was pretty cool. 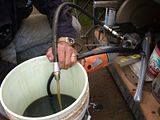 So I changed the "O" ring and bolted everything back together and fired up the Kama. The hydraulics worked instantly and back to work I went. Life is good again.  |
|
3RRL
Administrator
Huge Kama
Posts: 2,027
|
Post by 3RRL on Feb 6, 2008 1:02:51 GMT -5
I have a few more photos and stories about last weekend's barn pad progress. After getting the information from Tim, Brad and everybody else, I decided to tear down the pad I did last week and compact every 3" to 4" of dirt and decomposed granite (DG) that I put down. This is where I dragged a lot of the dirt to. 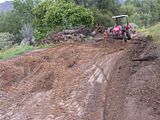 Here's me on the tractor working in the woods. I spend most of the day by myself with Loretta visiting me and she makes lunch for use to eat together. She is working on her stuff at camp. I get up to the homesite by 7:00 am and usually quit at 6:30 pm. We keep in touch with radios and she has the Jeep and ATV. 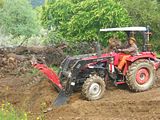 Rob- |
|
3RRL
Administrator
Huge Kama
Posts: 2,027
|
Post by 3RRL on Feb 6, 2008 10:03:28 GMT -5
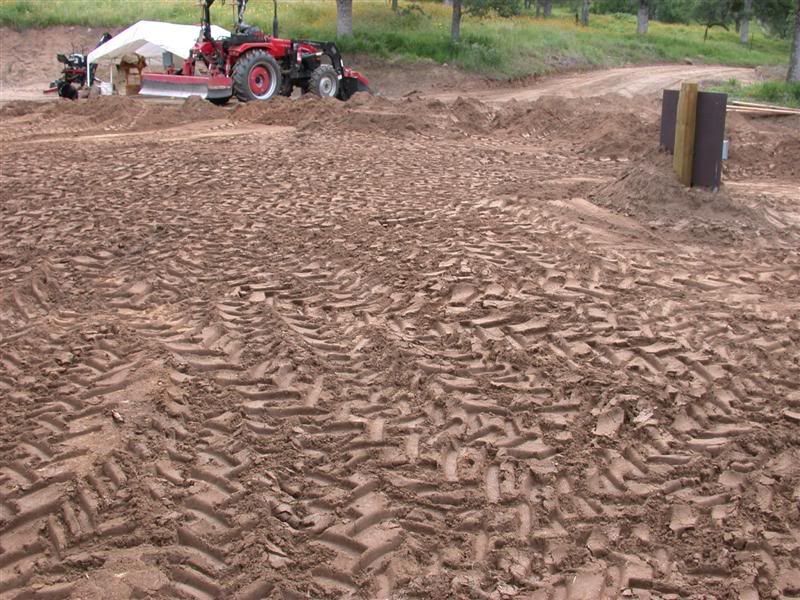
I compacted layer after layer driving over every square inch. Then I would grade it again with the Robo blade and compact the rest. I especially concentrated on the West side where it will be built up approximately 5 feet. I also drove up and down the ramp and added layers to it as the pad expanded. But I sure felt better about doing it correctly. I could tell how firm it was compacting when the tractor tire didn't budge the ledge as I drove over it. So now I had it to the point where it was last weekend. 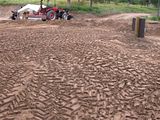   |
|
3RRL
Administrator
Huge Kama
Posts: 2,027
|
Post by 3RRL on Feb 6, 2008 10:04:59 GMT -5
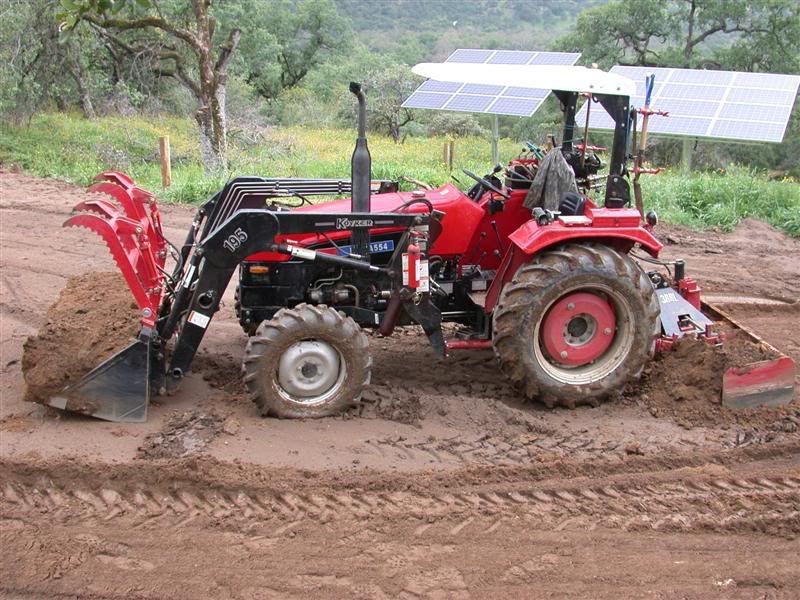
Don't let anybody tell you that you can't dig with the fel bucket. Mine with the toothbar did outstanding. It was time to go back to the DG pit and cut more of it out with the fel and the boxblade. Here you can see how much dirt I move in one pass. The fel bucket, which is a half yard, is filled with about a yard of DG. Robo blade holds about a half yard too and is pushing another half in front of it. So I am getting maximum performance out of my tools. Look at the front tires...and they are 3/4 loaded with water/anti-freeze!   |
|
3RRL
Administrator
Huge Kama
Posts: 2,027
|
Post by 3RRL on Feb 6, 2008 10:07:16 GMT -5
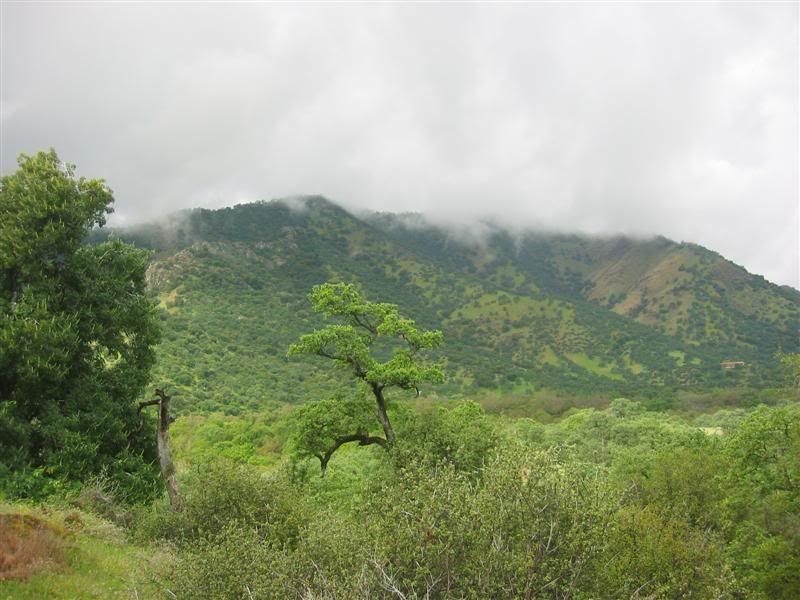
It rained at night and sprinkled on and off over the weekend. There were a couple of pretty sights as I was working. One was looking from the DG pit going to the barn pad. Here are a couple more I took while taking a break, drinking my coffee and smoking a Pall Mall. That is really pretty country during April.  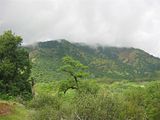  |
|


 The log home will be energy efficient too. The new design on these things are completely different then the early log cabin homes most people think of.
  That is a lot of work considering I'm only there on weekends and I have to get it finished by the end of the month. Not only that, I have all this work at home I'm swamped with, so I can't really go up during the week if I had to.