quikduk
CTW Life Member
 Dog House
Posts: 552
|
Post by quikduk on Apr 28, 2008 17:47:33 GMT -5
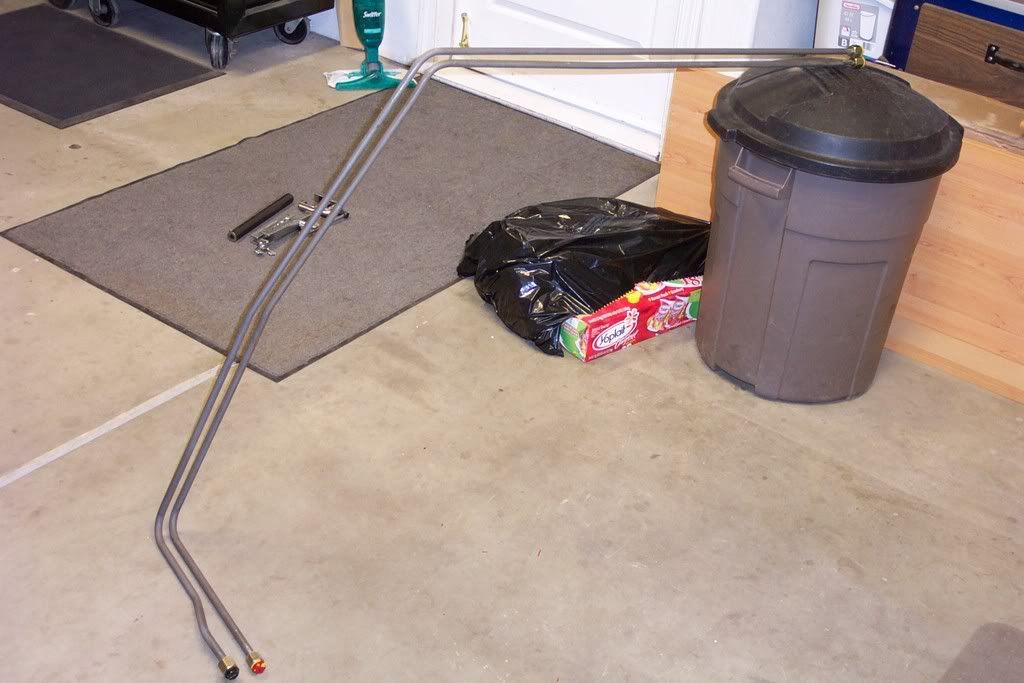
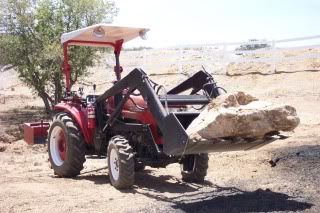
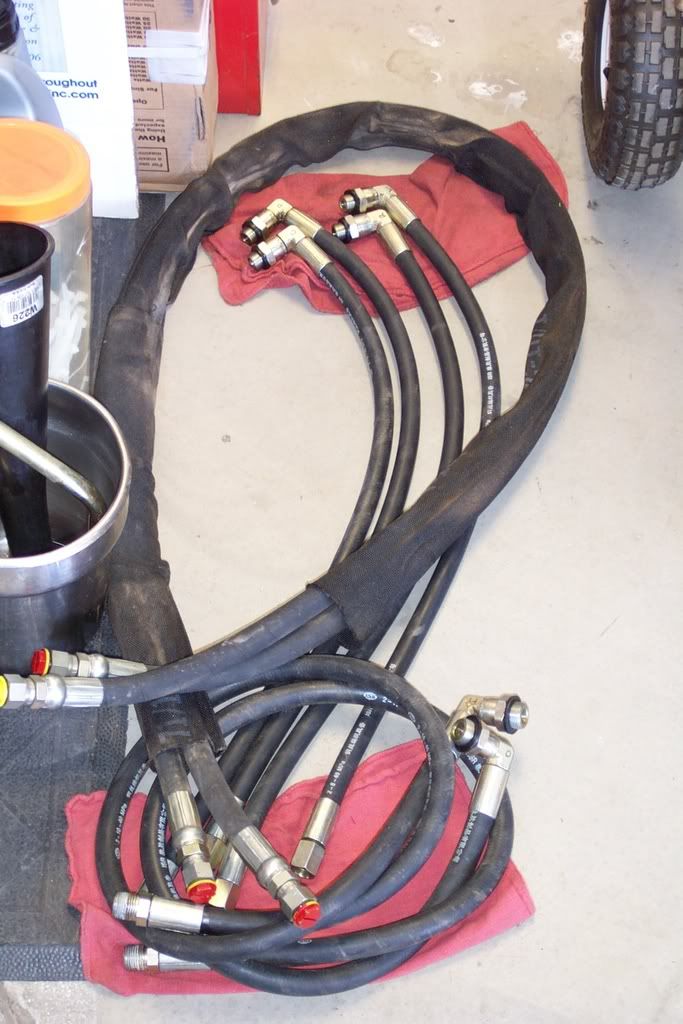
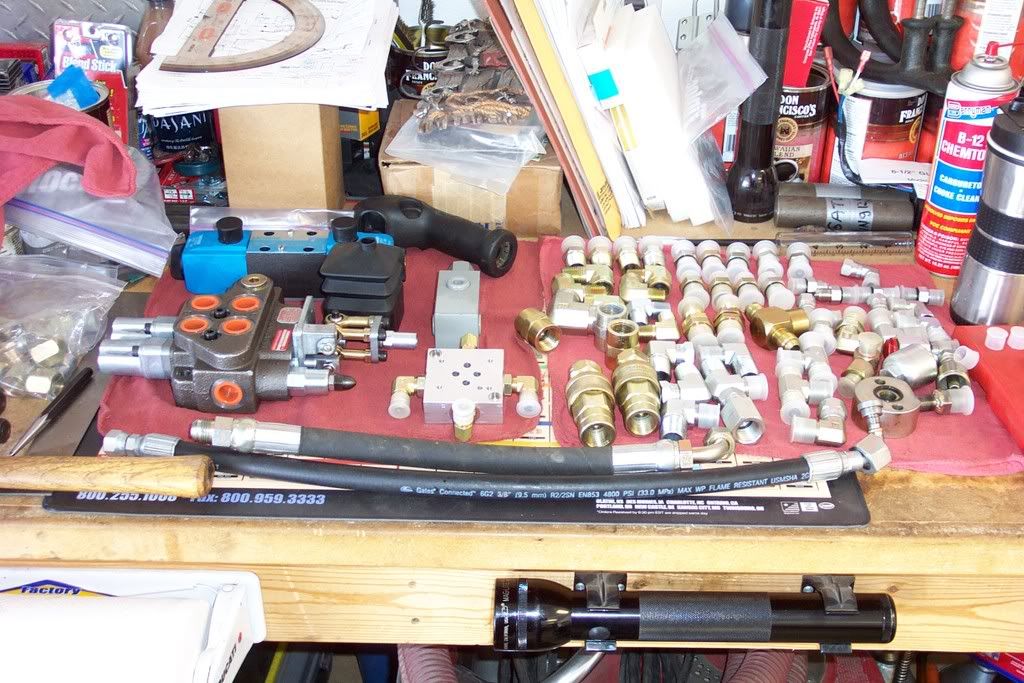
I have been “dabbling” on my hydraulic repairs and mods for the grapple as time allows over the past two weeks or so and this is where I am now. I had four hoses get damaged the last time I ran around in the heavy brush and the leaking was becoming severe. I decided to change out these hoses to hard lines (more on that later) and as you all know, I am a bit AR so I decided to tear everything related apart and start planning how to put it back together “better”. Here are the ZL-30 FEL valve hoses. BTW, these have very nice live swivel ends but they are too pricey to duplicate. 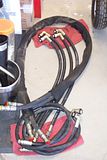 Here I have installed the 320 pump. 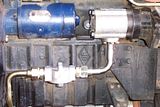 |
|
quikduk
CTW Life Member
Dog House
Posts: 552
|
Post by quikduk on Apr 28, 2008 17:49:39 GMT -5
|
|
|
|
quikduk
CTW Life Member
Dog House
Posts: 552
|
Post by quikduk on Apr 28, 2008 17:51:14 GMT -5
|
|
quikduk
CTW Life Member
Dog House
Posts: 552
|
Post by quikduk on Apr 28, 2008 17:52:38 GMT -5
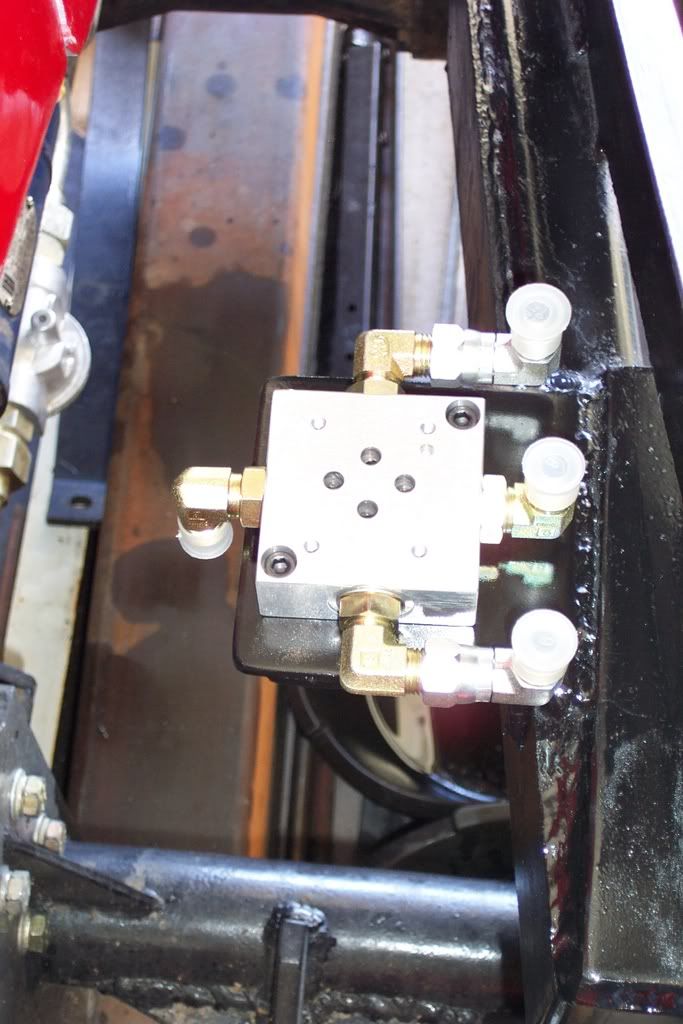
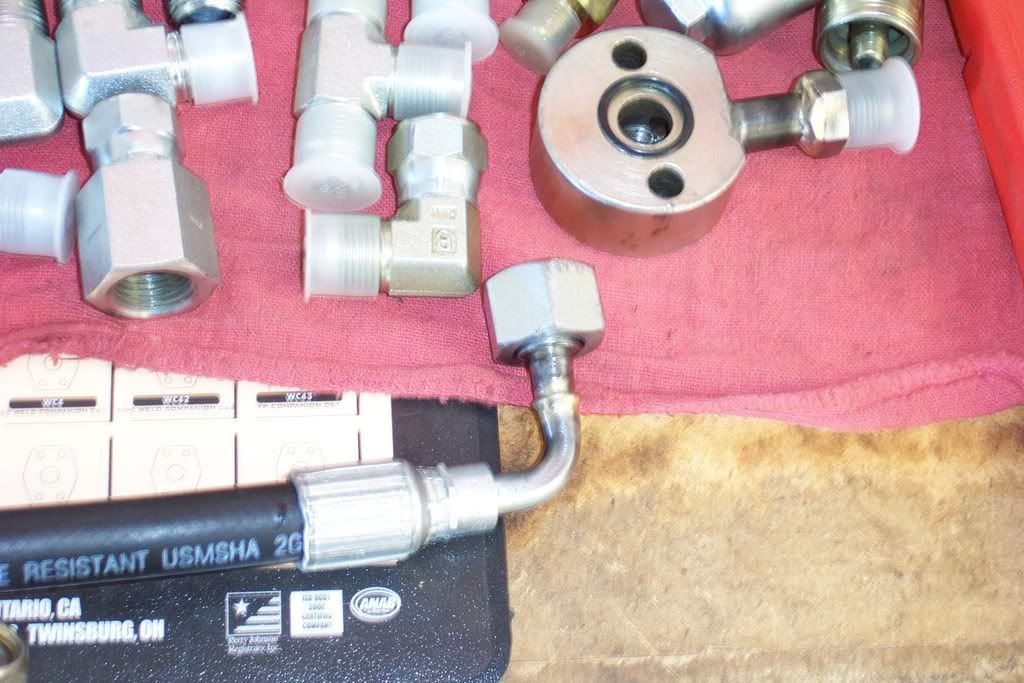
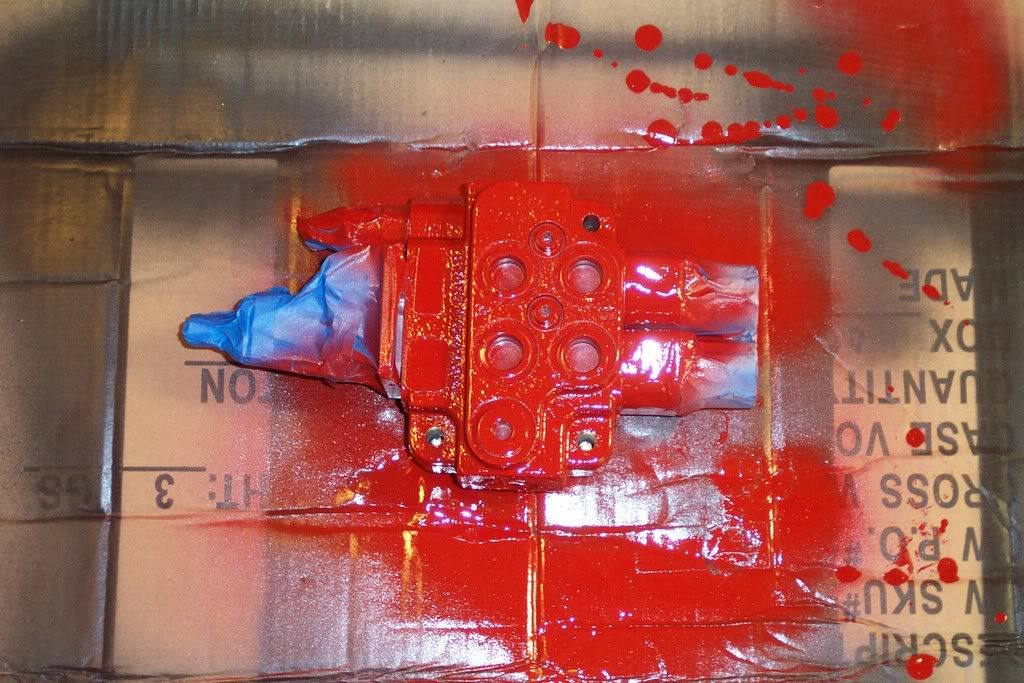
Here are two fittings I had modified. One is the HP OUT from the pump with a new JIC8M fitting and the other is the new replacement OUT hose to the Jinma 3-point valve that comes from the diverter sub-plate OUT port. BTW, the fitting from Jinma is a French GAZ fitting… I had to have a JIC8 tube elbow cut and welded to the GAZ fitting. I will see if it leaks…or not… 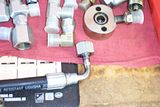  Here is a prep shot of the Brand FEL valve. 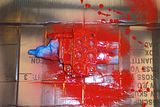 That is it for now. |
|
3RRL
Administrator  Huge Kama
Posts: 2,027 
|
Post by 3RRL on Apr 29, 2008 1:36:00 GMT -5
Wow Ken, I take back everything I said about you ... well, not everything. ;D
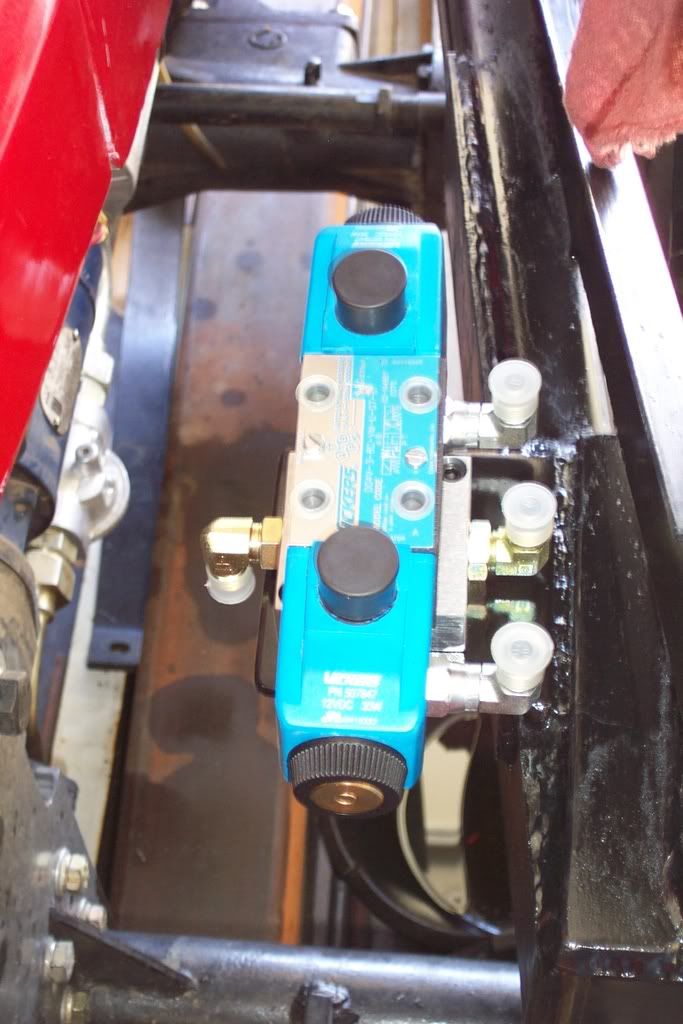
You have really been getting with it! All that work, all those projects within projects. Man you did a LOT! I can barely make it out, but I think I see the writing on that solenoid valve, or should I say I don't see it labeled 110v50 and 120v60 like the valve they sent me. So you got lucky with the right one. Wouldn't you know it, you got the right one 6 months ago and are just now starting your project, and I needed Loretta's 3 weeks ago! Isn't that always the way it goes?
When you mount that solenoid valve, be sure the dowel pin hole in the sub plate lines up with the one on the valve. I see yours is toward the tractor, not the outside, so the writing on the valve will be facing the tractor. It will read upside down standing at the side of the tractor. I put Loretta's (dowel hole) toward the outside so I can read the valve Name and ID etc. without crawling into the motor compartment.
Nice job on the FEL mounting bracket, the new 320 pump and the extra support for the FEL uprights too.
Everything looks really sano!
Oh, and you're on for lunch at ONO! Thanks.
Rob-
|
|
GuglioLS
Administrator
Jinma354 LE
Posts: 1,276
|
Post by GuglioLS on Apr 29, 2008 8:50:33 GMT -5
Finally some progress reports, I see now why this is getting a late start, your doing everything all at once. Looks like it will all be worth the time and effort, I'm sure Julie feels the same way  having you in the shop for weeks on end and out of her hair, whats not to like about that?  Keep the pictures and progress reports flowing. Larry |
|
quikduk
CTW Life Member
Dog House
Posts: 552
|
Post by quikduk on Apr 29, 2008 9:38:59 GMT -5
Thanks guys. I have been in the garage the past two nights till 12:30 AM so tonight I think I will pass and try to get some sleep.
I did finish the FEL tower cross brace brackets, mounted the FEL valve bracket and installed the loader line hoses last night but I need to check their movement again before I finally settle on their position or length.
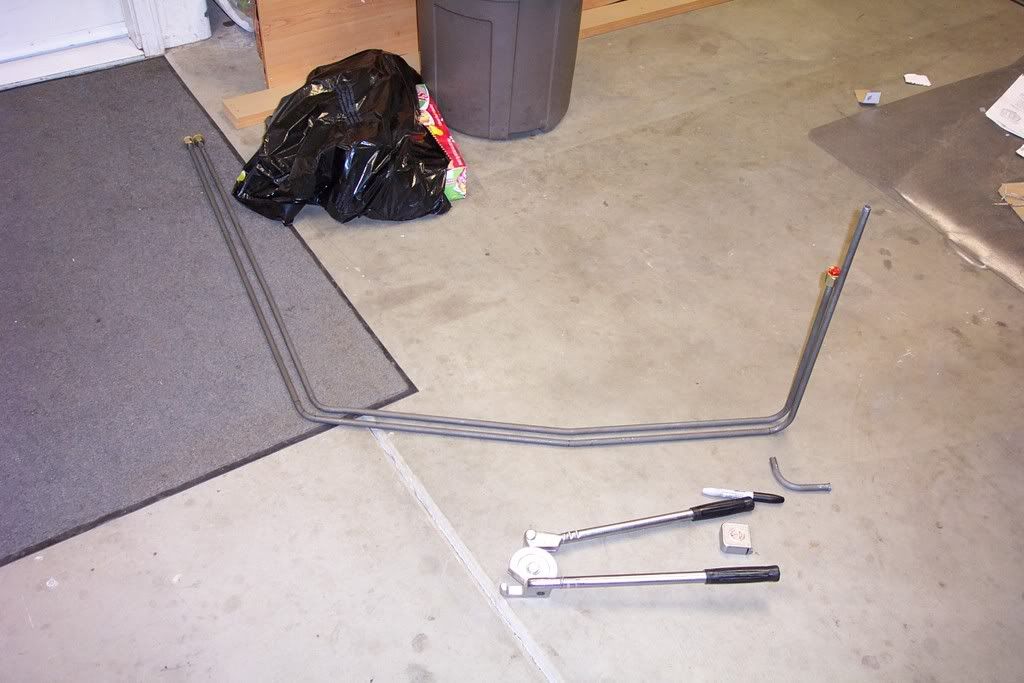
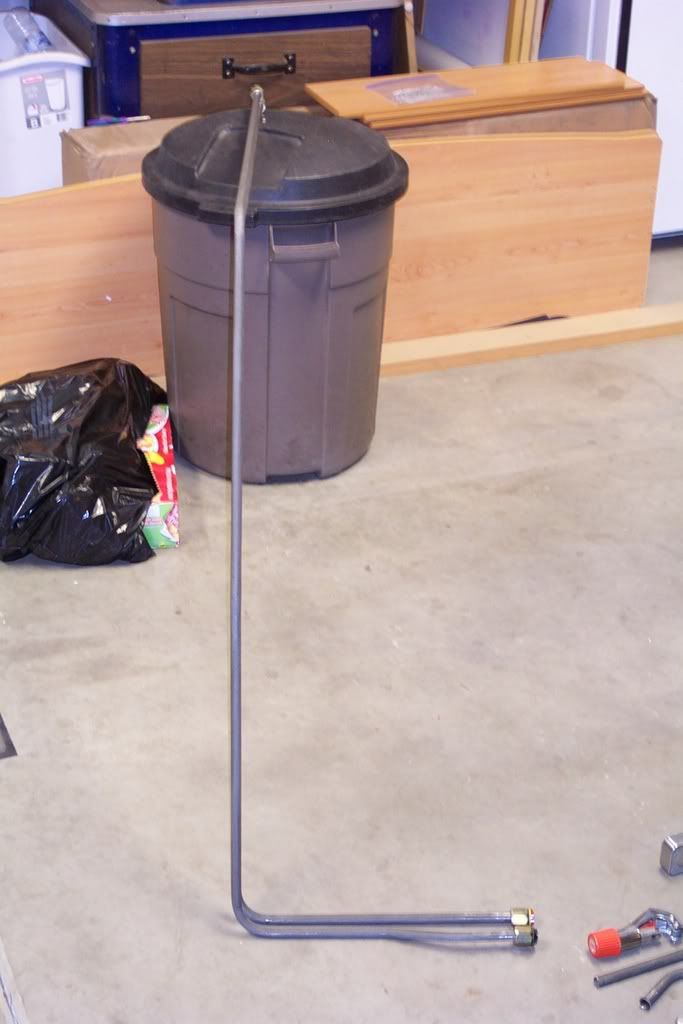
The next part is to bend, flare and fit all of the hard lines, as well as fabricate the multi-hard-line loader clamps and the QD bulkhead bracket. I am making the T&T HP line, return to sump lines, FEL HP line and solenoid base plate HP line all out of 1/2" OD hyd. tubing so this will take a bit of "figuring" and "testing" to work out. I also may need to temp. remove the driver's right floorboard for easier access but I will see.
Presently, the 354 is in the garage parked over all of my steel pieces so space and access is hard to come by.
|
|
3RRL
Administrator
Huge Kama
Posts: 2,027
|
Post by 3RRL on Apr 29, 2008 23:23:45 GMT -5
Keep the pictures and progress reports flowing. Larry Yeah, especially the progress itself. I'll bet Julie is just thrilled. Get some sleep too. Your phone call today broke up so I erased the message. I have no idea what you wanted. |
|
quikduk
CTW Life Member
Dog House
Posts: 552
|
Post by quikduk on Apr 30, 2008 18:28:42 GMT -5
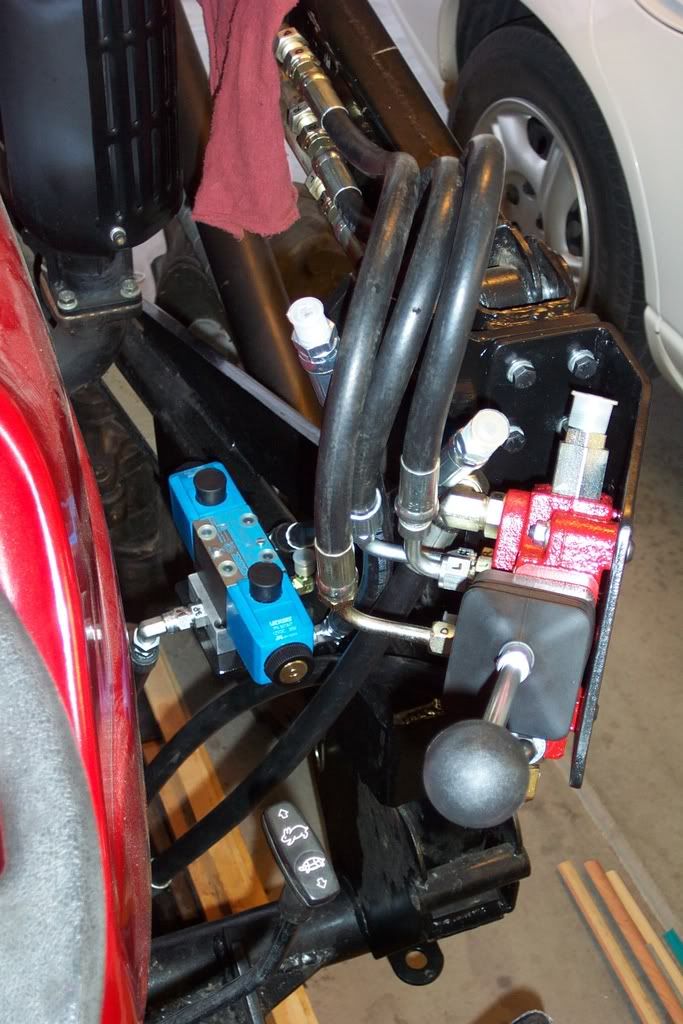
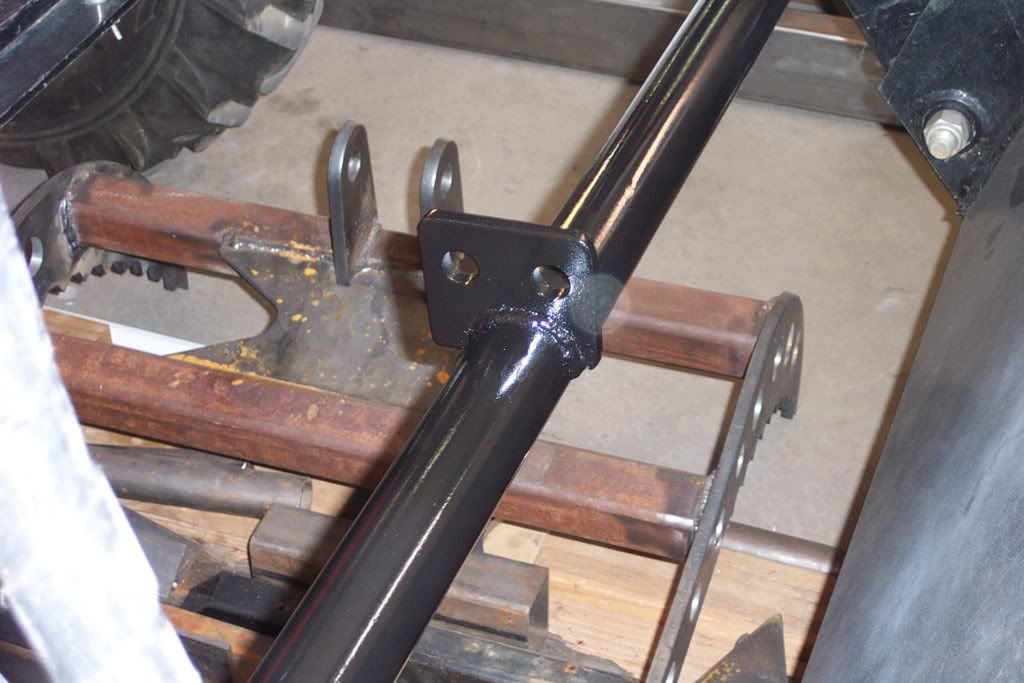
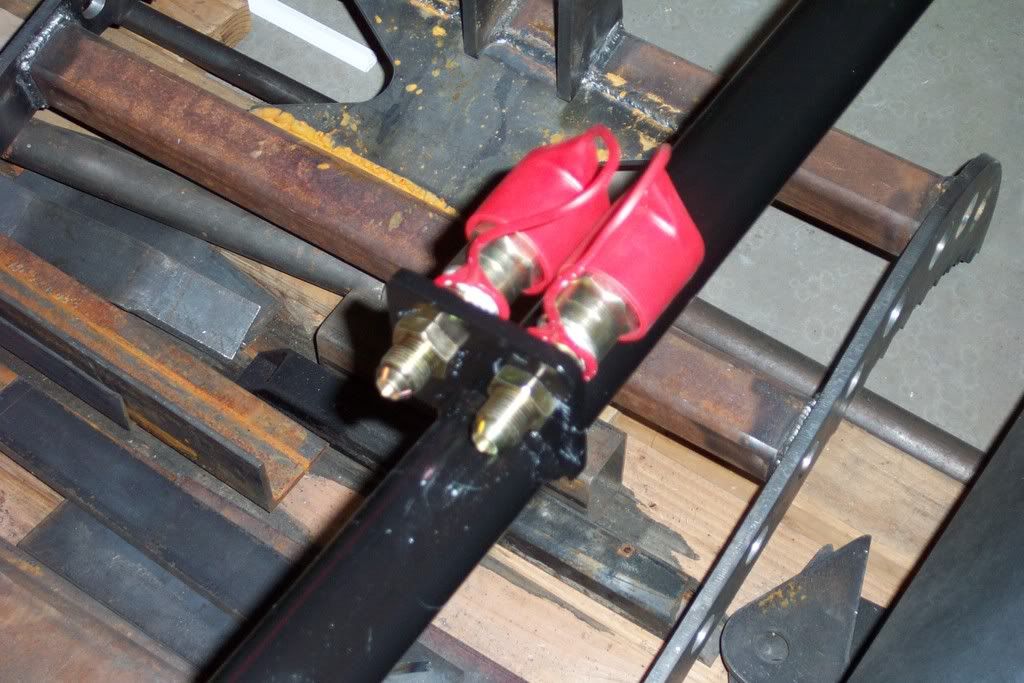
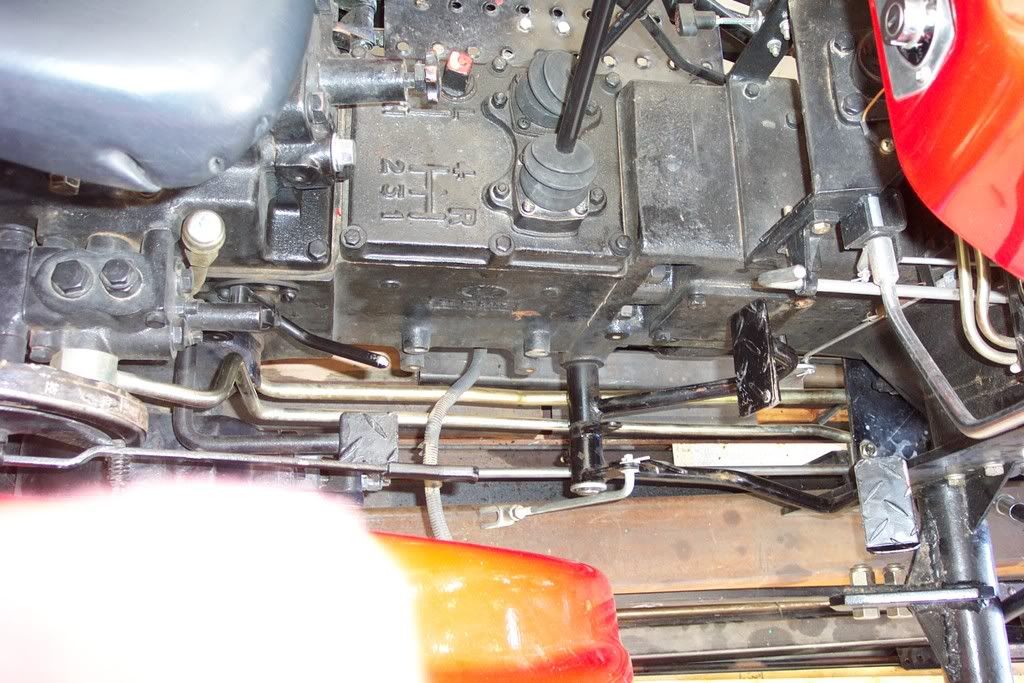
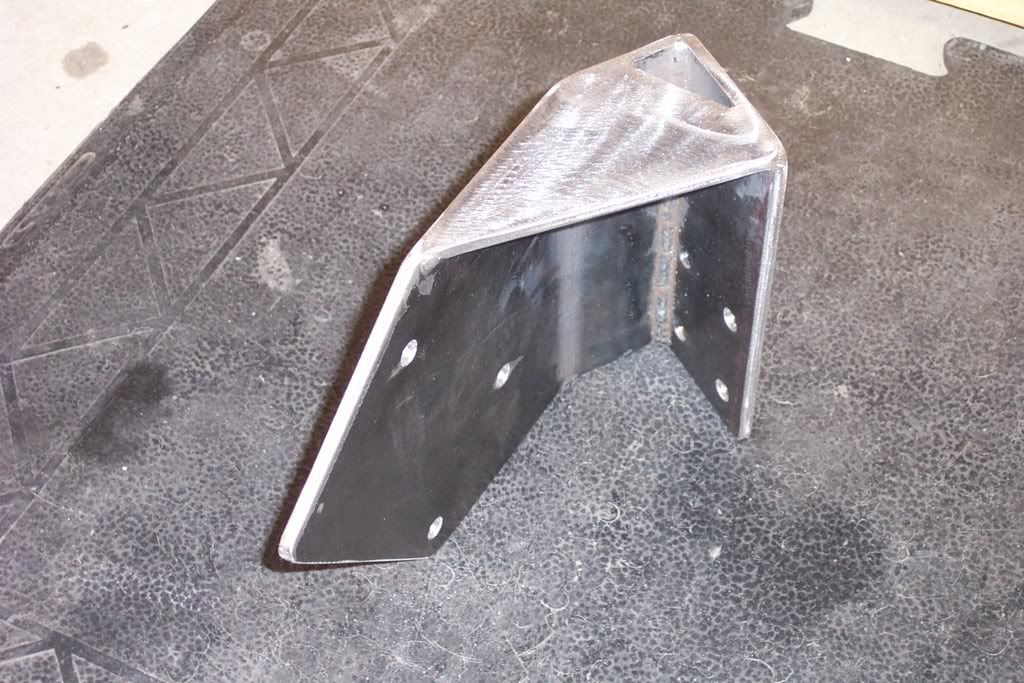
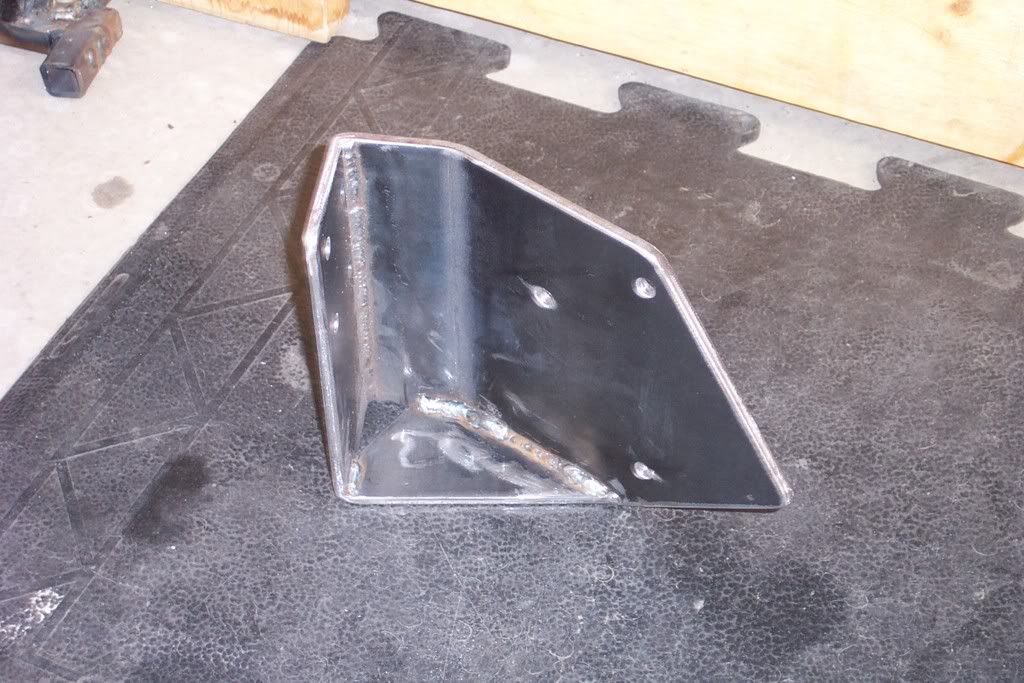
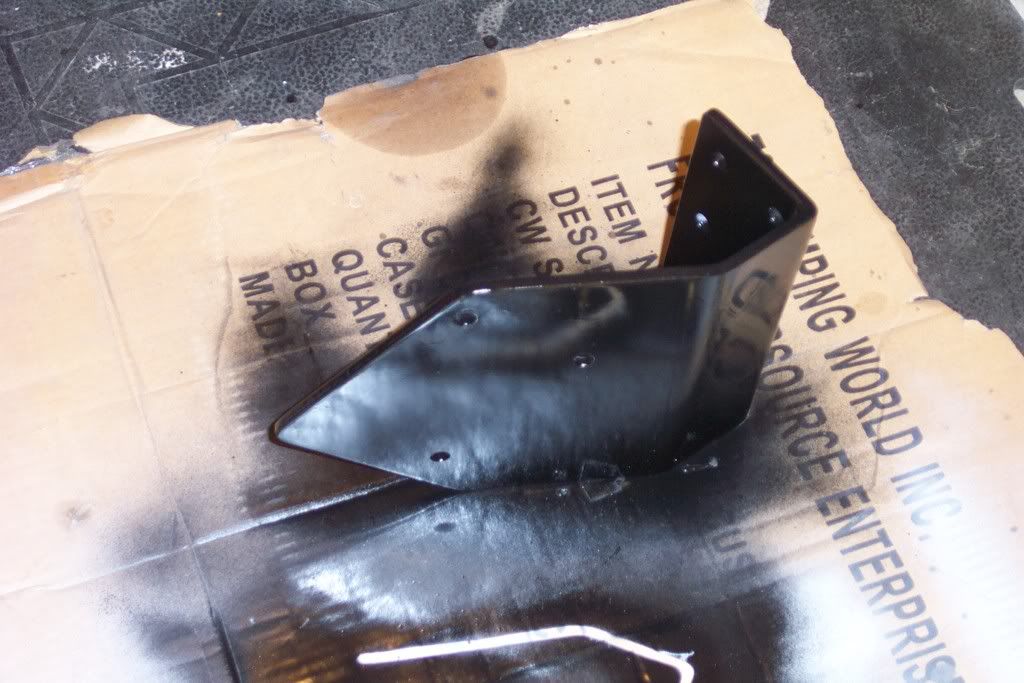
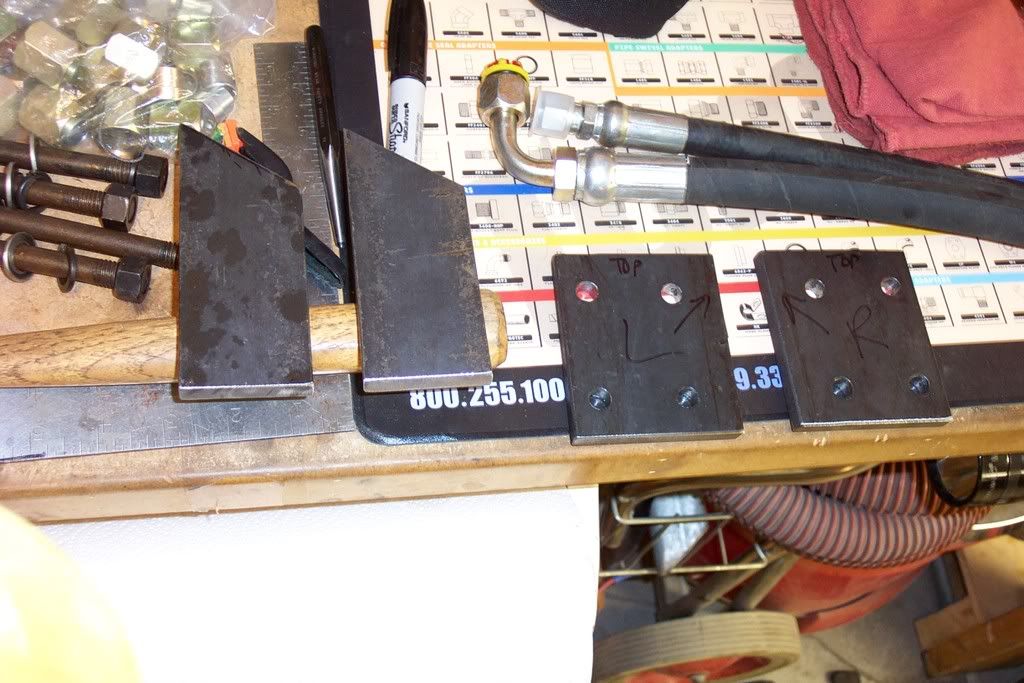
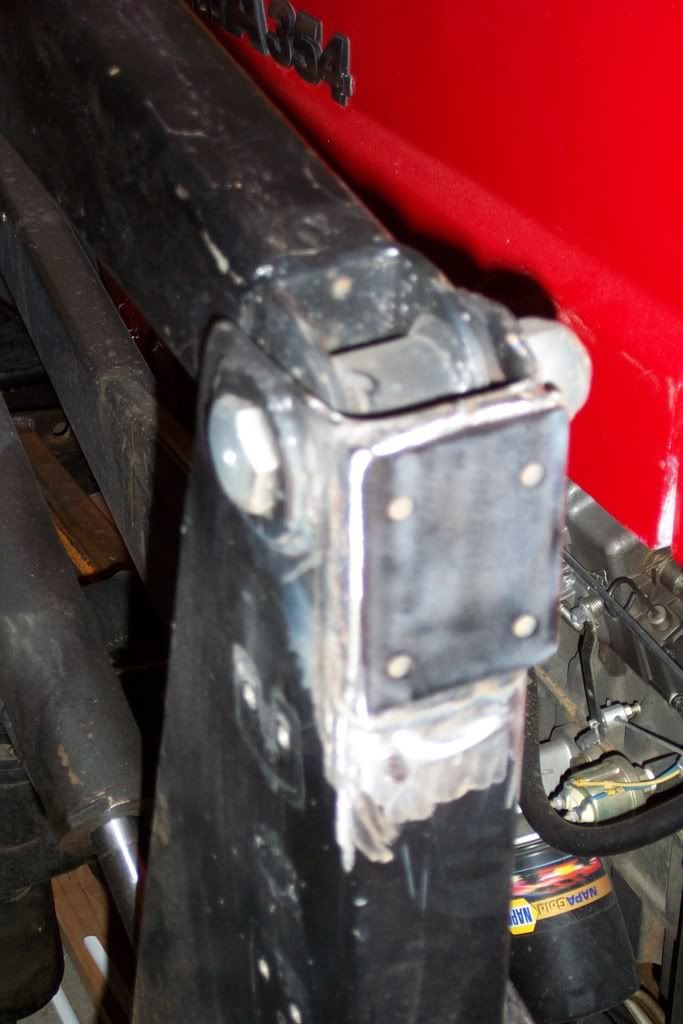
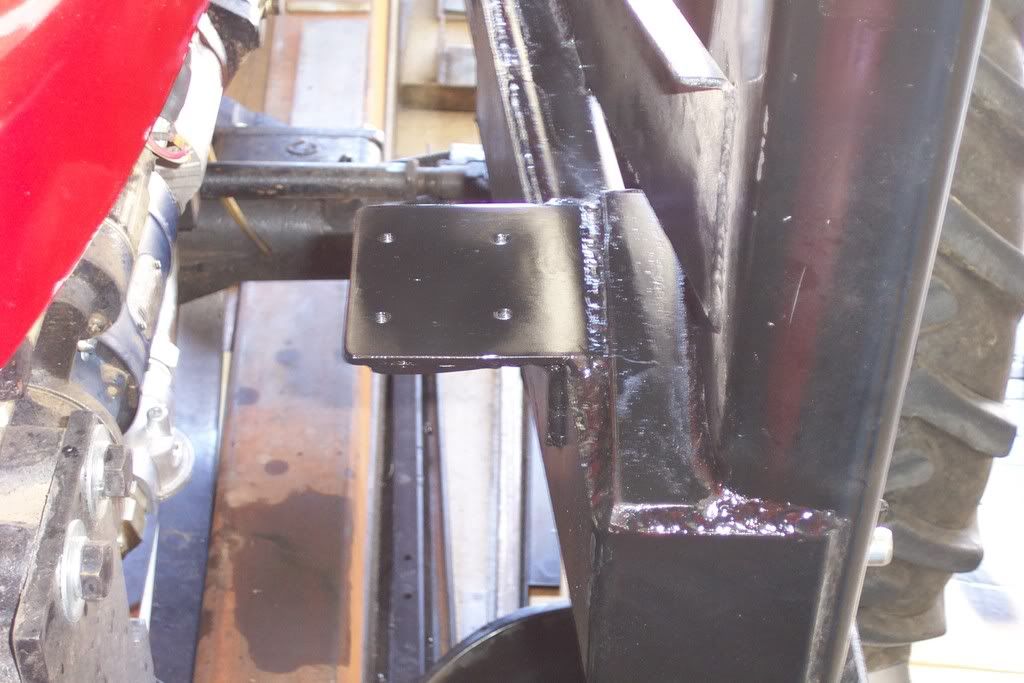
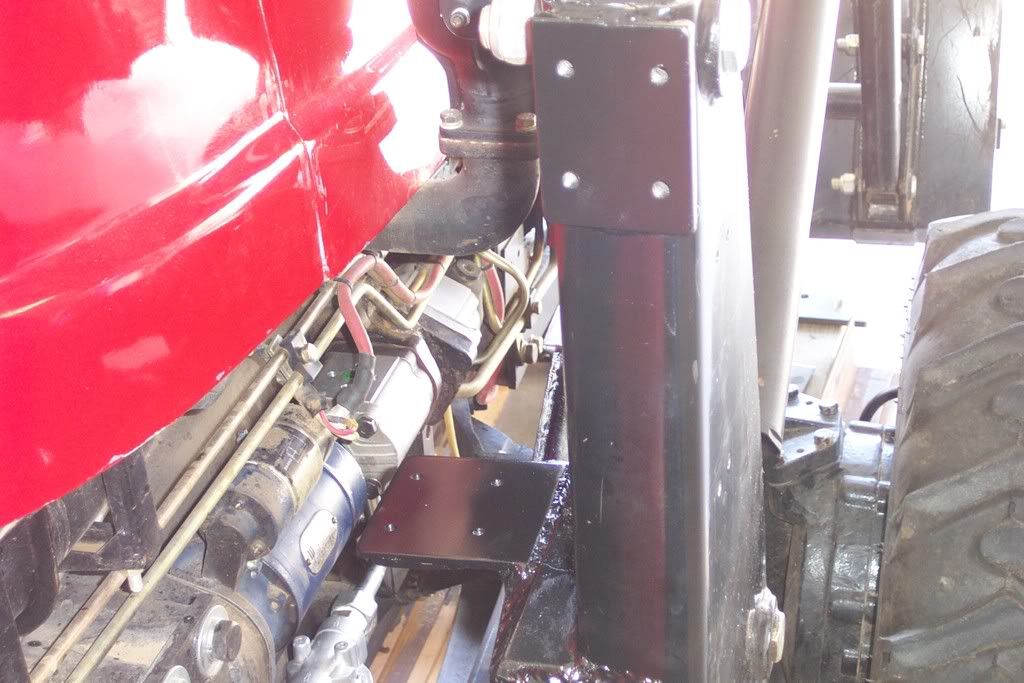
I worked on the FEL valve bracket, various hose connections, PR valve placement and rear tower brace brackets last night. Here are the rear tower brace mounts. They are out of 3/8" plate and are bolted to the towers with grade 8 metric hardware (to match the FEL bracket mount that came from the factory) 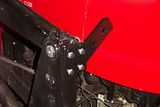 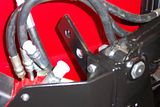 Here are two of the FEL mount and the various hoses to and from the valve and the solenoid valve sub-plate below. 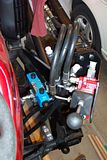 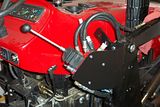 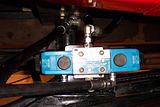 I should be mounting the PR valve tonight and making all but the hard line connections so that will come over the next few days but some progress is better than none...I guess. |
|
3RRL
Administrator
Huge Kama
Posts: 2,027
|
Post by 3RRL on Apr 30, 2008 23:51:05 GMT -5
Lookin good!
|
|
quikduk
CTW Life Member
Dog House
Posts: 552
|
Post by quikduk on May 5, 2008 13:28:32 GMT -5
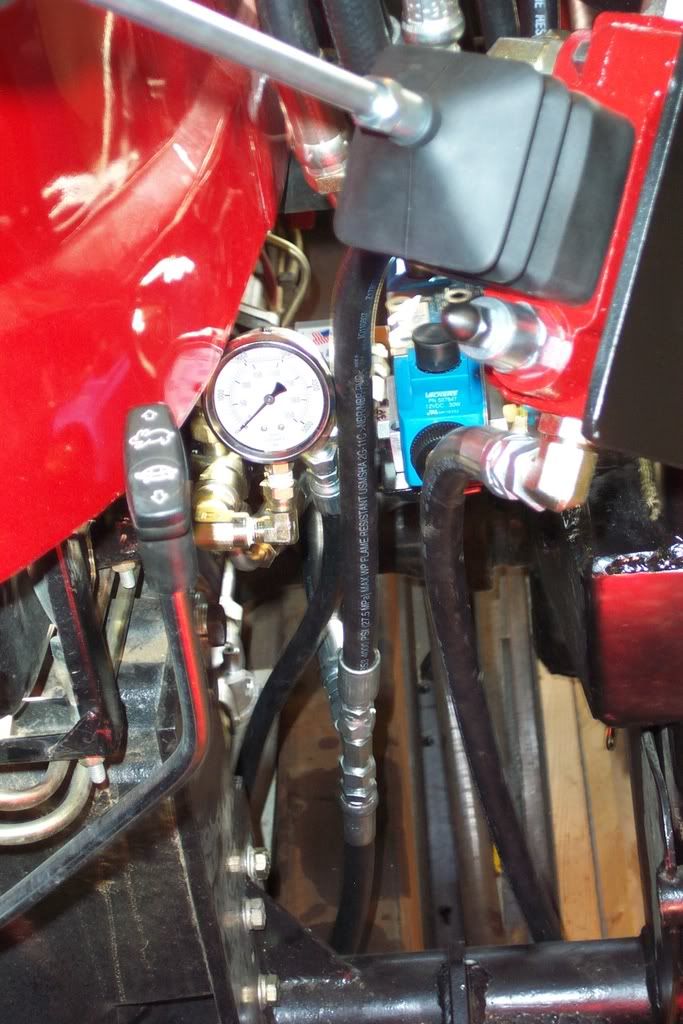
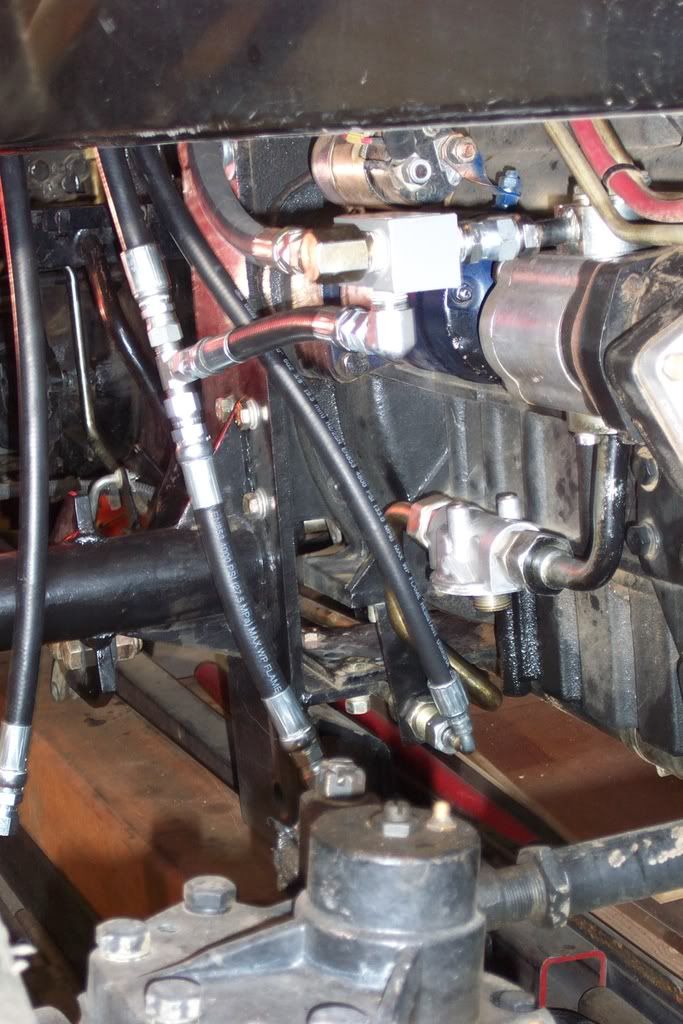
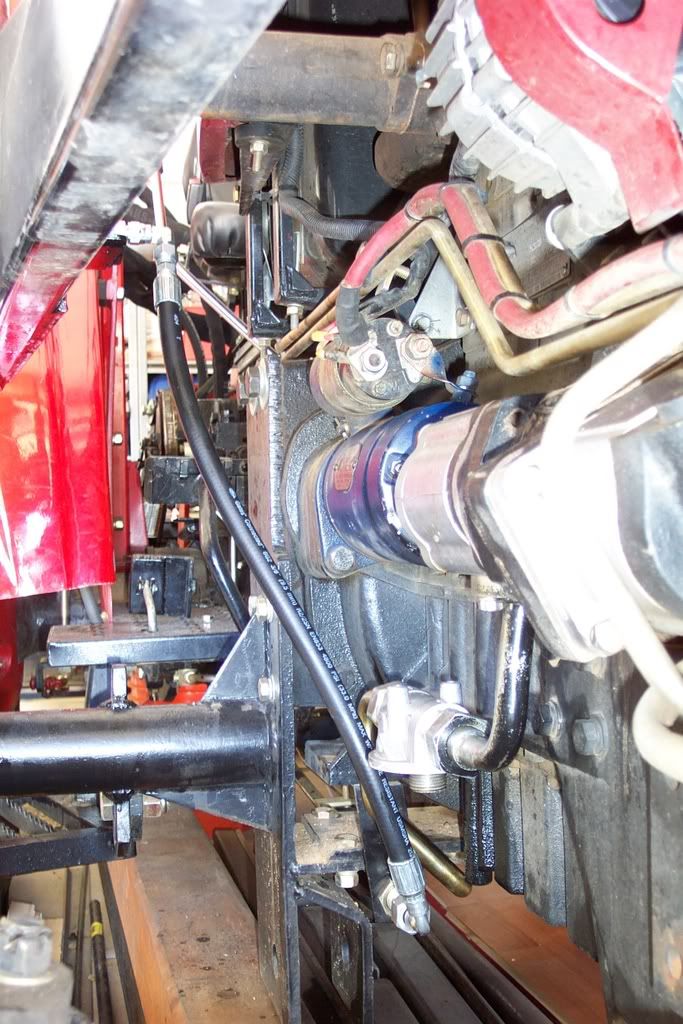
More progress. I finished mounting the PR valve right off the pump HP OUT line and then needed to move the liquid filled pressure gauge between it and the next valve in series (the Prince SV T&T valve) so I could accurately set the PR pressure at 2,321 PSI.  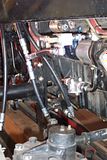 I ended up welding the dual JIC8M to ½” NPTF “tee” to a piece of angle and then added a strap to the right front fuel tank bracket so it could be bolted in place. This allowed me to place the gauge away from the exhaust heat and closer to the drivers seat for “easier” viewing. |
|
quikduk
CTW Life Member
Dog House
Posts: 552
|
Post by quikduk on May 5, 2008 13:28:46 GMT -5
|
|
3RRL
Administrator
Huge Kama
Posts: 2,027
|
Post by 3RRL on May 5, 2008 14:46:33 GMT -5
That looks good Ken.
I especially like the hard line plumbing that you're doing.
It sure is cleaner looking than all those hoses. I see you got the main pressure relief valve mounted also. It's good where it's at so you can set your main system pressure first, and then go around to do each valve. You have yours set exactly where I set Loretta's, at 2321psi.
What are you going to set the individual valves at?
I also didn't realize you mounted the solenoid valve on the same side. That looks a little crowded in there, but as long as you can get to it, so what? Everything looks very good, including those reinforcements and the QD's.. They are very clean.
Rob-
|
|
quikduk
CTW Life Member
Dog House
Posts: 552
|
Post by quikduk on May 5, 2008 15:43:20 GMT -5
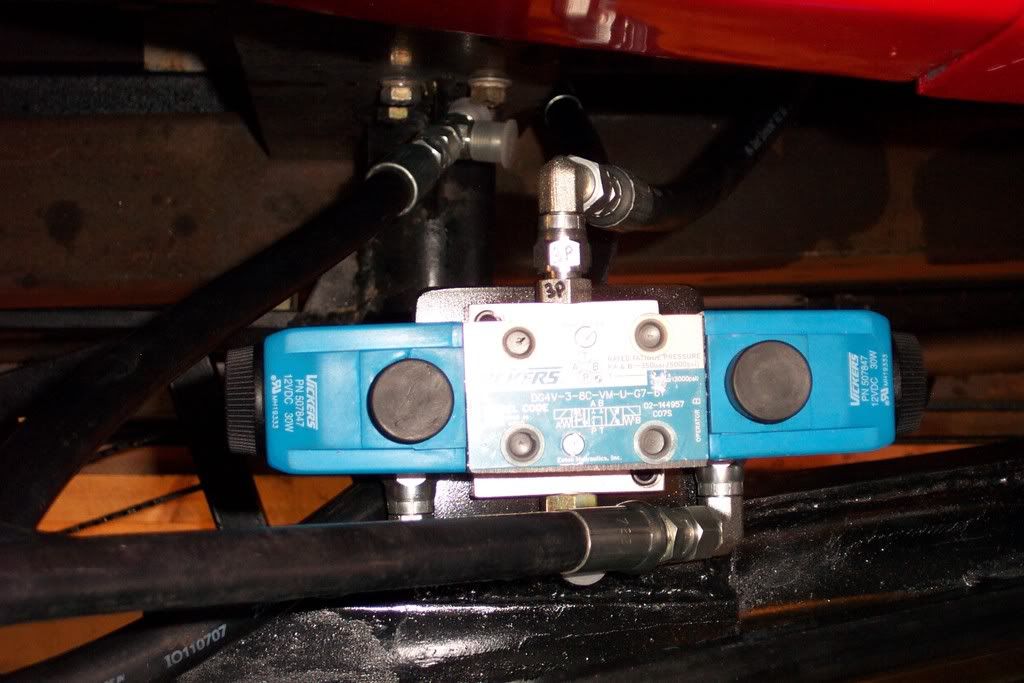
That looks good Ken. I especially like the hard line plumbing that you're doing. It sure is cleaner looking than all those hoses. I see you got the main pressure relief valve mounted also. It's good where it's at so you can set your main system pressure first, and then go around to do each valve. You have yours set exactly where I set Loretta's, at 2321psi. What are you going to set the individual valves at? I also didn't realize you mounted the solenoid valve on the same side. That looks a little crowded in there, but as long as you can get to it, so what? Everything looks very good, including those reinforcements and the QD's.. They are very clean. Rob- Thanks. I like the hard lines better since I tend to run the FEL arms through the brush. I just wish I could have them gold-irridite plated to match the factory lines...  I will be setting the PR valve at your recommended spec. of 2,321 PSI and the other two valves will be increased from 2,000 PSI to 2,200 PSI now that the new pump has more output. The solenoid valve actually has a bit of clearance around it. If you look at the 5th picture of my 4th post (Apr 28, 2008, 2:51pm), it is in a little used area below and forward of the FEL valve. The gauge and related hoses crowded it a bit but once I strap everything down, it will be a bit cleaner plus it saved me mounting it on the other side. I didn't add another set of QD's like you did since the FEL is not coming off this doghouse. I have been toying with the idea of making a hard line from the "tee" for the gauge and running it up under the dash. I could then mount a "panel-mount" gauge in the dash on the right side. Another "project" maybe down the road... |
|


 having you in the shop for weeks on end and out of her hair, whats not to like about that?